
Loading ...
Loading ...
Loading ...
Manual exposure mode allows individual selection
of shutter speeds and apertures. This mode
overrides the exposure system giving the
photographer total control over the final exposure.
The changes made to the exposure will be visible in the live image on the monitor. The
monitor shutter-speed and aperture display will turn red if the image is underexposed or
overexposed by more than 3 Ev. If the monitor is black, increase the exposure until the
image is visible; decrease the exposure if the monitor is white. If the LCD monitor is
turned off, the exposure is fixed at the last setting and cannot be changed. When the
shutter-release button is pressed partway down, the brightness of the live image may
change while the camera focuses.
In manual exposure mode, the auto camera-sensitivity setting will fix the ISO value at
100. The camera sensitivity can be changed in the basic section of the multi-function
recording menu (p. 56). The flash mode is set to flash cancel. Fill-flash and fill-flash with
red-eye reduction can be selected (p. 32), but the live image will not reflect the flash
exposure.
The monitors will be blank during the exposure. Releasing the shutter button will end the
exposure. Noise reduction processing is applied to the image after the exposure. Noise
reduction can be canceled in the custom 2 section of the setup menu (p. 98).
Bulb photographs can be taken in the manual-exposure
mode. Exposures up to fifteen seconds can be made.
A
tripod is recommended for bulb exposures. The camera’s
exposure system cannot be used to calculate bulb
exposures. The use of a separate light meter is
recommended.
60
61M
ULTI-FUNCTION RECORDING
Manual exposure - M
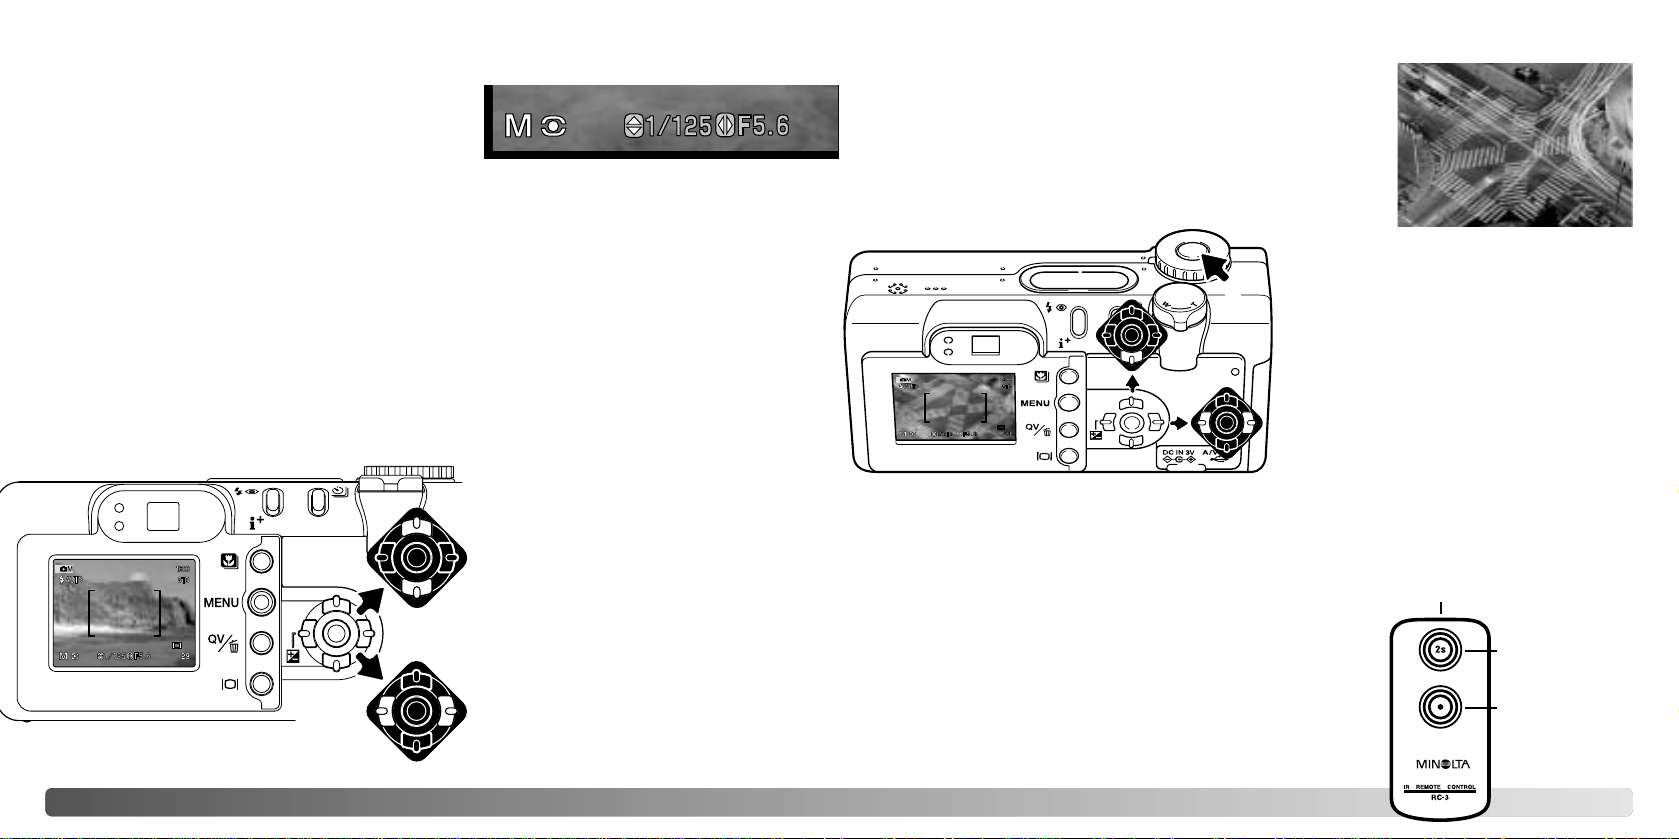
Use the up/down keys of the
controller to change the shutter
speed.
Bulb exposures
Emitter window
Delay button
Release button
Use the down key of the controller (1) to
decrease the shutter speed below 15
seconds until “bulb” is displayed.
Set the aperture using the left/right keys
of the controller (2).
To take the picture, press and hold the
shutter-release button (3) for the
duration of the exposure.
Use the left/right keys of the
controller to change the aperture.
1
2
The optional remote control RC-3 can be used to eliminate
the risk of camera shake. Set the drive mode to remote
control with the drive mode button (p. 38). While pointing
the remote control toward the front of the camera, press
and release either button to begin the exposure; the delay
button begins the exposure after two seconds. Press either
button again to end it.
3
Loading ...
Loading ...
Loading ...