
Loading ...
Loading ...
Loading ...
39
38
AUTO-RECORDING MODE - ADVANCED OPERATION
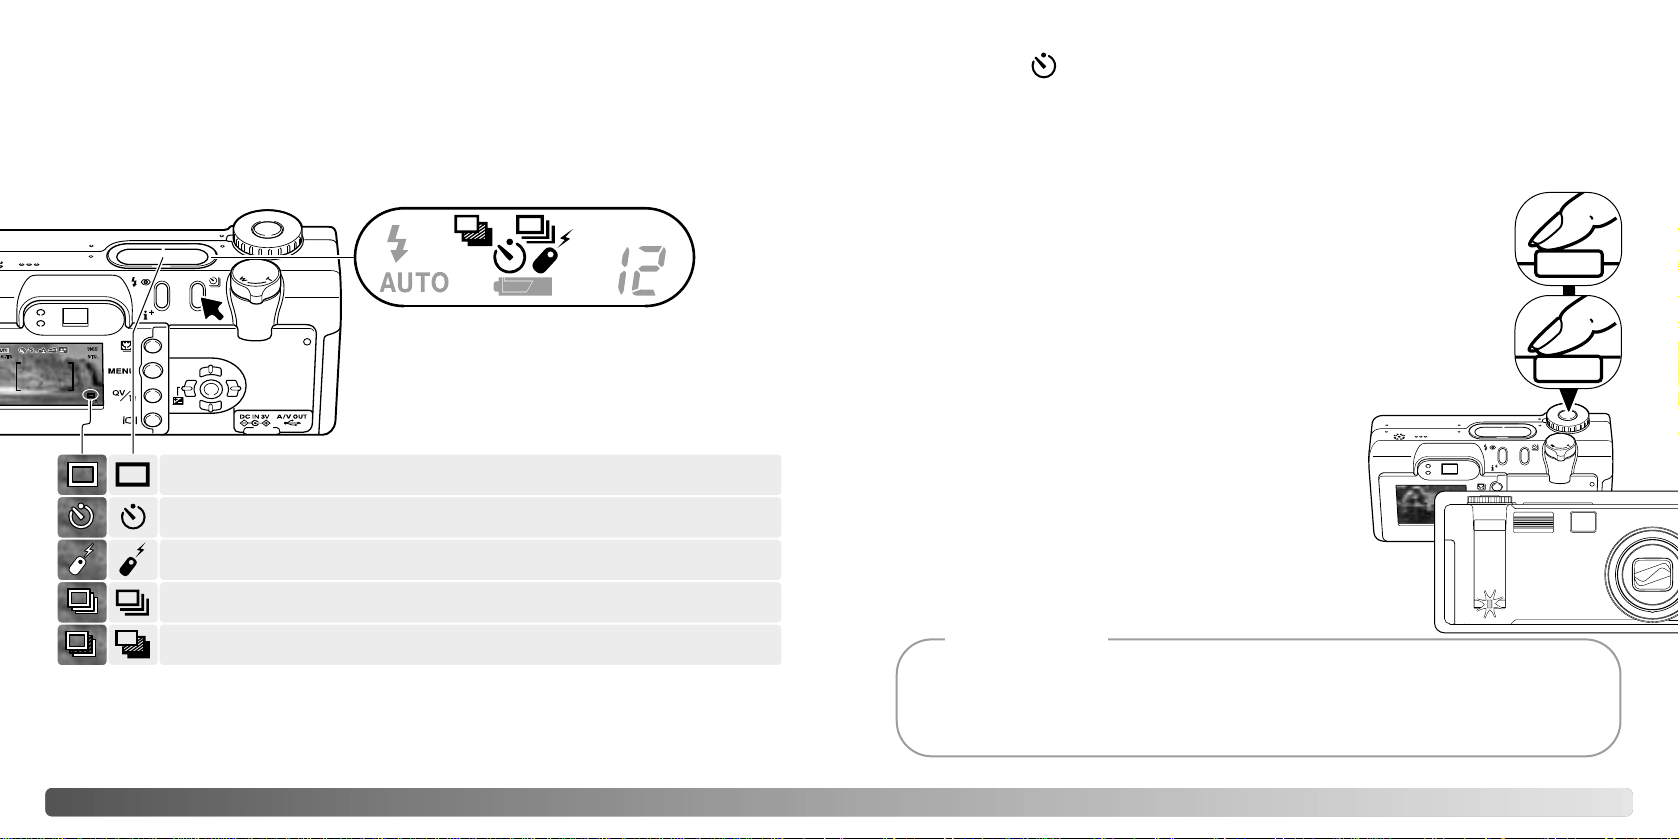
The drive modes control the rate and method images are captured. To set the drive
mode, simply press the drive mode button (1) on the back of the camera until the
appropriate mode is indicated.
Single-frame advance - to take a single image each time the shutter-
release button is pressed (p. 26).
Continuous advance - to take multiple images when the shutter-
release button is pressed and held.
Self-timer - to delay the release of the shutter. Used for self-portraits.
Bracketing - to take a series of three images with differing exposures.
All icons have been shown for clarity. The single-
frame advance and continuous drive indicators
occupy the same area of the data panel. All the
drive-mode icons appear in the lower right corner of
the monitor.
Drive modes
In auto-recording mode, the drive mode resets to single-frame advance each time the
position of the mode dial is changed. In multi-function recording mode, the drive mode
will remain in effect until changed on the menu or the camera is reset to its default
settings.
Used for self-portraits, the self-timer will delay the release of the shutter for approximately
ten seconds after the shutter-release button is pressed. When the drive mode is set to
self-timer, the focus mode is changed from Subject Tracking AF to single-shot AF
allowing the use of focus lock (p. 53). The self-timer is set with the drive-mode button (p.
38).
With the camera on a tripod, compose the picture so the subject is within
the focus frames. Press the shutter-release button partway down to lock
the exposure and focus (1). Press the shutter-release button all the way
down to begin the countdown (2). Because focus and exposure are
determined when the shutter-release button is pressed, do not stand in
front of the camera when taking a self-timer image. Always confirm the
focus with the focus signals before beginning the countdown (p. 53).
During the countdown, the self-timer lamp on the front of
the camera (3) will start to blink and is accompanied by
an audio signal. A few seconds before the exposure, the
self-timer lamp will blink rapidly. The lamp will glow
steadily just before the shutter fires. To stop the
countdown, turn the mode dial to another position. The
self-timer drive mode is reset to single-frame advance
after the exposure. The audio signal can be turned off in
the custom 1 section of the setup menu (p. 98).
The self-timer can be used to minimize camera shake with long exposures. When using the cam-
era on a tripod, photographs of static subjects (landscapes, still-lifes, or close-up photographs)
can be made with the self-timer. Because no contact is made with the camera during exposure,
there is no risk of camera shake caused by the operator.
Shooting tips
1
3
Self-timer
2
AUTO-RECORDING MODE -
ADVANCED OPERATION
1
Data panel
Remote control - to release the shutter using the optional IR Remote
Control RC-3. Used for self-portraits.
Loading ...
Loading ...
Loading ...