!
D#305291!MCT#340!SMA!Insta llatio n !In str u ctio n s ! 1!
!
MCT$340 SMA
Door$/$Window$Sensor$
Installation$Ins tru c tio n s!
!
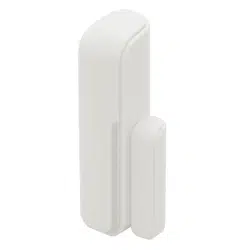
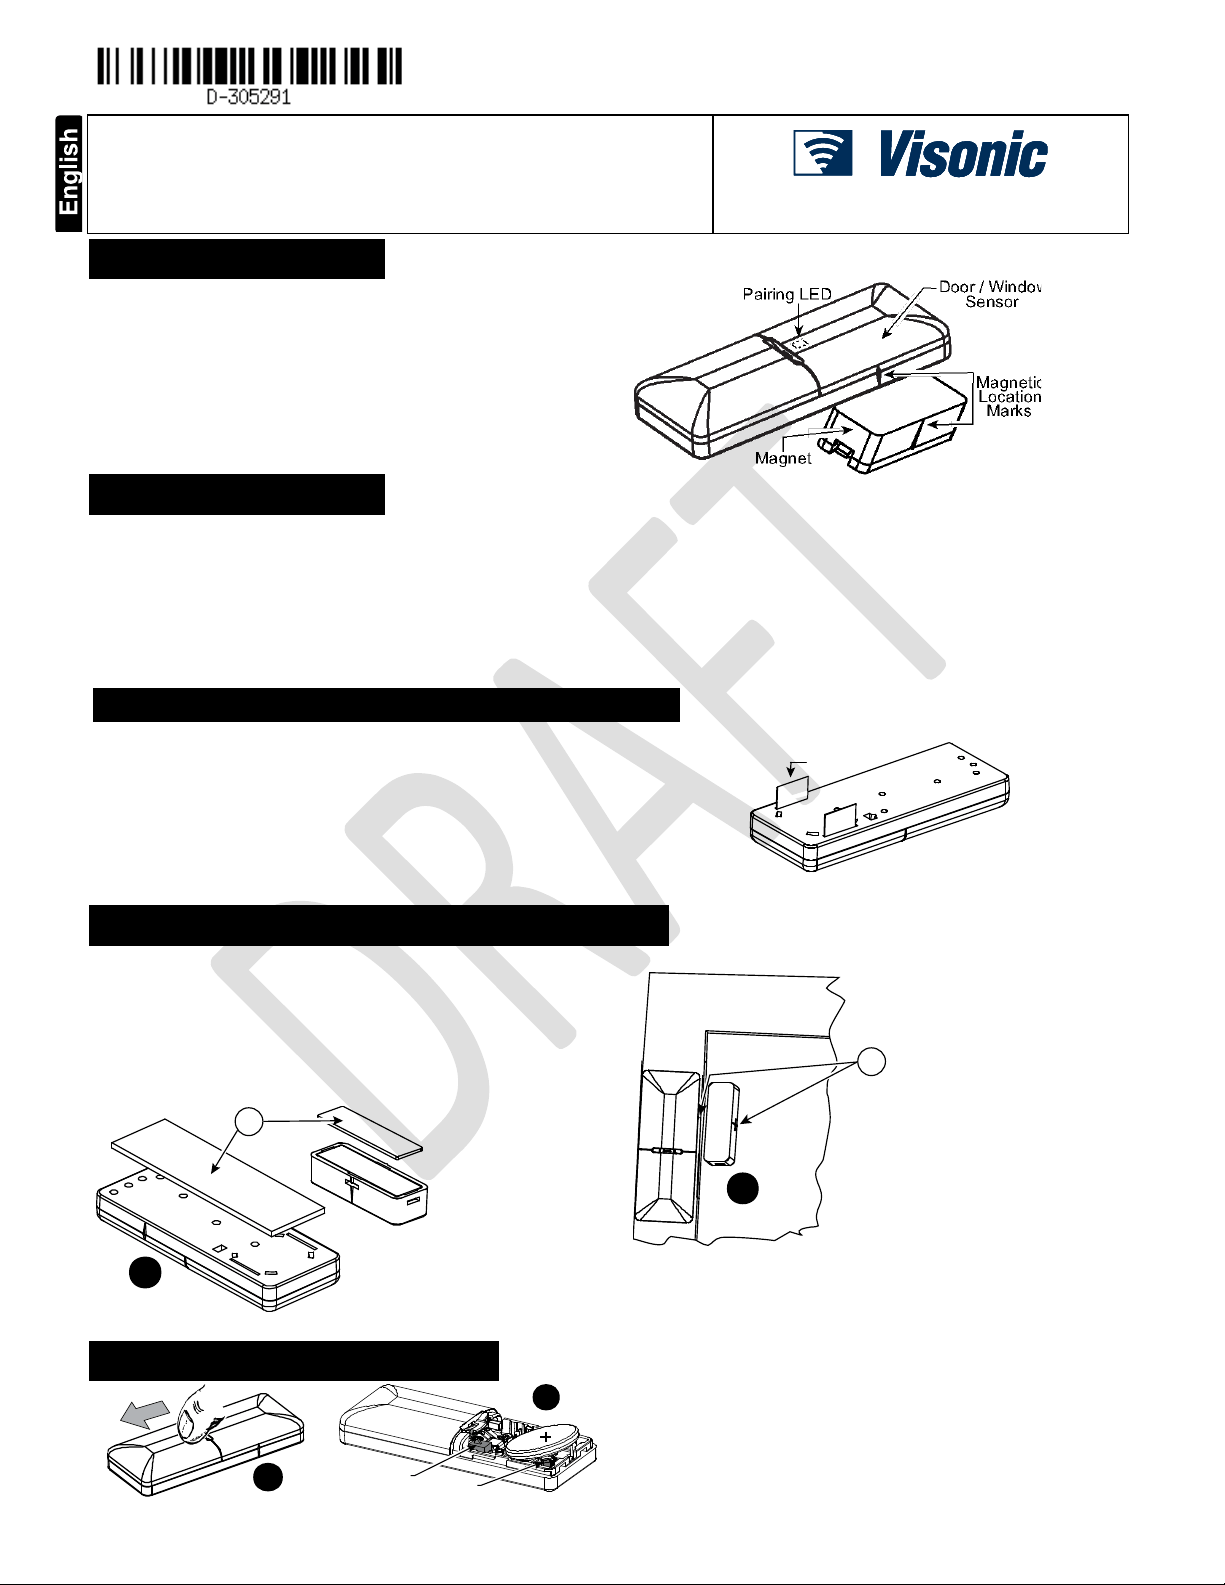
1.! INTRODUCTION
The! MCT#340! is! a! fully! supervised,! wireless! magnetic! door! /! window!
sensor,! for! use! with! ZigBee! enabled! home! security! panels.! The! sensor!
includes! a! built#in! reed ! switch! (that! opens! upo n ! removal! of! a! magne t!
placed!near!it).!!
The!MCT#340!tamper!switch!is!activated!when!the!cover!is!removed.!
A! periodic! supervision! message! is! transmitted! automatically.! The! target!
receiver! is! thus! informed,! at! regular! intervals,! of! the! unit’s! active!
participation!in!the!system.!
Operating!power!i s!obtai ned!from!an!on#boar d!3!V!Lithium!battery .!When!the!
battery!voltage!is!low,!a!“low!battery”!message!will!be!sent!to!the!receiver!60!
days!before!expiration!of! batter y!li fe!(for!operation!in!room!temperature).!
!
Figure'1'–'
External'
View!
2.! SPECIFICATIONS
WIRELESS$
Supported$Network:!ZigBee!H.A!1.2!
Frequency:!2.4!GHz!as!per!IEEE!802.15.4$
Tamper$Alert:!Reported!when!a!tamper!event!occurs!and!in!any!
subsequent!message,!until!the!tamper!switch!is!restored.!
ELECTRICAL$
Internal$Battery:!3V!Lithium!battery,!type!CR2032.!Use!Varta!only.!
Nominal$Battery$Capacity:$230!mAh!
Battery$Life$Expectancy:$3!years!(for!typical!use).!
Note:!Inability)to)co n n e c t)with)wireless)network,)or)wireless)link)qu ality )no)
higher)than)20%)may)significantly)reduce)the)expected)battery)life.)
Battery$Power$Test:$Performed!immediately!upon!battery!insertion!and!
periodically!every!several!hours.$
Battery$Supervisio n:!Automatic!transmission! of! batt ery! condi ti on!data!as!
part!of!any!status!report.!
ENVIRONMENTAL!!
Operating$Temperature:$0°C!to!55°C!(32°F!to!131°F).!
Dimensions:$66!x!25!x!10!mm!(2#9/16!x!1!x!6/16!in.)$
Weight$(including$battery):!15g!(0.5!oz)!
!
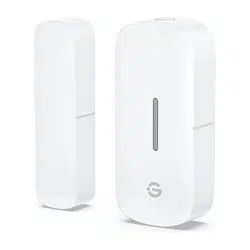
3.! ACTIVATING AND PAIRING THE SENSOR
To!pair!the!sensor!to!the!security!panel,!you!must!set!it!to!pairing!mode.!
1.!First!set!the!pane l!to!p a ir in g !m o d e !a n d !th e n !th e !s e n so r.!
2.!To!activate,!pull!the!activation!strip!(from!either!side)!that!p ro tr u de s !
from!the!back!of!the !sensor.!
3.!The! LED!bli nks!3! times! every! 5!seconds!(repeated!for!up!to!20!times)!to!
indicate!that!the!sensor!is!searching!for!a!security!panel.!!
Note:)If)sensor)pairing)is)not)successful)during)the)searching)process)?)
by)tripping)the)door)/)window)sensor)or)by)pressing)the)tamper)switch)?)
the)searching)process)will)restart.)
4.!Complete!the!pairing!procedure!on!the!security!panel!(see!the!pairing!
instructions!in!the!security!panel’s!installation!guide).!
Note:)Pairing)should)be)performed)before)installation.)
!
Figure'2'–'Activation'Strip!
!
!
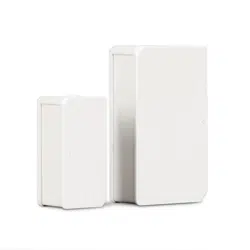
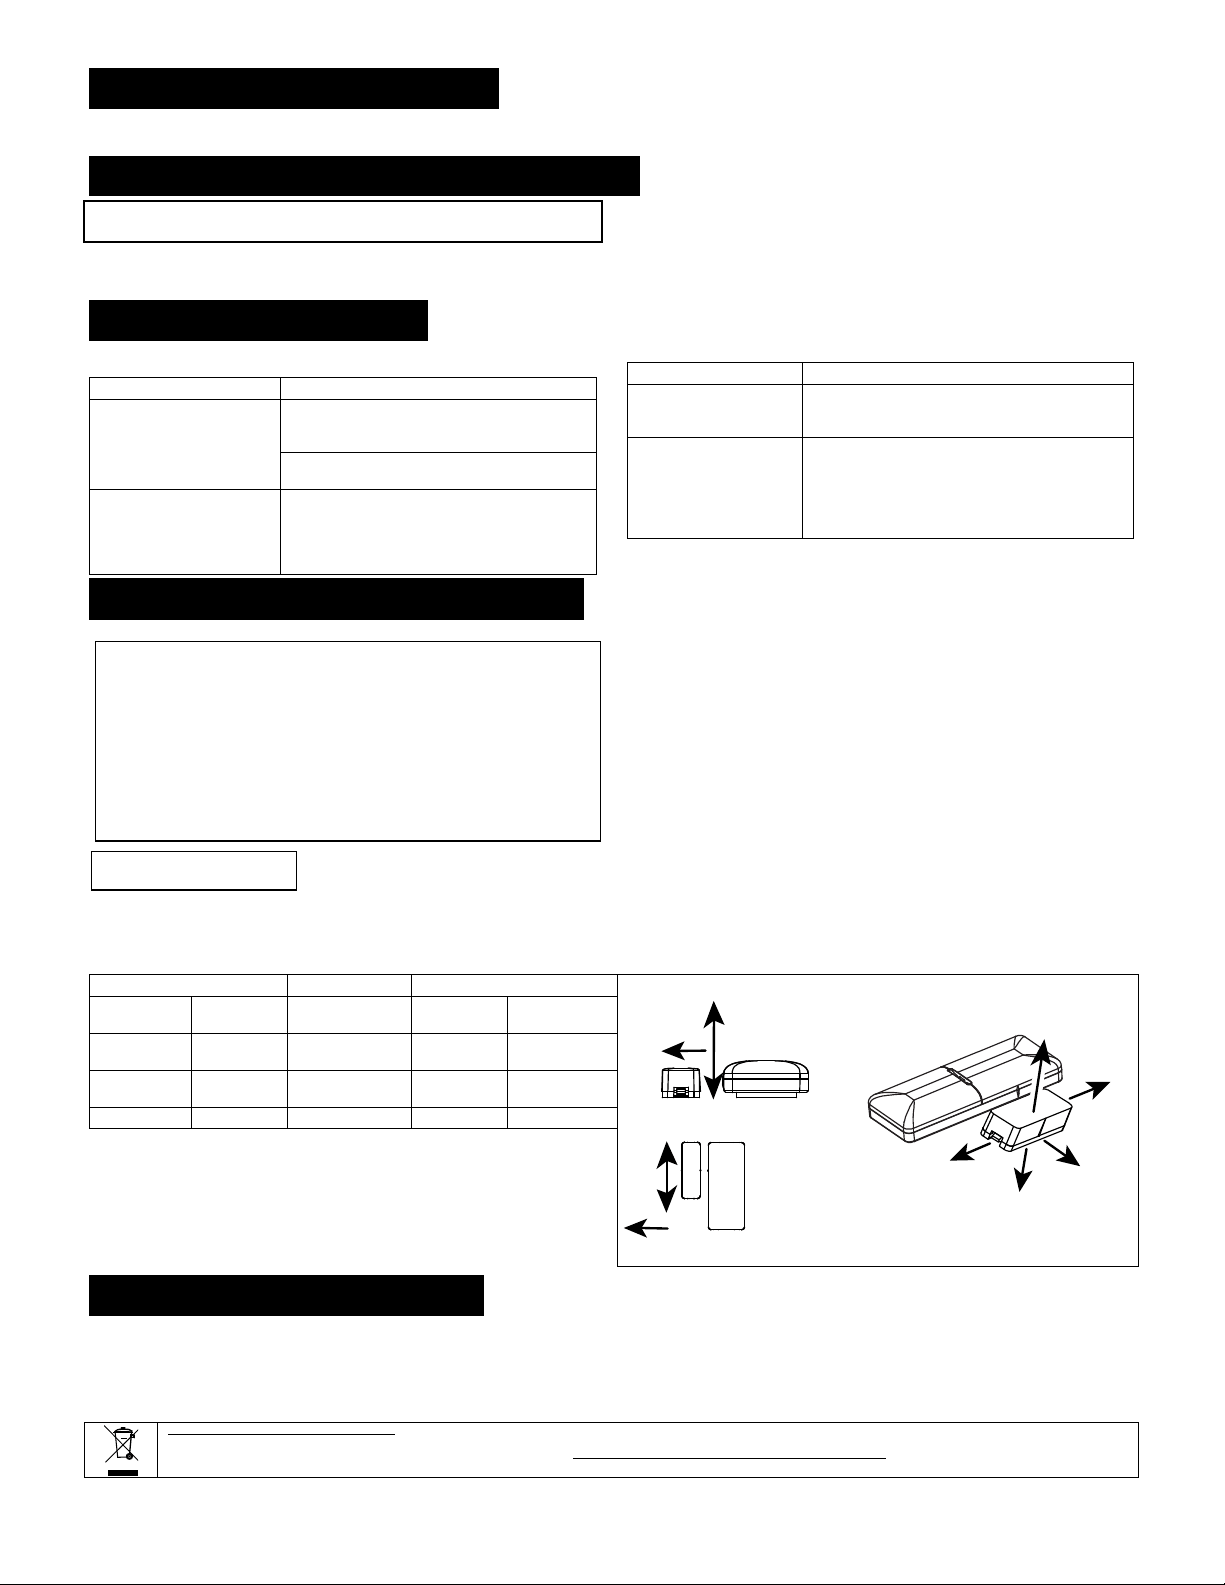
4.! INSTALLATION AND SENSOR TESTING
CAUTION:' Thi s' equipment' shall' be' installed' by' Service' Personnel' in'
nonHhazardous'indoor'locations'only.'
4.1 Mounting
NOTE:!It!is! highly!recommended!to! attach!the!door! /!window!sensor!to!the!
top! of!the!door/window! on! the! fixed! frame! and! the! magnet! to!the!movable!
part!(door!or!window).!Make!sure!that!the!magnet!is!located!not!more!than!6!
mm!(0.25!in. ) ! f ro m!t h e! sensor’s!marked!side.!!
The!sensor!should!be!mounted!on!the!fixed!surface!and!the!magnet!on!
the!moving!surface !( se e !Figure!3b).!
!
Fig.'3a'–'Attaching'the'Adhesive'Tape!
1.!Peel!away!the!
release!liners!from!
the!two!strips!of!
double#sided!
adhesive!tape!and!
attach!to!the!device!
and!magnet.!
$
!
!
!
Fig.'3b'–'Mounting'on'Fixed'
Surface!
2.$Align!the!device! with !th e!magne t!
according!to!the!location! marks!
and!fasten!the!device!and!magnet!
to!the!mounting!surface.!The!
sensor!should!be!mounted!on!the!
fixed!surface!and!magnet!on!the!
moving!surfa ce .!
A.$Double#sided!adhesive!tape!
B.!Magnetic ! l oc at i on! ma rk s!
Note:)Silicone) can) also )be) used) to)
securely)mount)the)device)and)
magnet.)
'
4.2 Sensor Testing
Close!the!door!or!window,!thus!restoring!it!to!the!undisturbed!state
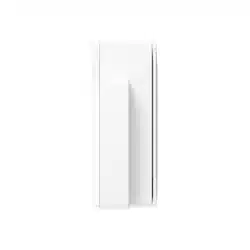
5. BATTERY REPLACEMENT
!
Fig.'4a'–'Opening'Batter y'Cover!
!
Fig.'4b'–Replacing'Battery!
1.!Press!down!on!the!battery!cover!and!slide!in!the!direction!shown!in!
Figure!4a!to!open.!
2.!Pull!back!on!the!clip!and!remove!the!battery!as!shown!in!Figure!4b.!
3.$Insert!the!new!battery!into!the!sensor!while!observing!battery!polarity!
(see!Figure!4b).!
4.!Close!the!battery !co v e r.!
Note:)The)required)battery)is)CR2032)Lithium)3V,)manufactured)by)
VARTA.)
Activation
strip
A
1
2
B
1
2
Clip
Tamper
switch
!
2! D#305291!MCT#340!SMA!In s ta lla tion !In s tru c tio n s!
6. REBOOTING THE SENSOR
You!can!reboot!the!sensor,!as!follows:!
1.!Remove!the!battery!cover.!
2.!Press!and!release!the!tamper!switch!for!1!to!2!sec.!(see!Figure!4b).!
3.!Close!the!battery!cover.
7. DEFAULTING THE SENSOR
CAUTION!!The!defaulting!process!removes!the!device!from!the!network!
and!enables!re#pairing.!
Open!the!battery!cover!and!pull!back!the!clip!to!remove!the!battery!(see!
Figure!4).!
1.$ Press!and!hold!down!the!sensor’s!tamper!switch!(see!Figure!4b).!
2.$ Insert!the!battery!into!the!sensor!while!observing!battery!polarity!(see!
Figure!4b).!
3.$ Release!the! tamper!switch! within!4! seconds!(the! LED! blinks! 3!time s!
every!5!seconds).!
4.$ To!re#pair!the!sensor,!follow!the!instructions!in!section!3.!
!
8. TROUBLESHOOTING
If! you! encounter! one! of! the! follow in g ! problems! with! the! MCT#340! SM A,!
perform!the!suggested!remed y :!
Problem$
Remedy$
Attempt!to!pair!the!sensor!
is!unsuccessful.!
Make!sure!that!the!sensor!has!been!
defaulted!and!is!set!to!pairing!mode!(see!
section!4).!
Make!sure!the!security!panel!supports!the!
MCT#340!SMA.!
The!sensor!and!the!panel!
do!not!communicate.!
Perform!the!signal!strength!testing!procedure!
described!in!the!security!panel!installation!
manual.!Make!sure!that!the!signal!is!
sufficient.!If!necessary,!replace!the!sensor’s!
battery.!
!
Problem$
Remedy$
The!sensor!sends!a!Low!
Battery!indication.!
To!ensure!continuous!proper!operation,!replace!
the!battery!within!two !w e e k s!o f!th e !fir st!L o w!
Battery!indication.!
Panel!does!not!arm!
because!of!an!
unrecognized!sensor!
malfunction!
Consult'with'your'installer'or'system'
provider'before'you'disable'a'zone.'
Disable!the!detector!zone!(see!the!security!
panel!user!manual).!Note!that!disabling!a!
sensor!zone!lowers!the!overall!security!level!of!
your!system.!
9. COMPLIANCE WITH STANDARDS
FCC$
This!device!complies!with!Part!15!of!the!FCC!Rules!and!RSS#210!of!Industry!and!
Science!Canada.!Operation!is!subject!to!the!following!two!conditions:!(1)! This!device!
may!not!cause!harmful!interfe rence,!and!(2) !this!device! must!accept!any! interference!
received,!including!interference!that!may!cause!undesired!operation.!
This!device!complies!with!Industry!Canada!license#exempt!RSS!standard(s).!Operation!is!
subject!to!the!following!two!conditions:!(1)!this!device!may!not!cause!interference,!and!(2)!
this!device!must!accept!any!interference,!including!interference!that!may!cause!undesired!
operation!of!the!device.!
Le!présent!appareil!est!conforme!aux!CNR!d'Industrie!Canada!applicables!aux!
appareils!radio!exempts!de!licence.!L'exploitation!est!autorisée!aux!deux!conditions!
suivantes!:!(1)!l'appareil!ne!doit!pas!produire!de!brouillage,!et!(2)!l'utilisateur!de!
l'appareil!doit!accepter!tout!brouillage!radioélectrique!subi,!même !si!le !bro uilla ge !es t!
susceptible!d'en!compromettre!le!fonctionnement.!
!
!
!
!
FCC ID: WP3MCT340SMA
IC: 1467CMCT340SMA $
!
USA/CANADA$
Complies!with:!
USA: CFR 47 part 15, Canada: RSS 210.!
ANSI/UL!634,!ULC!–!S306!
FCC$Compliance$Statement$
This!device!has!been!tested!and!found!to!comply!with!the!limits!for!a!Class!B!digital!
device,!pursuant! to! Part!15! of! the!FCC!Rules.! These!limits!are! designed! to!provide!
reasonable! protection! against! harmful! interference! in! residential! installation s.! This!
equipment! generates! uses! and! can! radiate! radio! frequency! energy! and,! if! not!
installed! and! used! in! accordance! with! the! instructions,! may! cause! ha rm ful!
interference!to!radio!and!television!reception.!
However,! there! is! no! guarantee! that! interference! will! not! occur! in! a! particular!
installation.! If! this! device! does! cause! such! interference,! which! can! be! v erifie d! by!
turning!the!device!off!and!on,!the!user!is!encouraged!to!eliminate!the!interference!by!
one!or!more!of!the!following!measures:!
–!Re#orient!or!re#locate!the!receiving!antenna.!
–!Increase!the!distance!between!the!device!and!the!receiv e r.!
–! Connect! the! device! to! an! outlet! on! a! circuit! different! from! the! one! that! supplies!
power!to!the!receiver.!
–!Consult!the!dealer!or!an!experienced!radio/TV!technician.!
WARNING!) Changes) or) modifications) to) this) unit) not) expressly) approved) by) the)
party) responsible) for) compliance) could) void) the) user’s) authority) to) operate) the)
equipment.!
Reed$Switch$Positions$
Note:)Dimensions)in)the)following)tab le )a re )ty pic a l.)
Wood!
Supports!
Iron!
!
Figure'5'H'Range'Coverage'Directions'
Opening!
Closing!
Direction!
Opening!
Closing!
15!mm!
14!mm!
X!
13!mm!
12!mm!
29!mm!
24!mm!
Y!
11!mm!
8!mm!
37!mm!
31!mm!
Z!
11!mm!
8!mm!
!
9. PRODUCT LIMITATIONS
Visonic! Ltd.! wireless! systems! are! very! reliable! and! are! tested! to! high!
standards.! However,! due! to! low! transmitting! power! and! limited! range!
(required! by! FCC! and! other! regulatory! authorities),! there! are ! some!
limitations!to!be!cons id e re d :!
A.!Receivers!may! be!blocked! by!radio! signals!occurring!on! or!near!their!
operating!frequencies,!regardless!of!the!digital!code!used.!
B.!A!receiver!responds!only!to!one!transmitted!sign al!at!a!time .!
C.! Wireless! devices! should! be! tested! regularly! to! determine! whether!
there!are!sources!o f!in te r fer e n ce !a n d !to !p r ote c t!a g a in s t!fa u lts.!
The$user$is$cautioned$that$changes$or$modifications$to$the$unit,$n o t$
expressly$ approved$ by$ Visonic$ Ltd.,$ could$ void$ the$ user’s$ FCC$ or$
other$authority$to$operate$the$equipment.$
!
!
!
W.E.E.E.$Product$Recycling$Declaration!
For!information!regarding!the!recycling!of!this!product!you!must!contact!the!company!from!which!you!orignially!purchased!it.!If!you!are!discarding!this!product!and!not!returning!it!for!
repair!then!you!must!ensure!that!it!is!returned!as!identified!by!your!supplier.!This!product!is!not!to!be!thrown!away!with!everyday!waste.!
Directive!2002/96/EC!Waste!Electrical!and!Electronic!Equipment.!
!
Y
x
Y
Z
Y
X
X
Z
Z

!
D#301998! 3!
$
EMAIL: info@visonic.com!
INTE R NET:!w ww.viso n ic.c o m!
©VISONIC!LTD.!2014!!!!!!!MCT#340!SMA!!!!!!!D#305291!!!(R ev ,!10/14 )!!!!!!!Please!refer!to!the!separate!Warranty!statement!
$
$
!
!