Loading ...
Loading ...
Loading ...
TO BEGIN JUICING
1. Wash your fruits and vegetables thoroughly before juicing.
Root veggies should be double-checked to ensure all of the soil is removed
to avoid getting grit in your yummy juice.
2. At this point, your juicer should be assembled properly and ready for use. Refer back to the
assembly instructions if this is not the case. Always place the juice jug (or a glass) underneath
the spout and check that the pulp collector is in position before you begin. If you forget,
there’s a good chance your juice will end up on your countertop!
3. Plug unit in. Make sure the knob is on the OFF position. Raise the safety locking arm up to the
lid. Note: the lights only turn on when you select a speed.
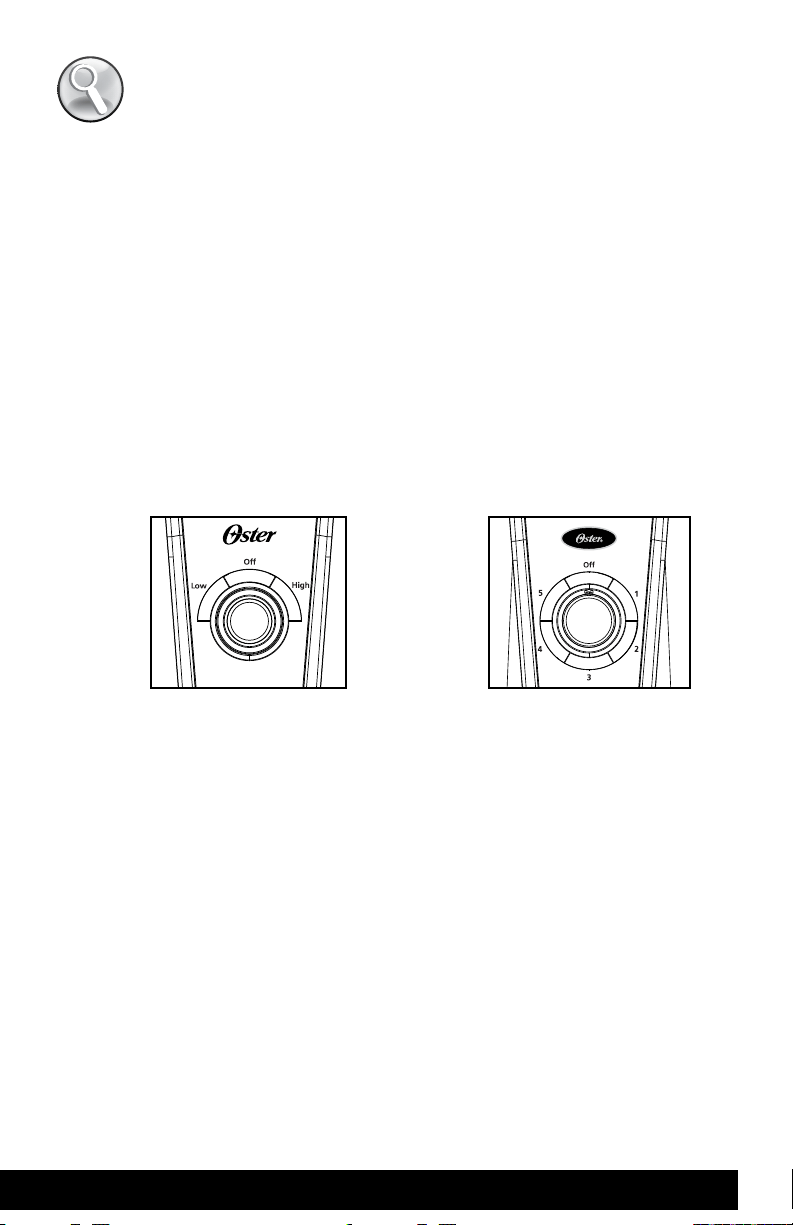
4. Turn the control knob to the RIGHT to your desired speed (from 1 to 5 for model 9020 or Low
or High for model 9010). The juicer will immediately start to operate at the selected speed
indicated on the speed dial. Speed can be changed at any time during the juicing process by
adjusting the control knob.
5. As the motor is running, begin placing food into the feed chute and use the food pusher to
guide food down into the machine. For maximum extraction, slow controlled pushing of the
food pusher down the chute is ideal.
6. As fruit and veggies are processed, you’ll start to see juice will owing into the juice jug.
Simultaneously, the separated pulp will accumulate in the pulp collector. The pulp collector
can be emptied during the juicing process by turning the juicer control knob to the OFF
position and then carefully removing the pulp collector to clean. Replace the empty pulp
collector back into position and get right back to juicing.
WARNING
Never use fingers, hands or utensils to push food down the chute.
It is important to ONLY use the food pusher to avoid injury.
Models
with
2 speeds
Models
with 5
speeds
www.oster.com 6
Loading ...
Loading ...
Loading ...