Loading ...
Loading ...
Loading ...
7
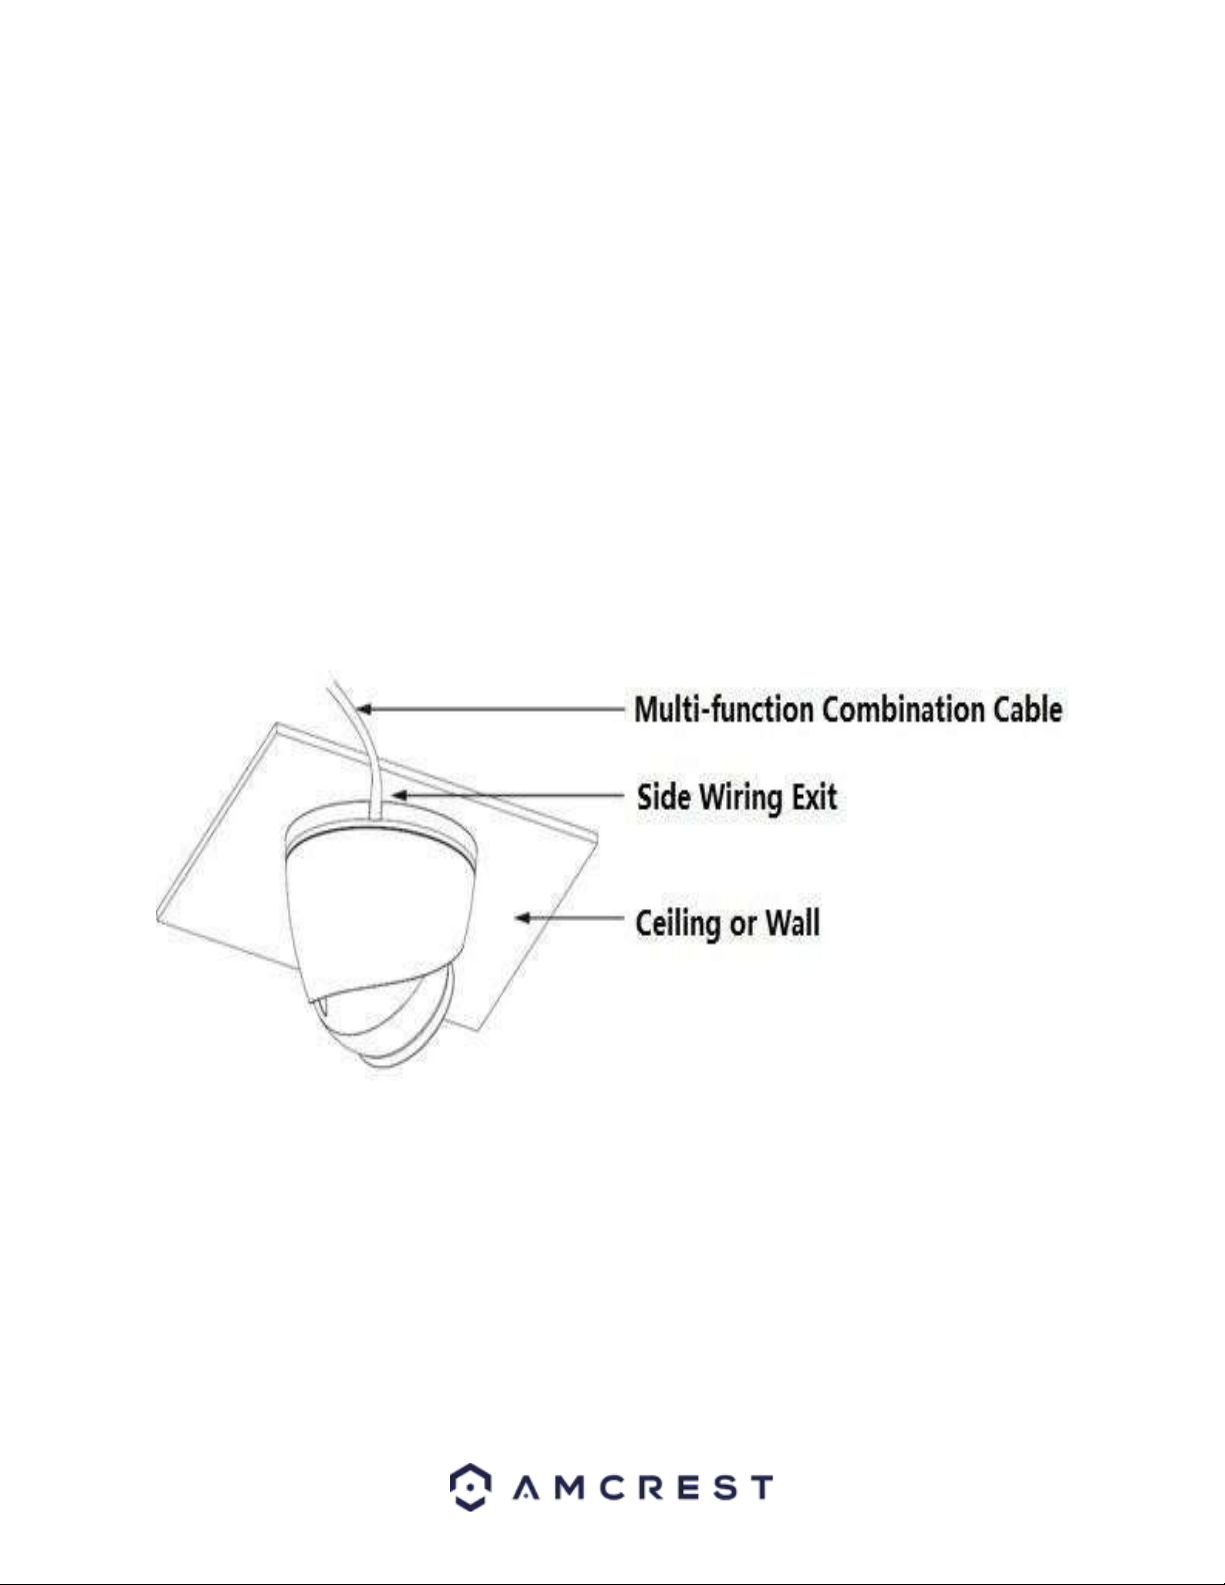
Figure 2-2 (b)
Note: Due to specific hardware limitations within your camera it is important to note that these devices will not be
able to automatically pan/tilt or pivot in either the app or via the web UI on a computer. For this reason, it is
important to make sure to mount the cameras properly and manually position them as efficiently as you can to the
areas you wish to monitor.
To install the camera onto a wall, follow the steps below:
1. Place the installation position sticker included with your camera to the mounting surface.
2. Use a drill to drill the placement holes on the position sticker and insert the included wall anchors into the holes.
3. Use the included torx tool to separate the camera. Remove the top portion as well as the camera from bottom
installation bracket.
Side Wiring Installation
1. Run the wiring of the camera through the side wire exit groove on the side of the installation bracket and pull
firmly and lay the wire flat to the surface.
2. Align the Installation bracket to the installation holes on the positioning sticker.
3. Use a screwdriver to secure the installation bracket and wiring to the mounting surface. Secure tightly.
4. Place the top portion of the camera to the installation bracket. Hold and use the included torx wrench to secure.
Through the Wall Installation
1. Align the installation bracket to the installation holes on the positioning sticker.
2. Use a screwdriver to secure the installation bracket to the mounting surface.
3. Use a 1” paddle bit in the center of the positioning sticker and run the bottom wiring of the camera through.
4. Place the top portion of the camera to the installation bracket. Hold and use the included torx wrench to secure.
Loading ...
Loading ...
Loading ...