Loading ...
Loading ...
Loading ...
Built-in Cooking BEFORE OPERATING YOUR APPLIANCE 5
before operating your
appliance for the first time
TIPS & INFORMATION
tips & information
Setting the time
After electrically connecting the appliance, you must set the
time of the day before you can operate your oven.
• Aftertheappliancehasbeenelectricallyconnected
‘12:00’ will be displayed and the clock ‘indicator’
will flash.
• Tosetthetimeofdayinhoursandminutespressthe
or buttons.
5 seconds after the last change, clock
‘indicator’
will disappear, confirming the time has been set.
Once the time has been entered, the clock advances minute
by minute.
NOTE: The clock has a 24-hour display.
Preparing your appliance for the first time
• Pleaseremoveallinternalboxesandbagsfromtheoven
before operation.
• Pleasewipeouttheoveninteriorpriortooperationwith
warm soapy water and polish dry with a soft clean cloth.
Do not close the oven door until the oven is completely dry.
• Newappliancescanhaveanodourduringrstoperation.
It is recommended to ‘run in’ your oven before you cook
for the first time. Run the oven at 180°C for 30 minutes
and ensure that the room is well ventilated.
• Forapplianceswithaseparategrillcompartment,rungrill
on maximum for 15 minutes with grill door open.
Installing your oven accessories
The type of oven furniture you receive is dependant on the
model you have purchased.
1. Side racks
Separate grill wall ovens come with side racks that are to be
fitted to the smaller “grill cavity”.
These can be attached to either side in the following manner:
• Insertthelargestpegintorearaccessholeprovided.
See diagram above.
• Thenlocatethefrontpegintothefrontaccessholeand
push in firmly.
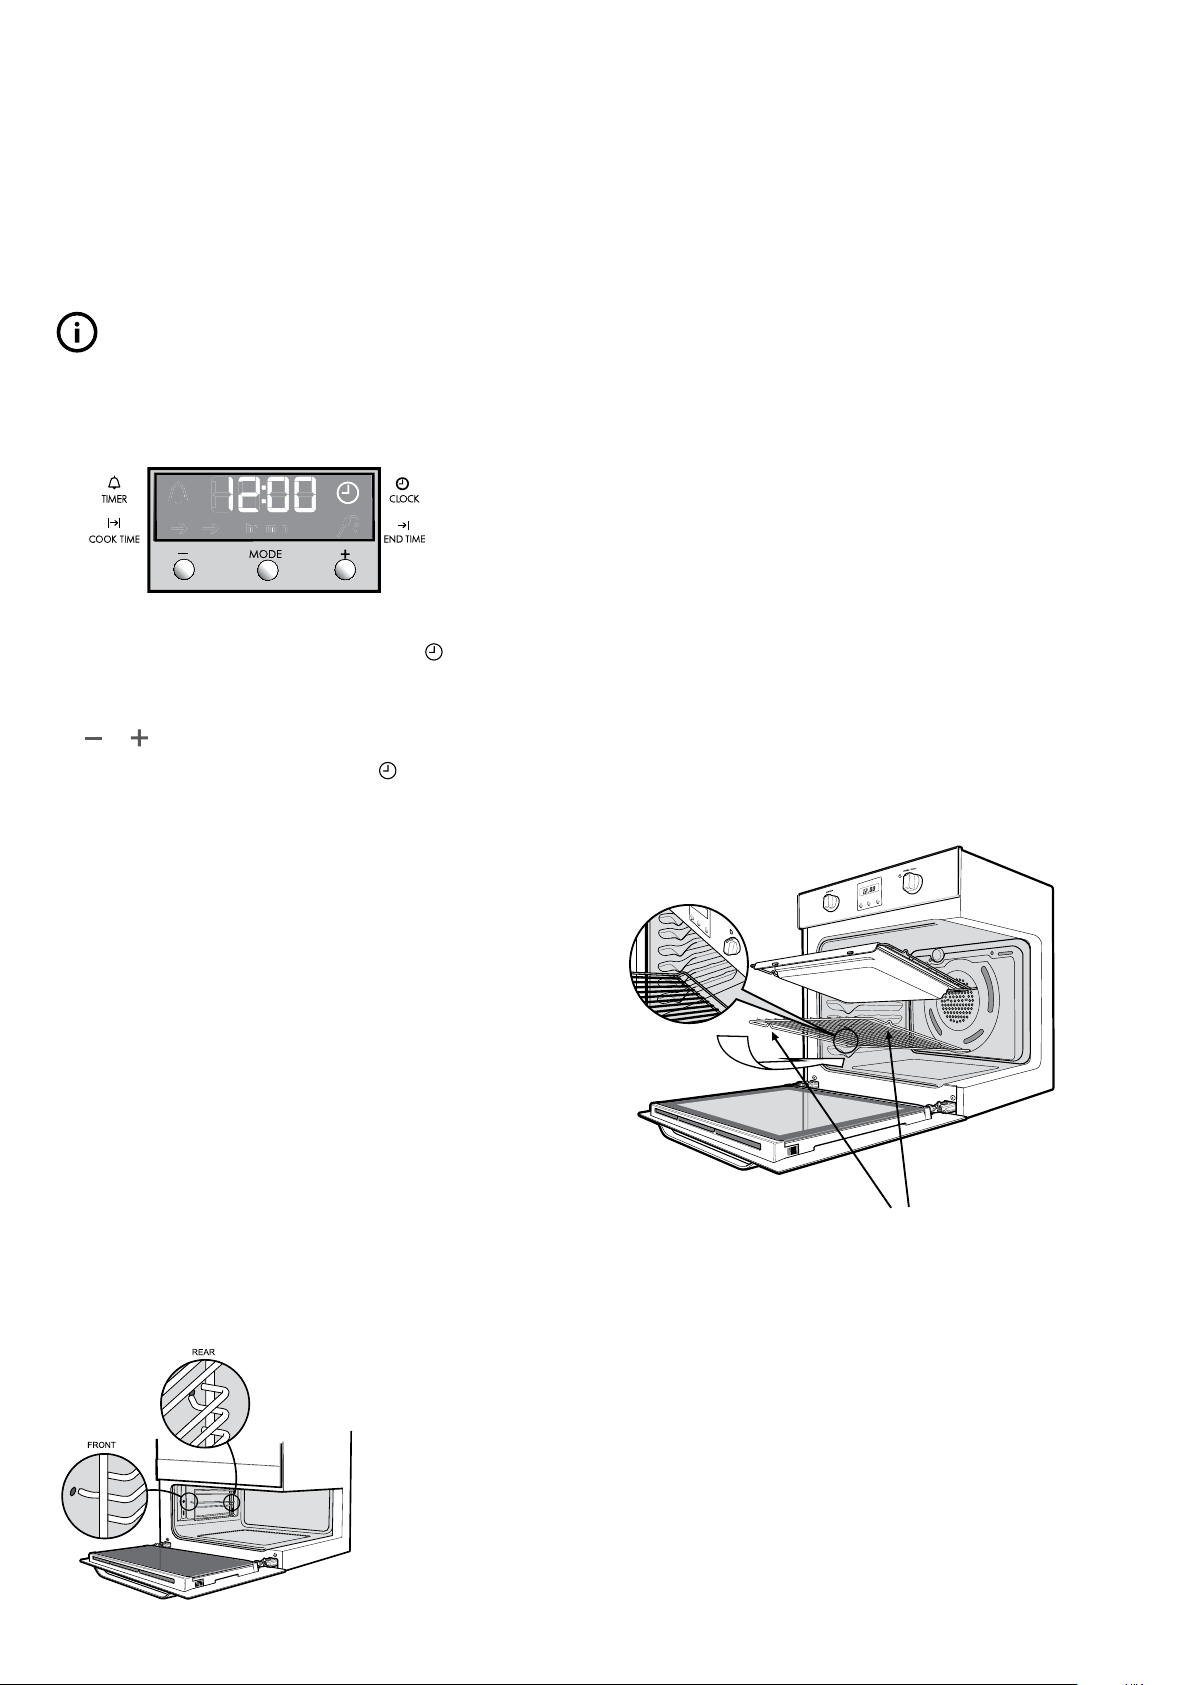
2. Shelves and trays
Your oven comes with formed “easy clean” runners.
The shelves are designed to travel freely on runners without
being pulled out accidentally. Make sure you have the shelf
in the correct orientation before you slide it in. Otherwise it
could become jammed.
• Locatetherearedgeoftheshelfintherecessbetween
2 formed runners. See diagram below.
NOTE: The top ‘Ledge’ is not a shelf position.
IMAGE
Note the orientation of the side and rear features
• Withthefrontedgeraised,begintoslidetheshelfinto
the oven. Lower the front edge as you push the shelf
completely in.
• Thegrill/bakingtrayforunderbenchovenmodelssitsinto
a wire carrier that fits into the oven exactly like the shelves.
• Thegrill/bakingtrayforseparategrillwallovenmodels
slides into the wire runners in a similar manner.
• Whenfullyinserted,theshelf/trayshouldnotinterfere
with the closed oven door.
Loading ...
Loading ...
Loading ...