Home
Search
Bookmarks
Write Review
ManualsFile
Robit
Robit User Manuals
Find
Tip search: Enter brand name + model number to search. For example:
Robit R3000W
How to find model number?
Newly added products
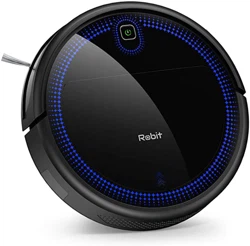
Robit R3000W V3S Robot Vacuum Cleaner High Suction, Quiet Design, Smart Sensors for Hard Floors and Pet Hair
2025-03-19
2 docs
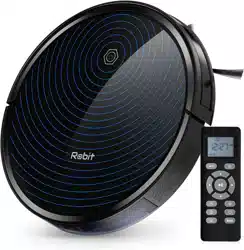
Robit R3000 Robot Vacuum Cleaner
2021-07-19
3 docs
ROBIT V7S PRO Robot Vacuum Cleaner
2021-07-19
2 docs
Popular products
ROBIT V7S PRO Robot Vacuum Cleaner
2021-07-19
2 docs
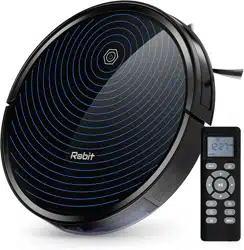
Robit R3000 Robot Vacuum Cleaner
2021-07-19
3 docs