Documents: Go to download!
User Manual
- User Manual - (English, French)
- Quick Start Guide - (English)
- Alto 9+ Spec Sheet - (English)
- Spec Sheet (web) - (English)
- What's in the box
- Overview
- Connect to your TV
- Using the Remote
- Pair with your Bluetooth device
- Set up Wi-Fi connection for music streaming
- FAQ
Table of contents
Owner's Guide Sound Bars
What's in the box

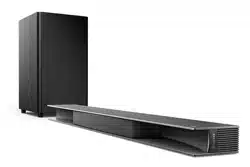
Sound Bar main unit
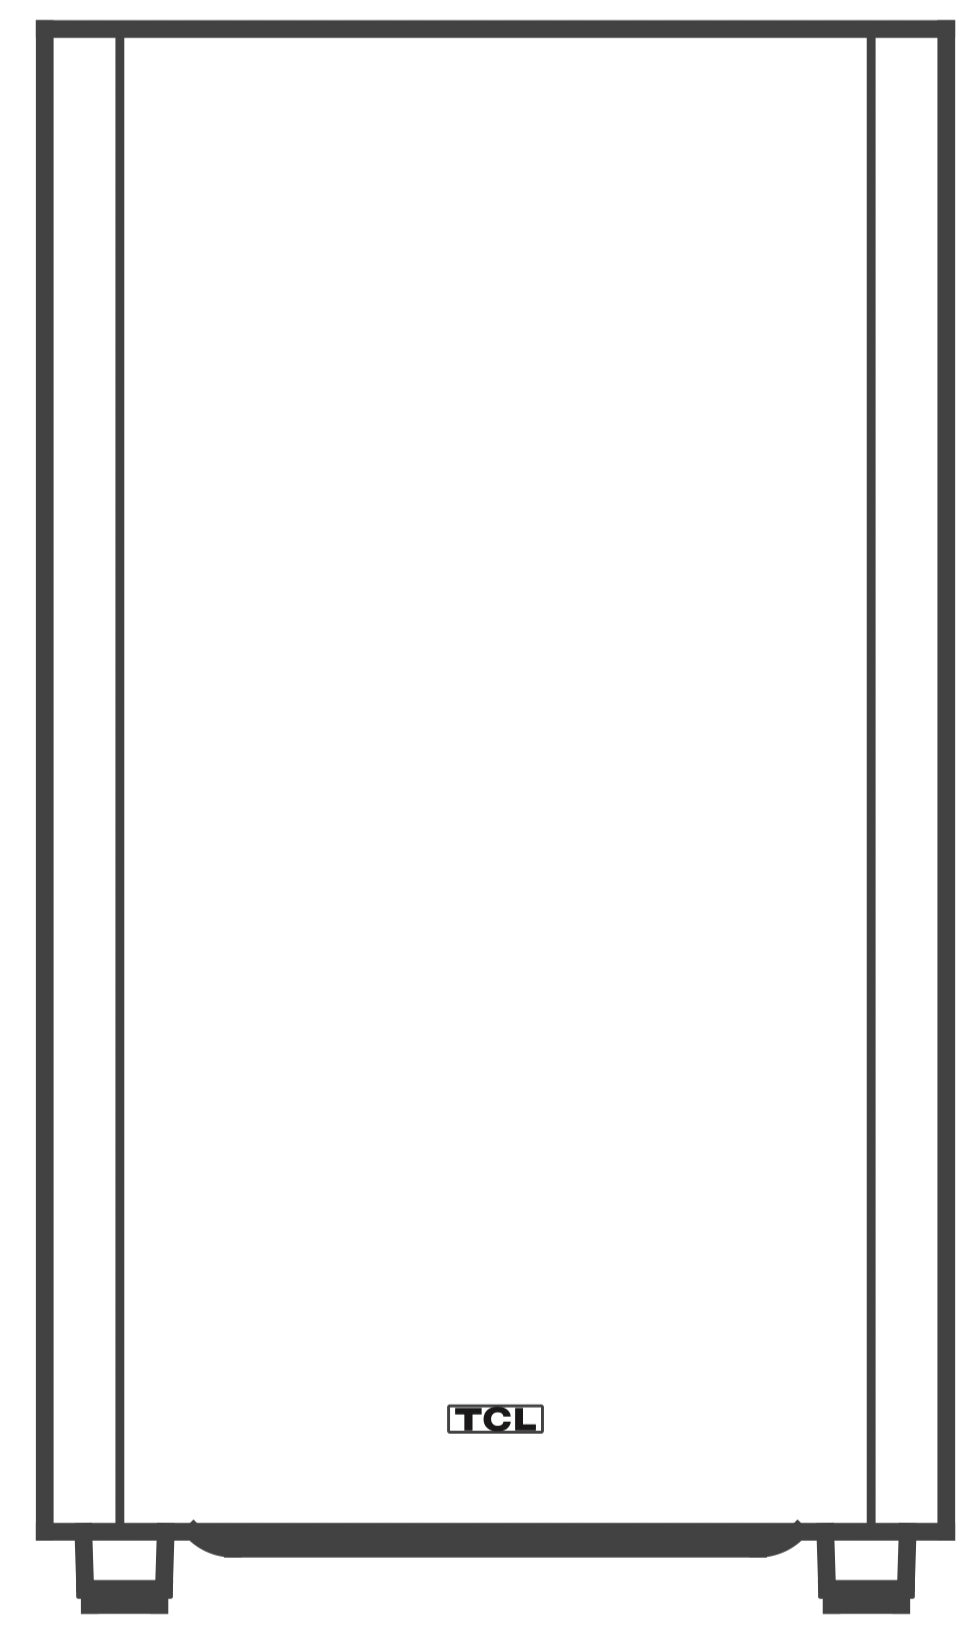
Subwoofer
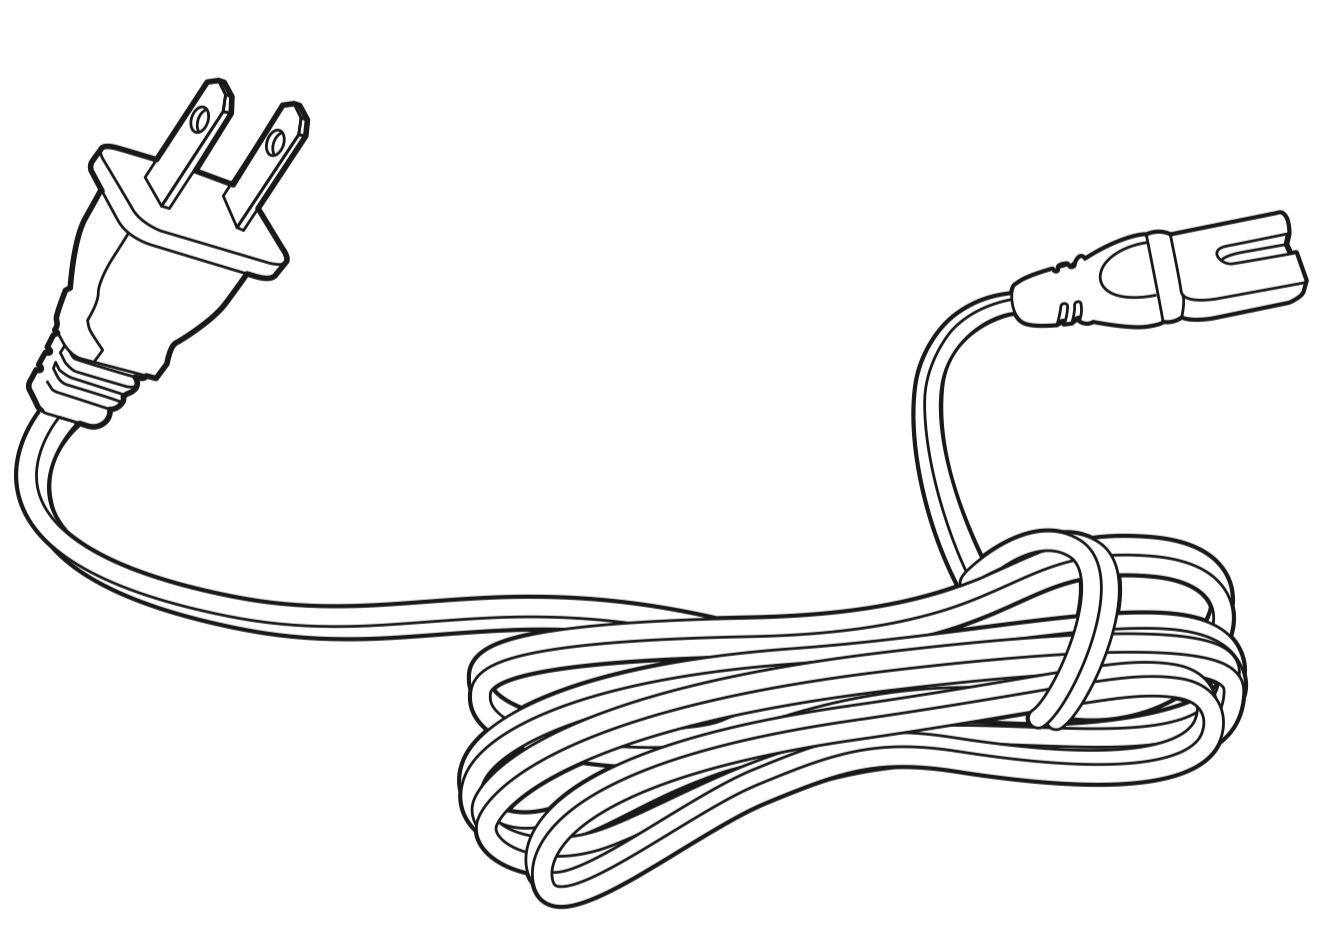
AC power cord x 2
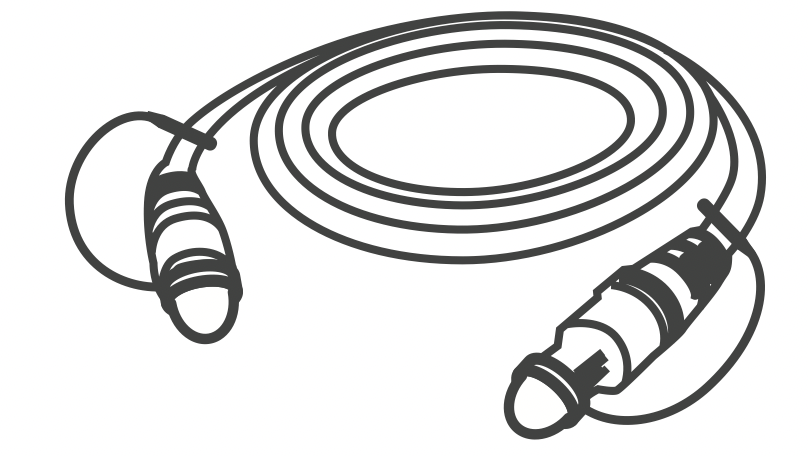
Optical cable
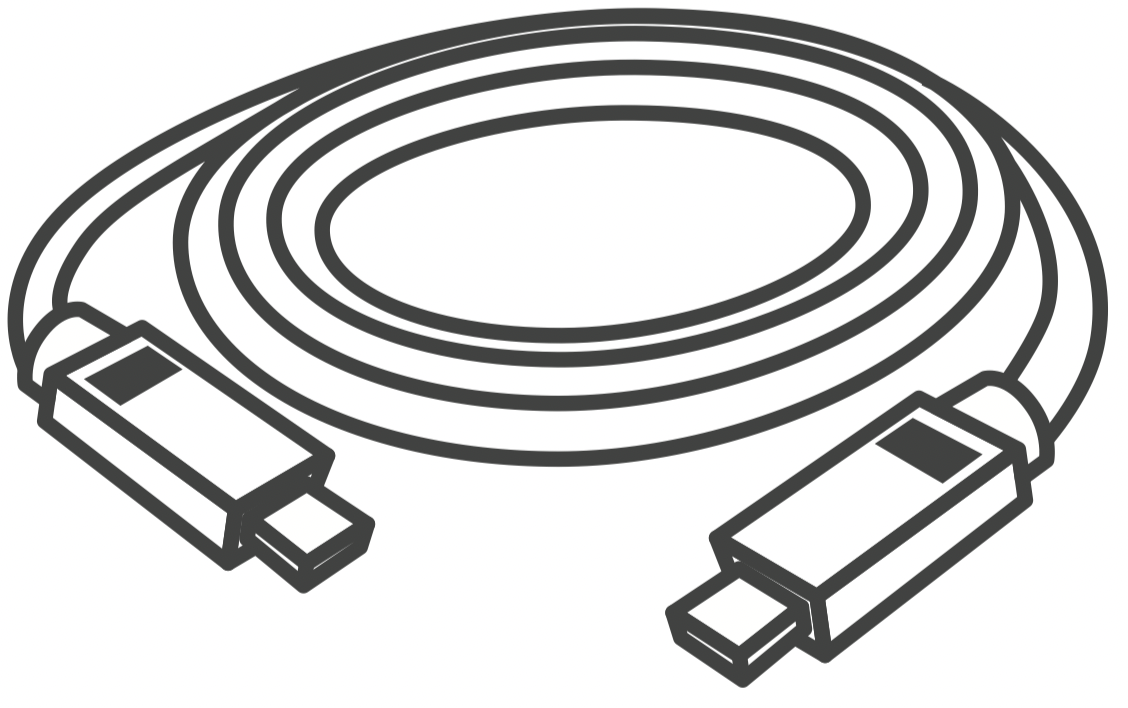
HDMI cable

Remote control

AAA battery x 2

Wall mount bracket x 2

Wall mounting screw x 2

Wall anchor x 2
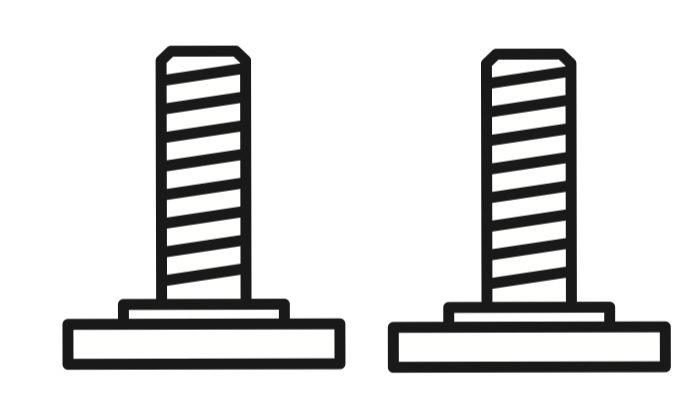
Wall mounting screw x 2

Safety leaflet

Warranty card

Quick start guide

Wall mount template
Overview
Sound Bar main unit
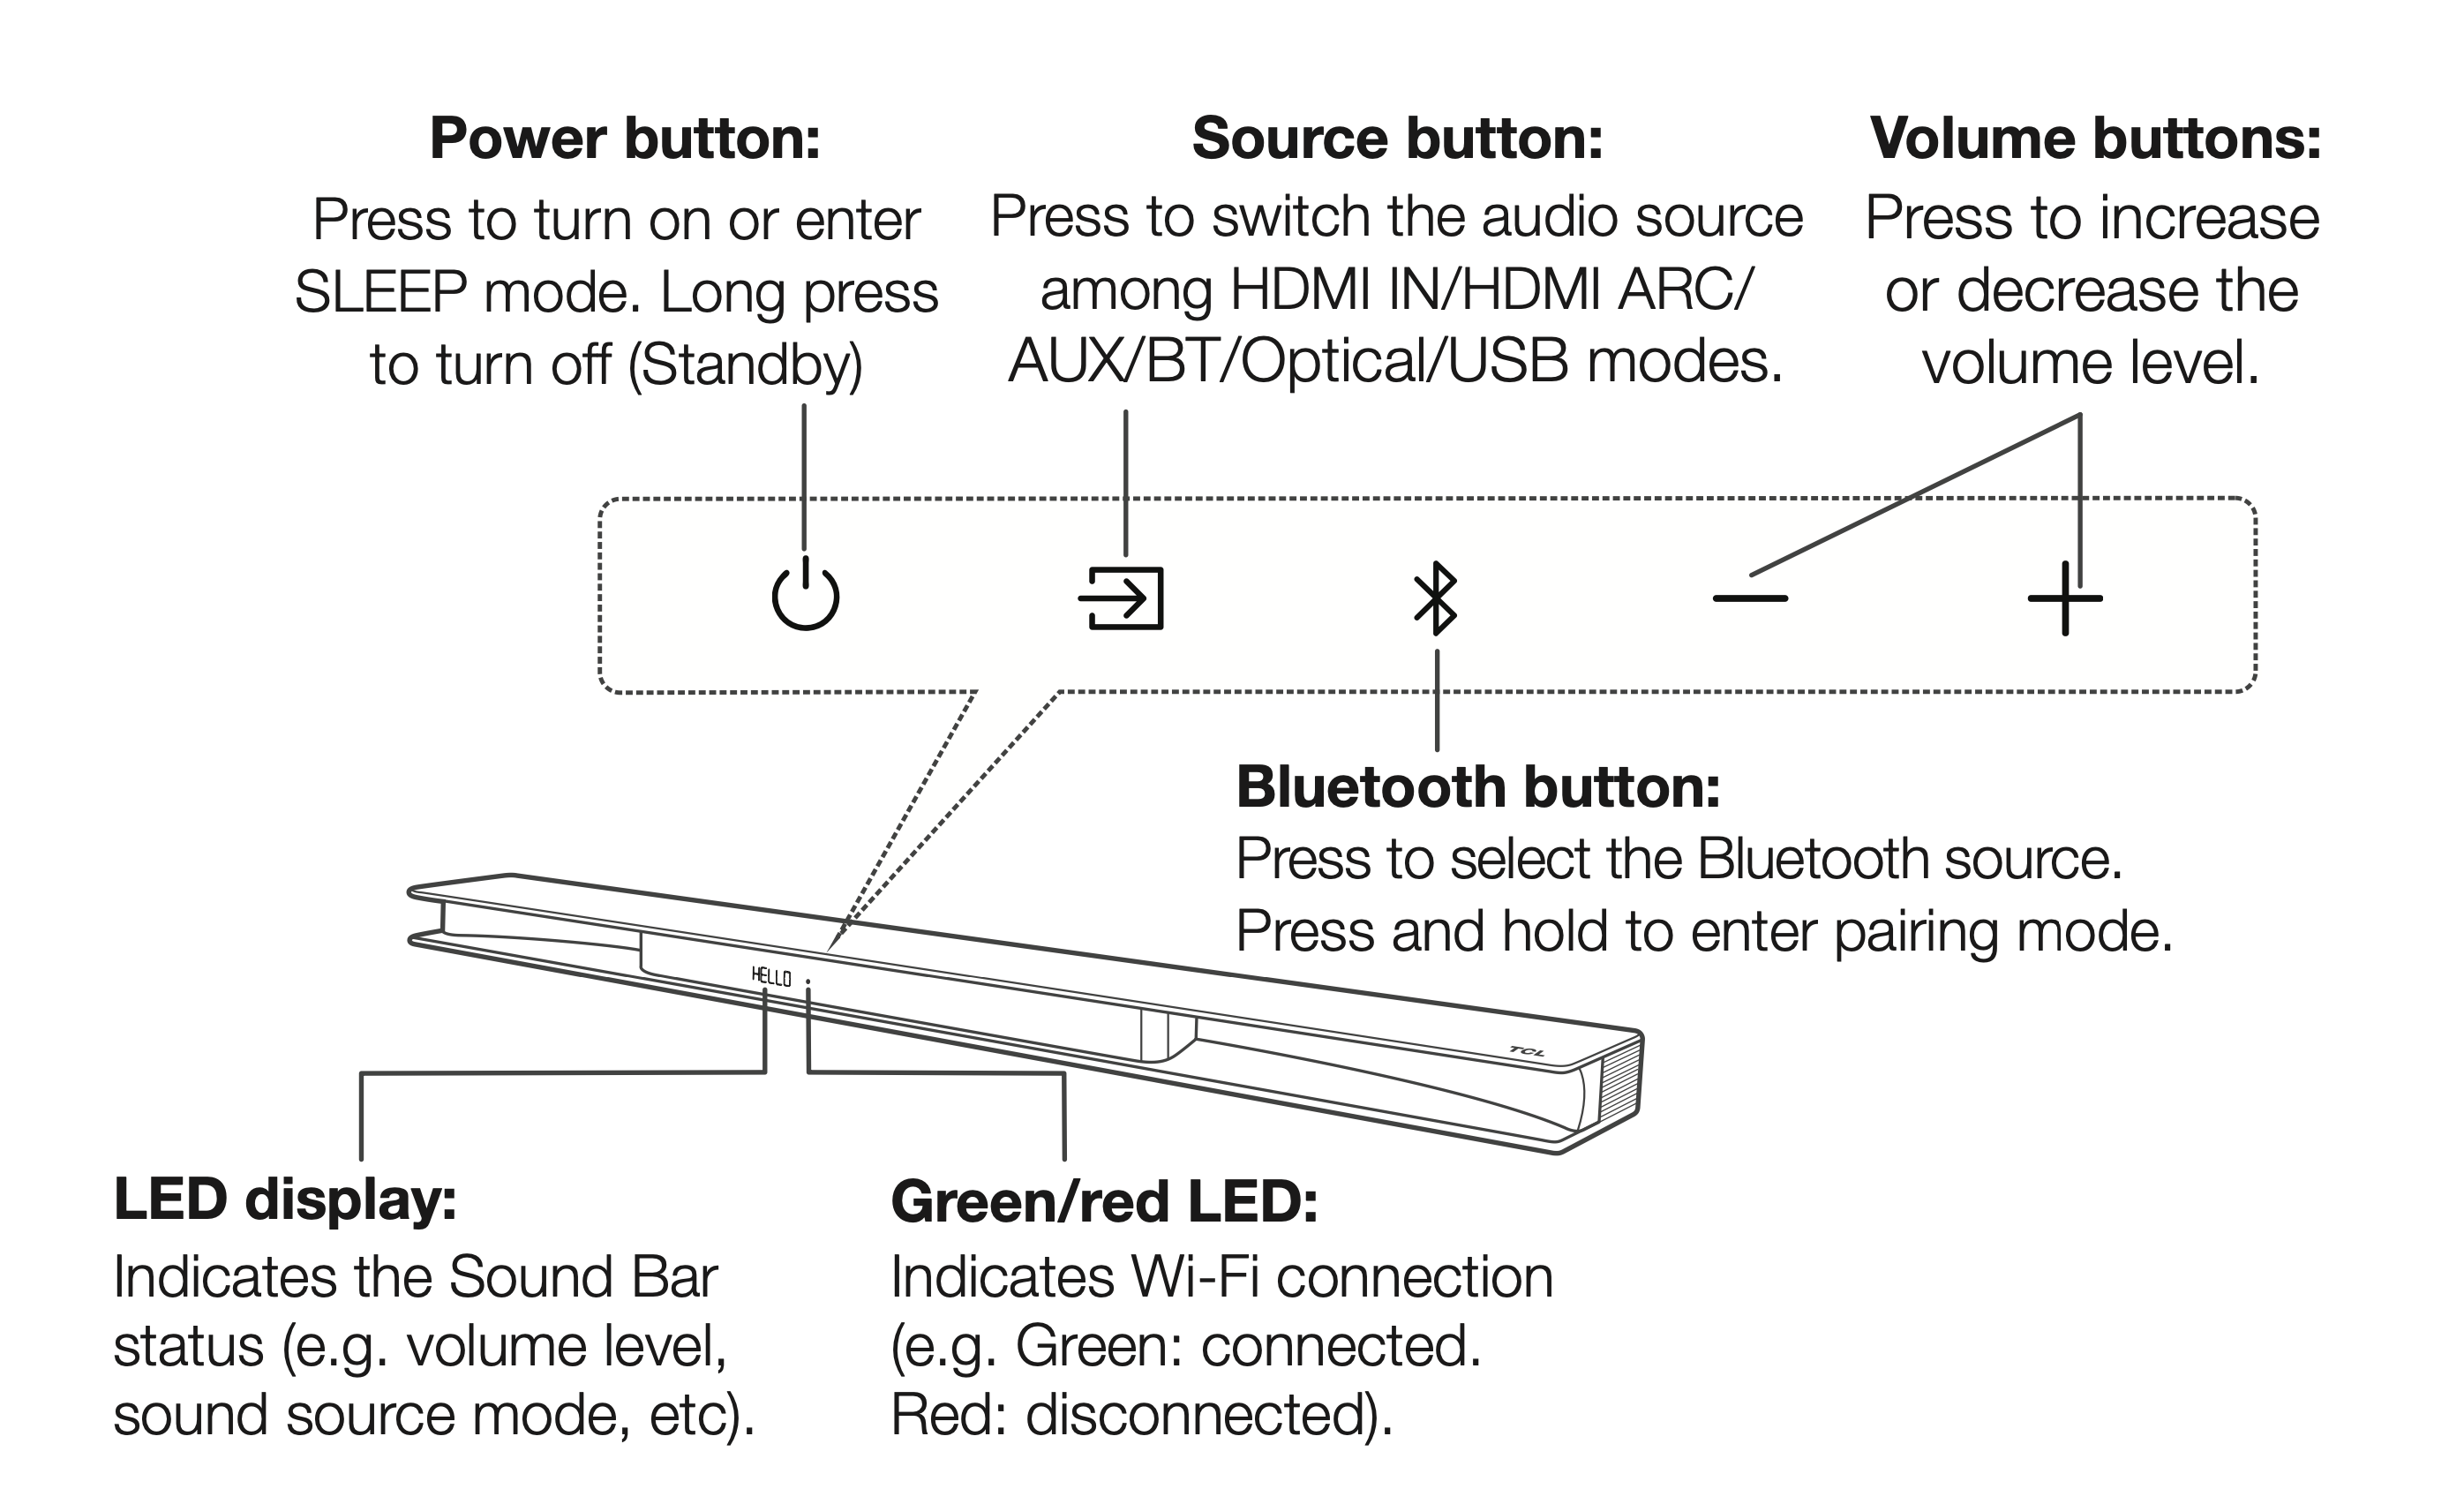
Remove the back cover of your Sound Bar

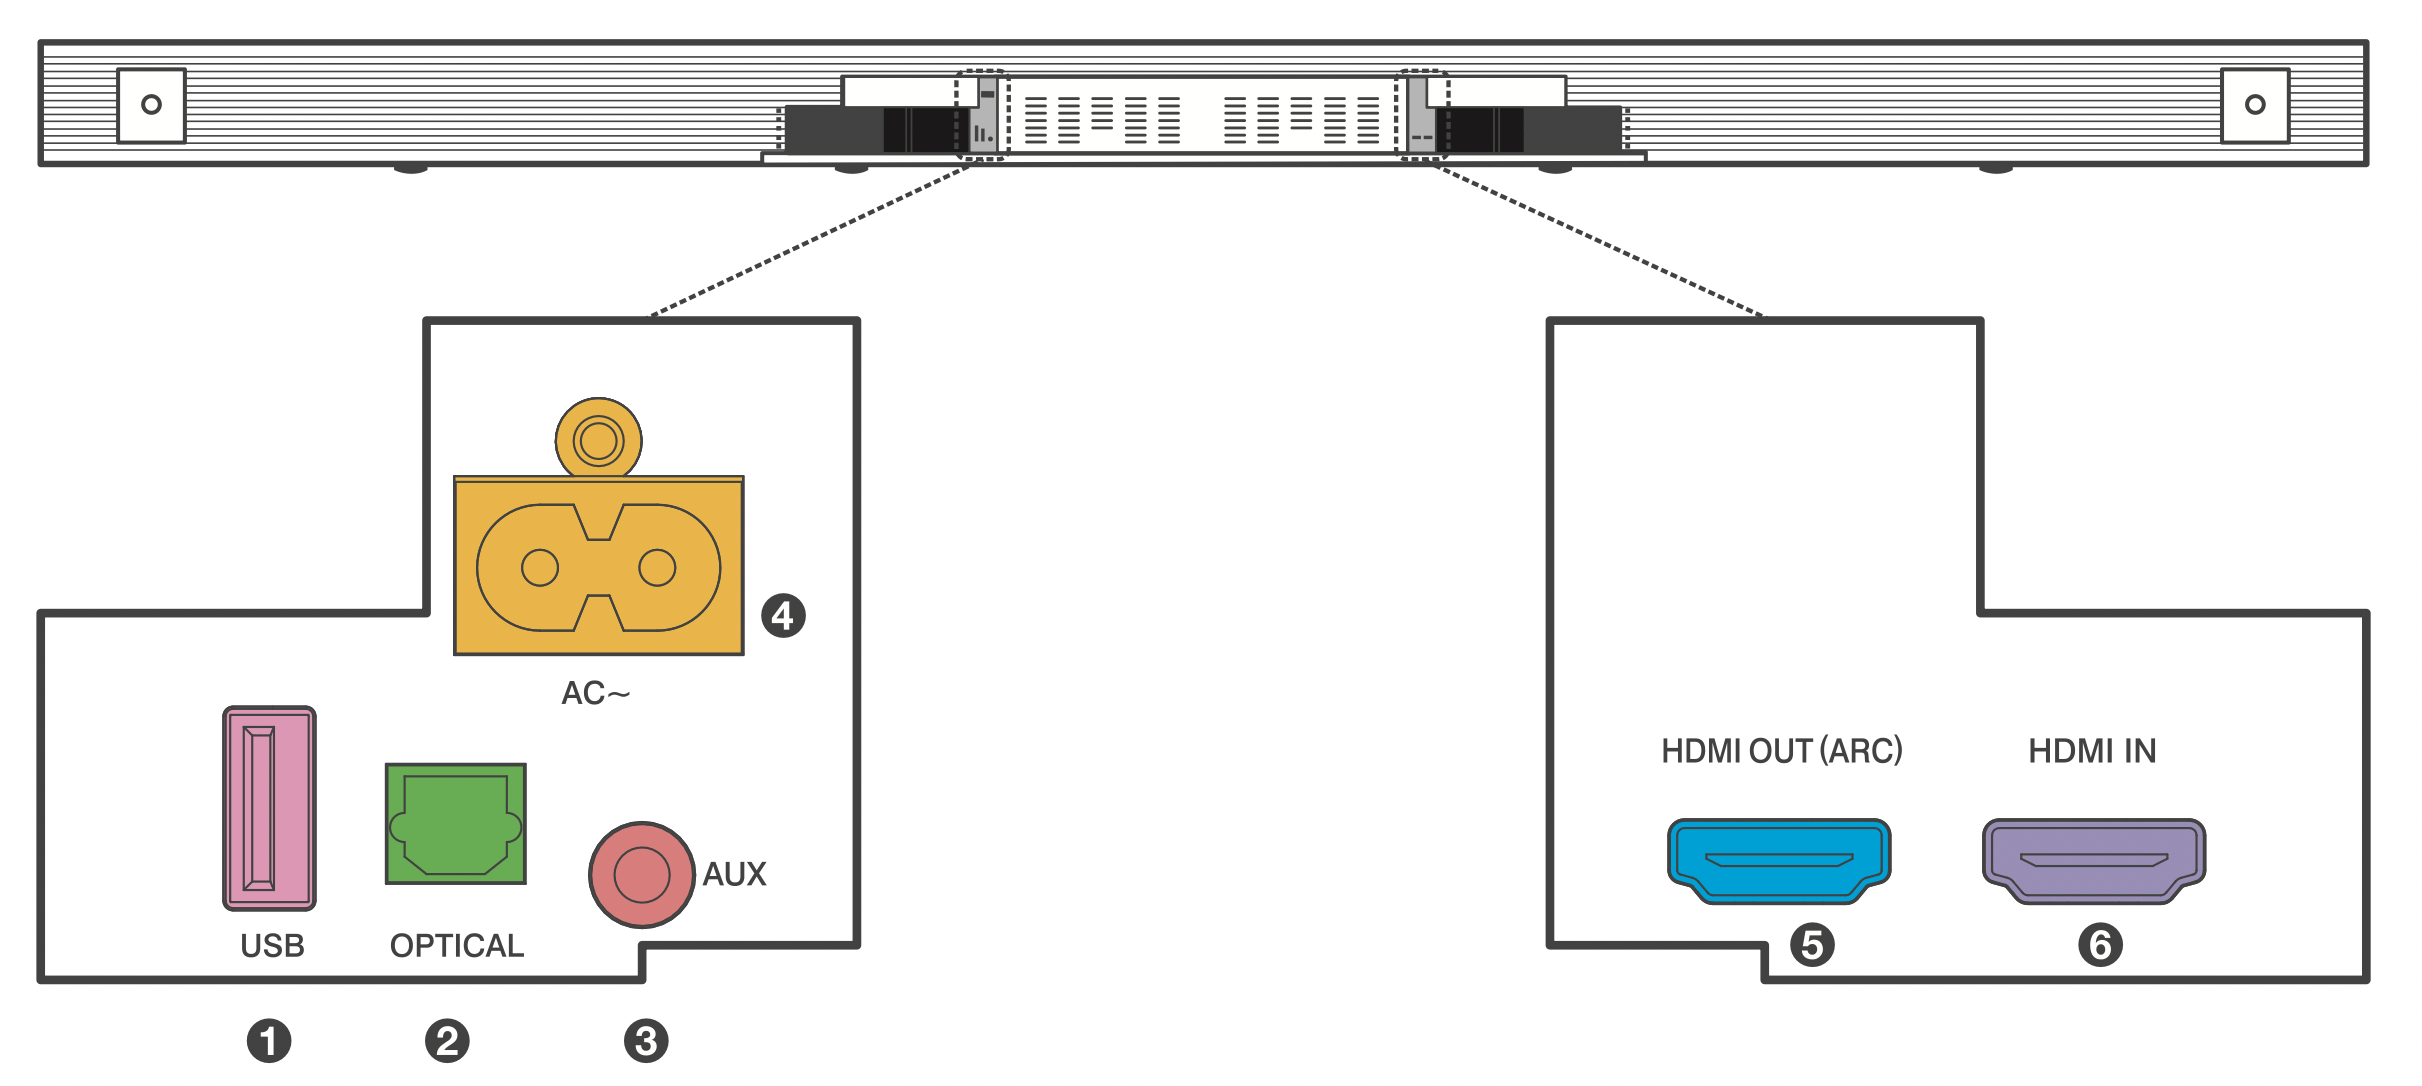
- USB Type A connector
- Optical input connector
- AUX input connector
- AC input power connector
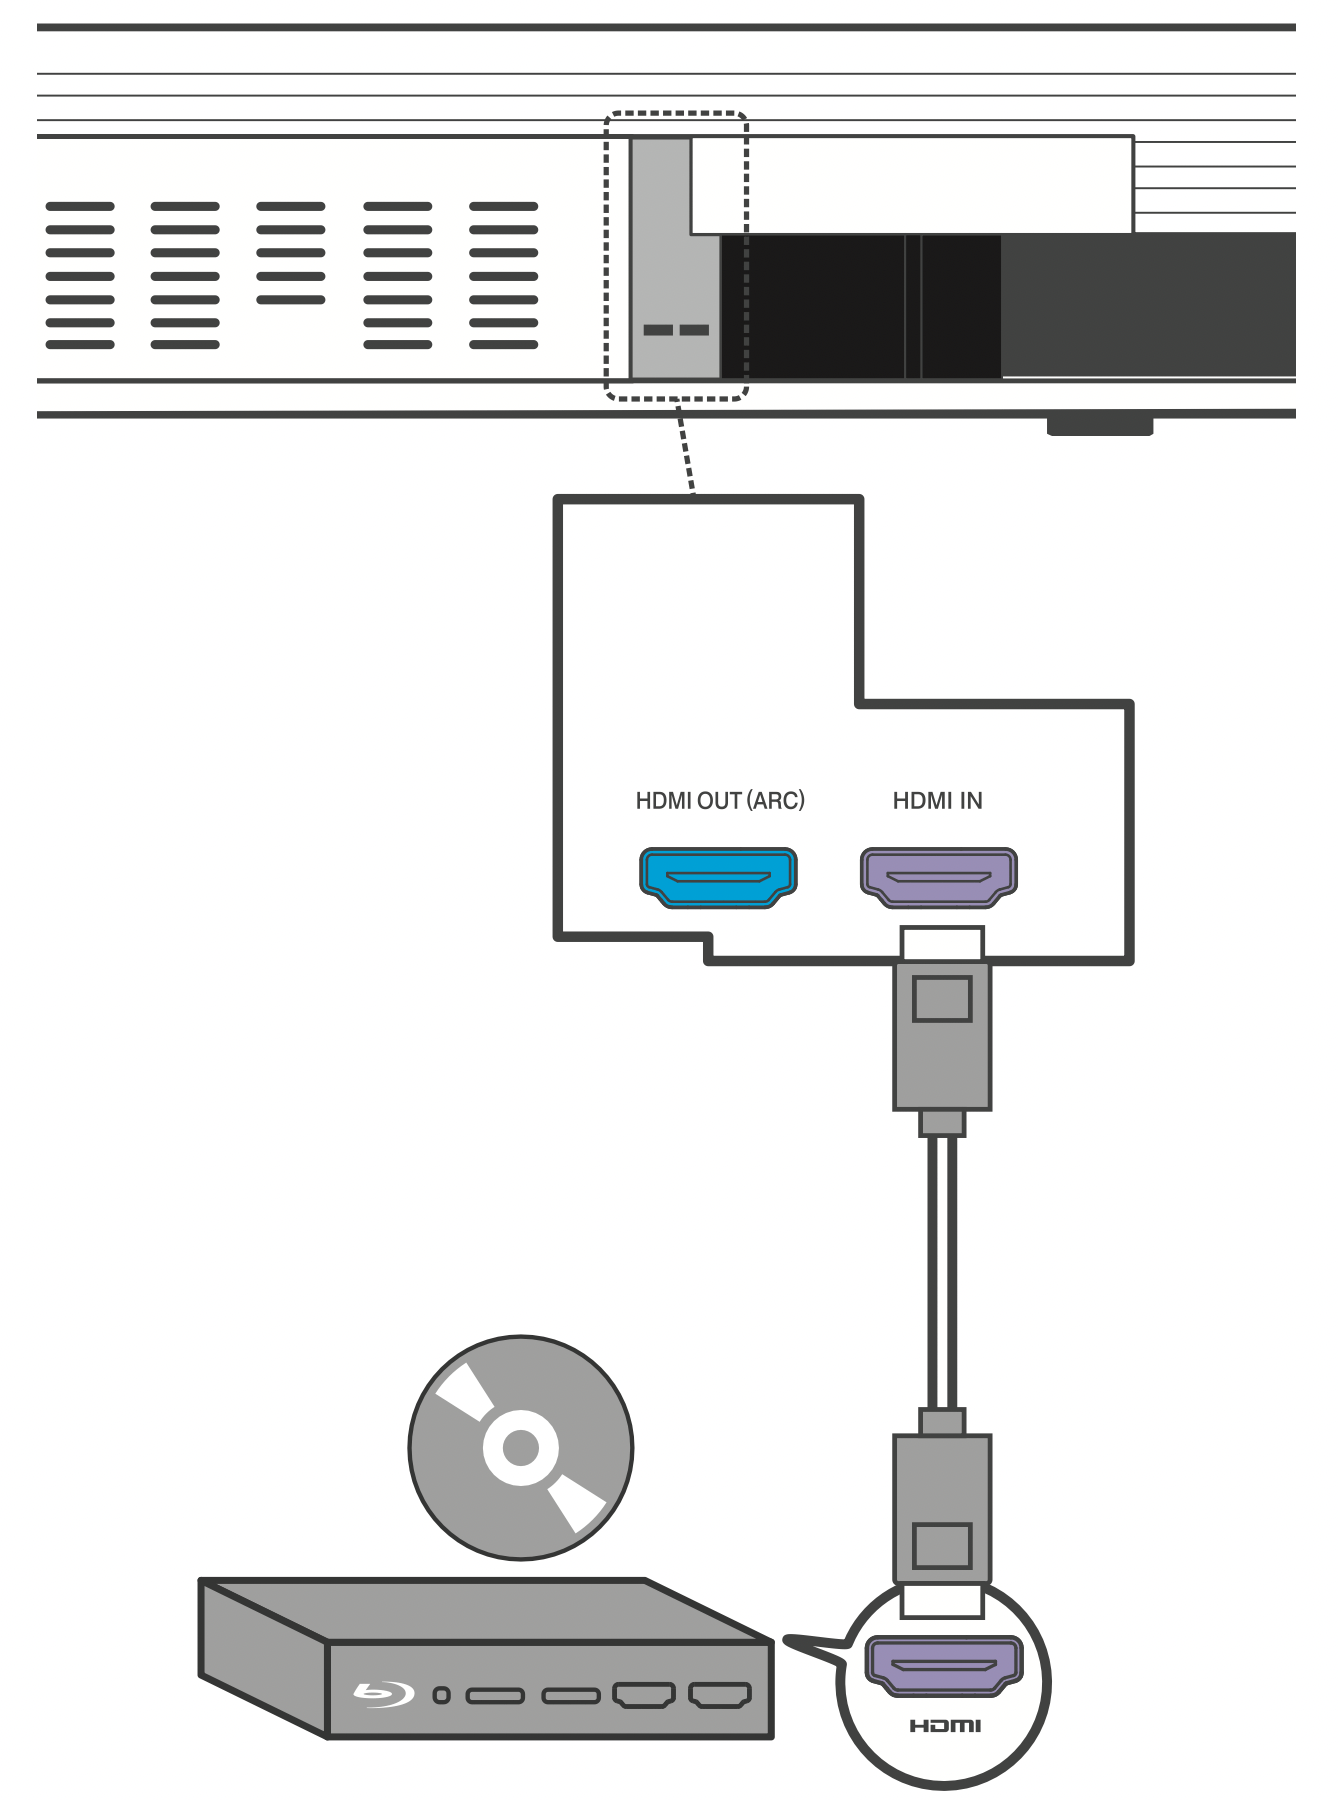
- HDMI OUT (ARC) connector
- HDMI IN connector
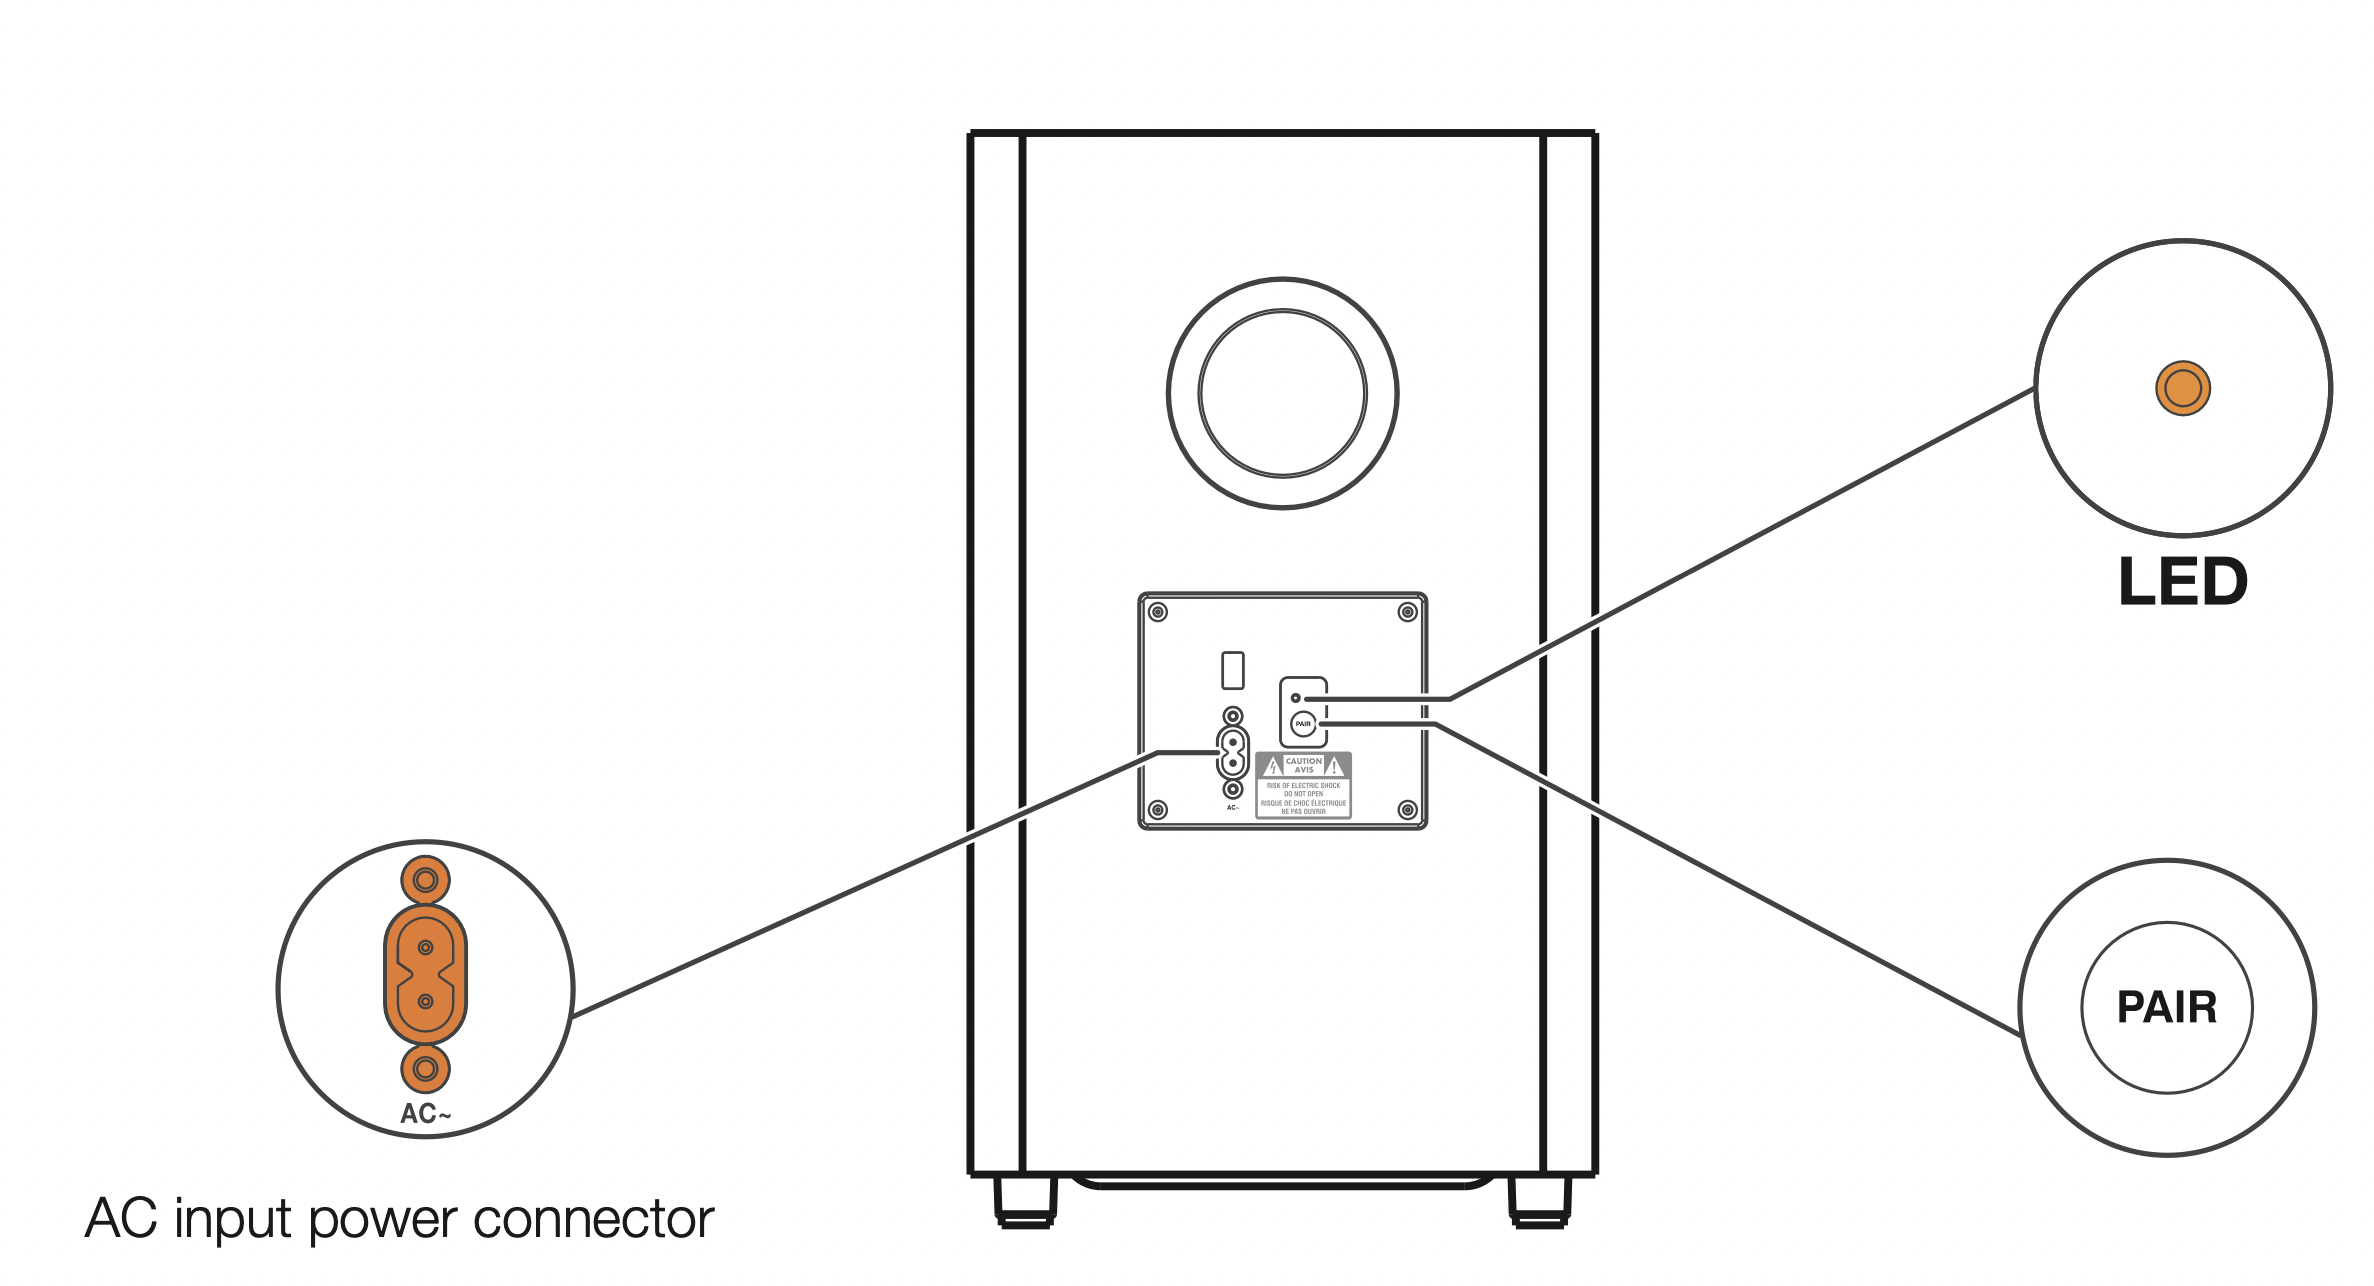
Wireless subvoofer
Connect to your TV
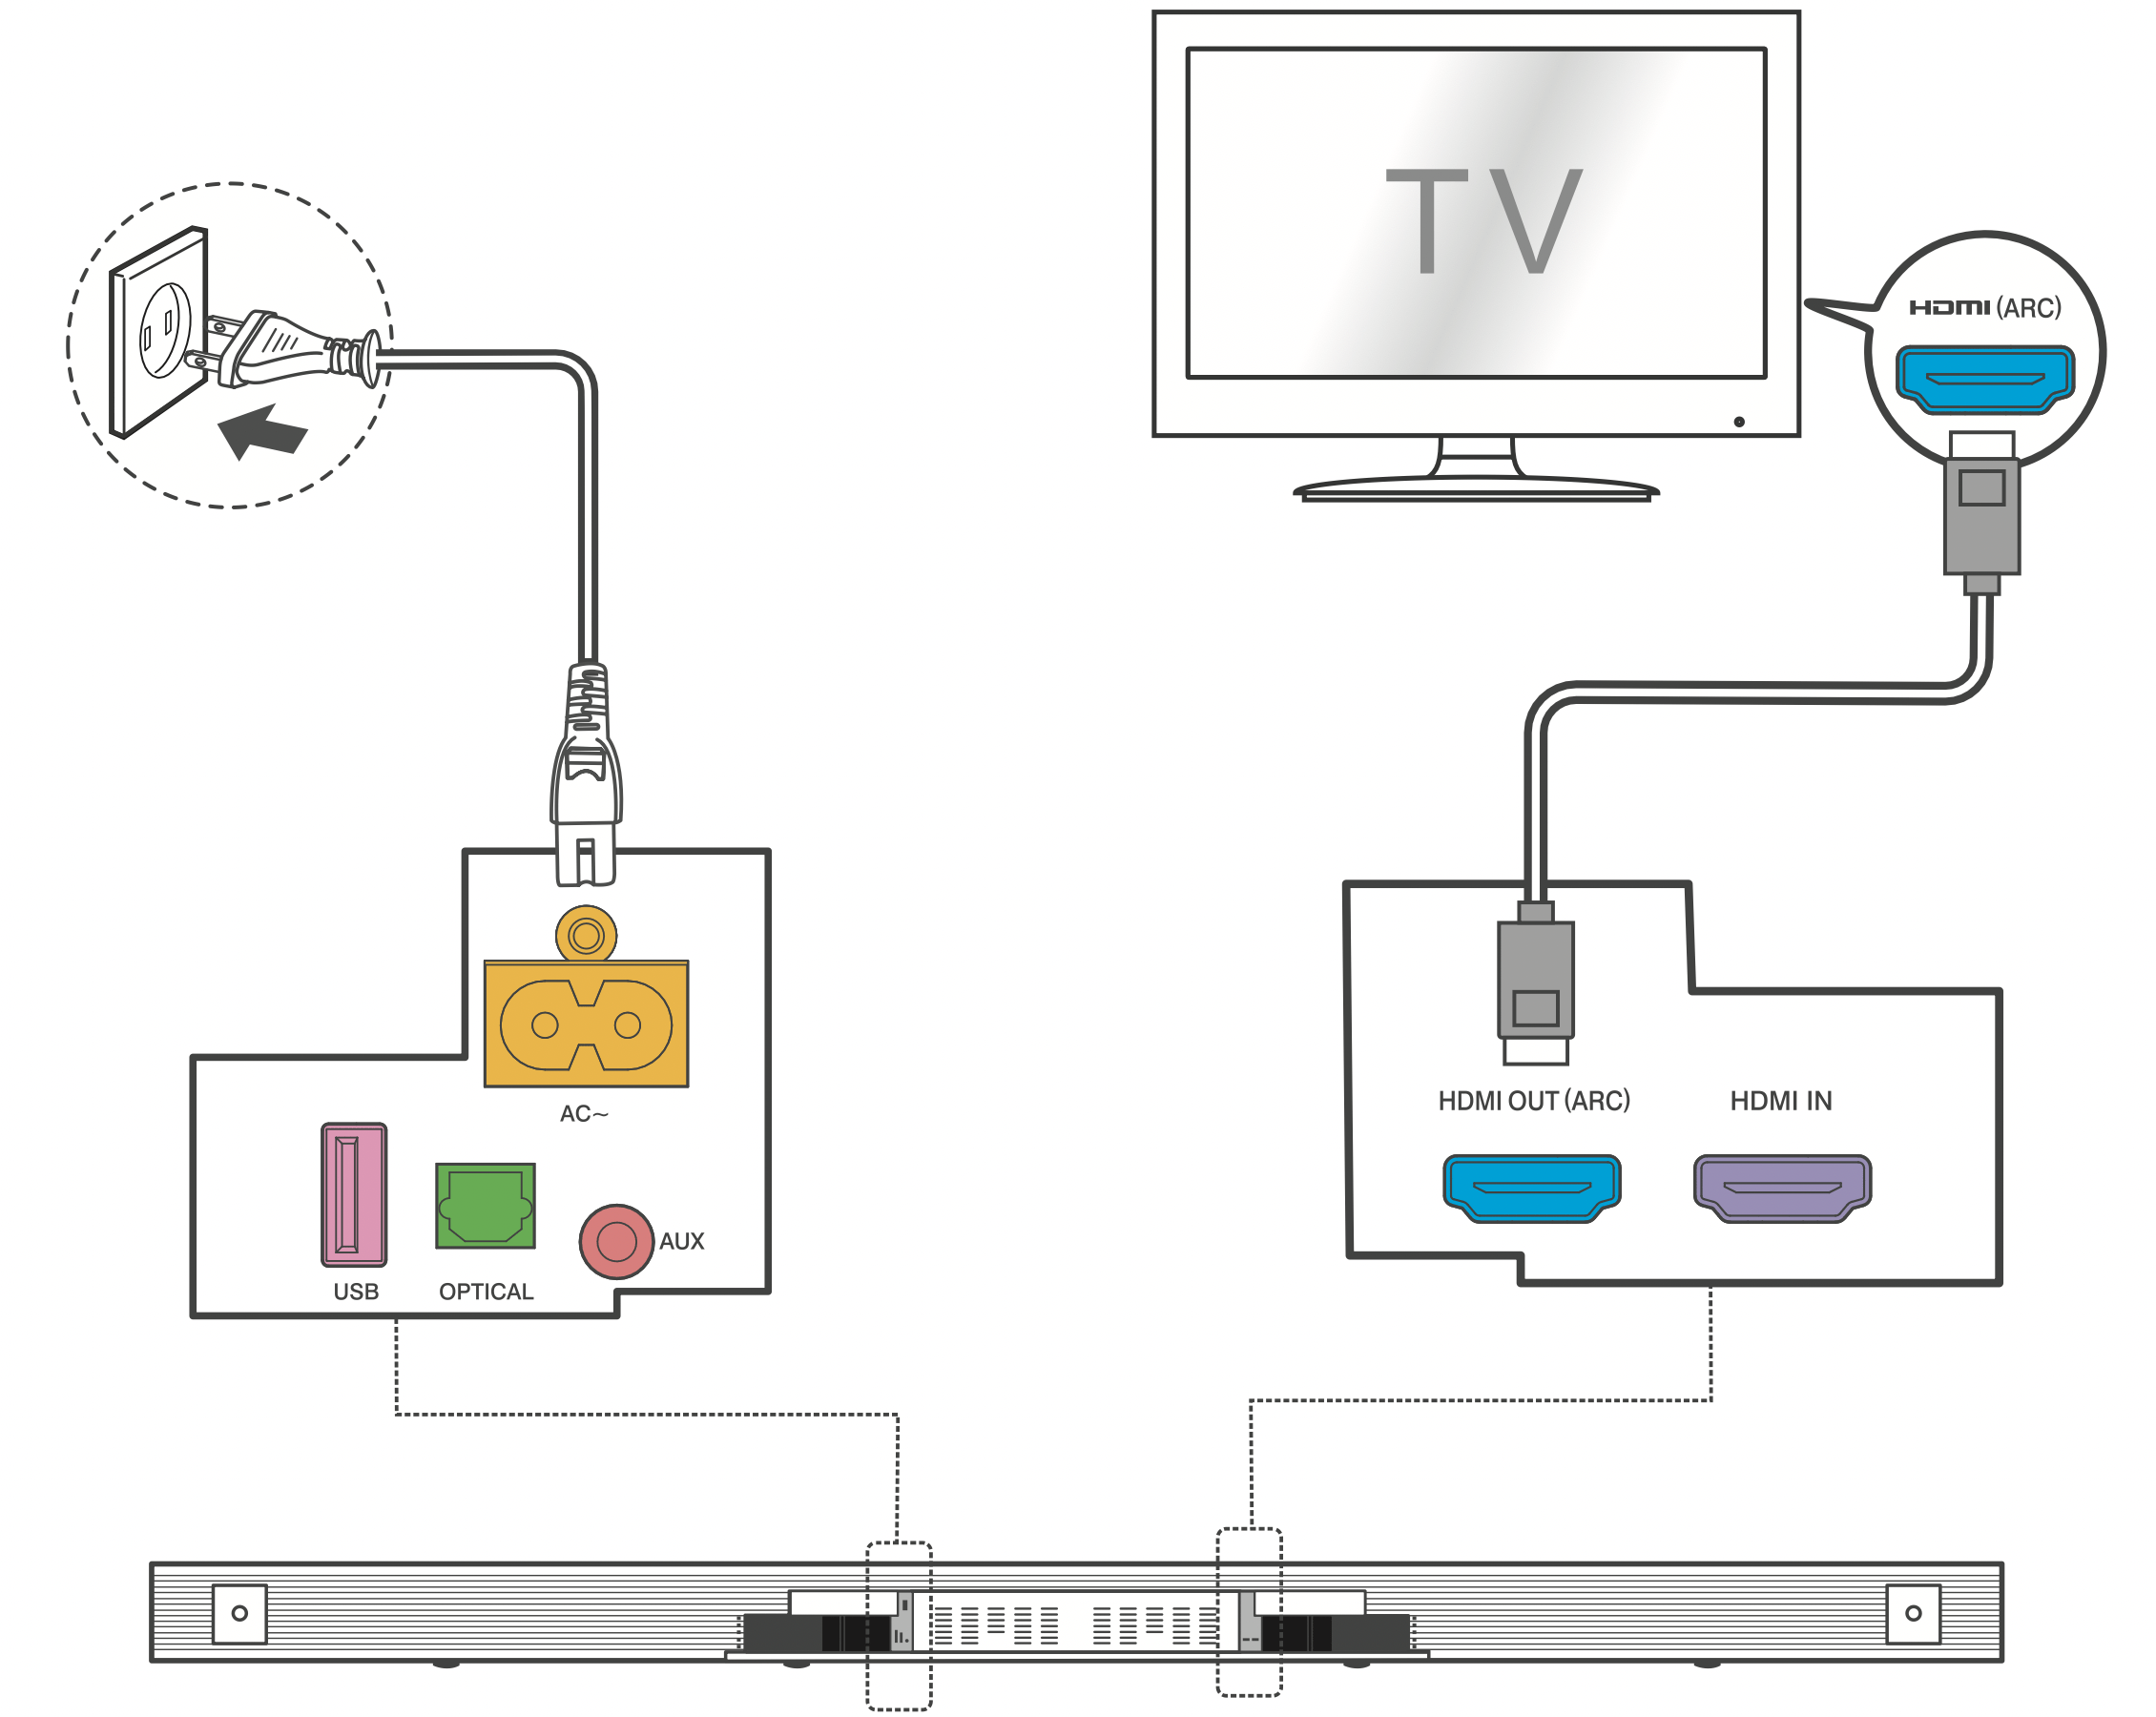
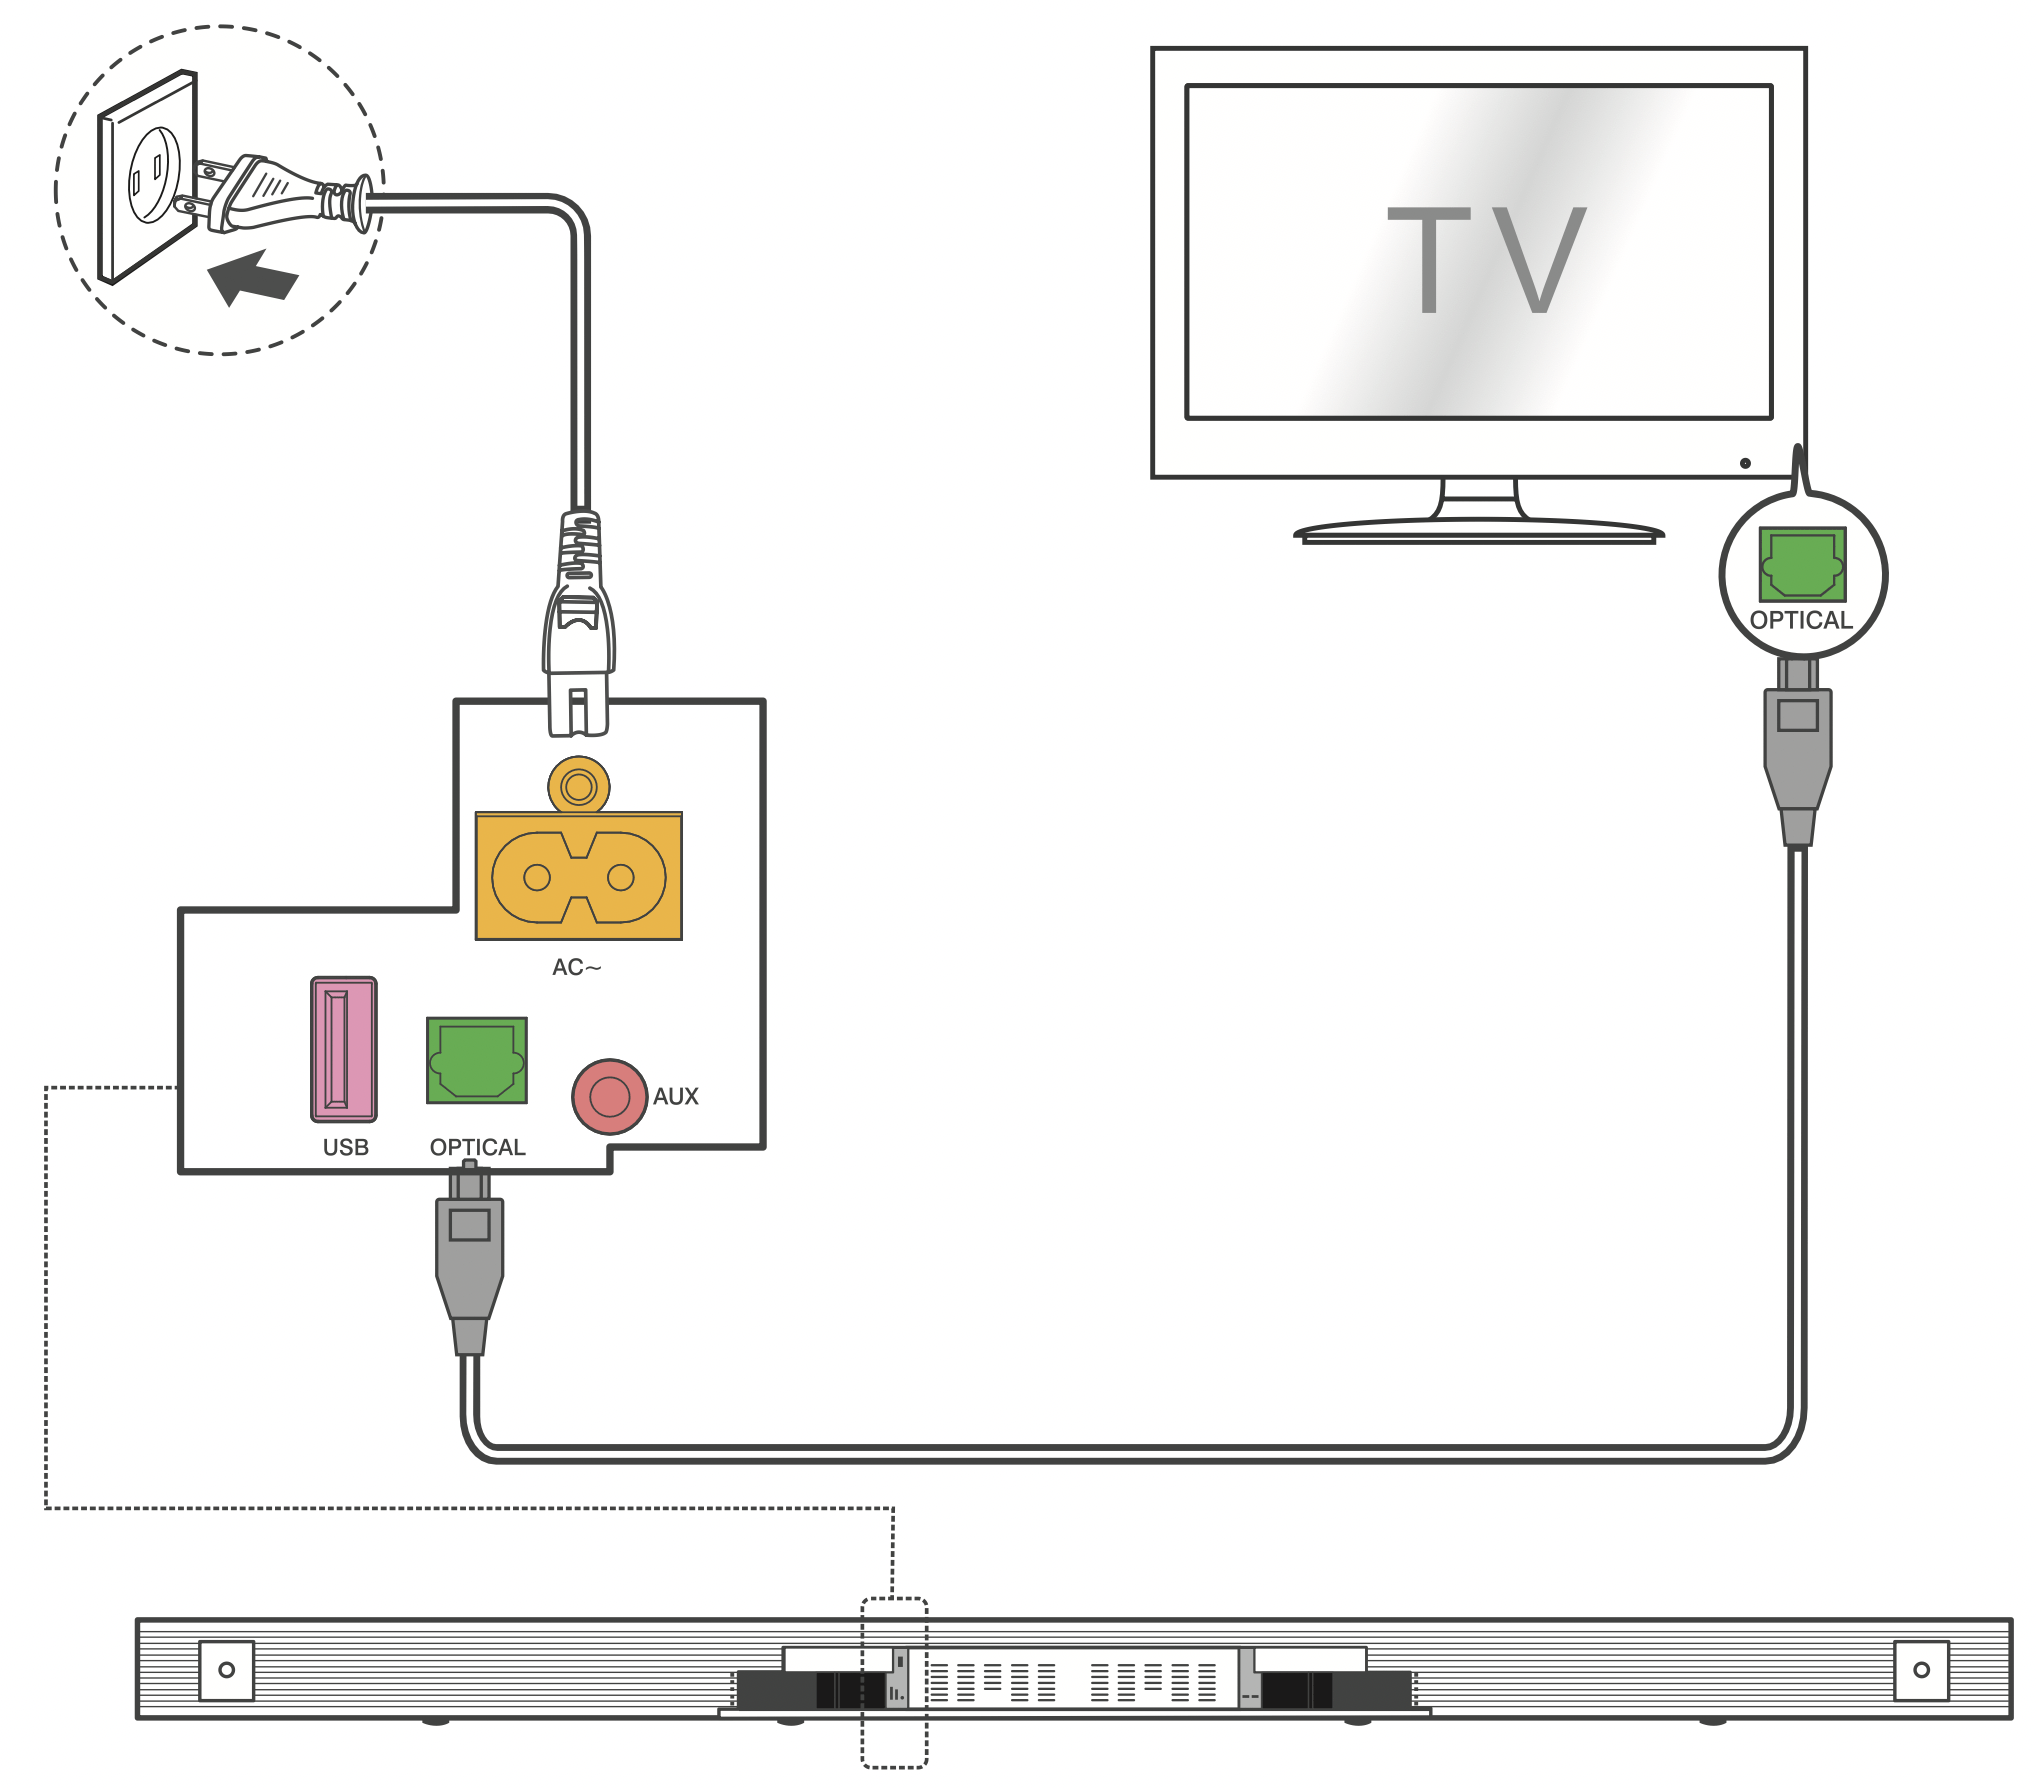
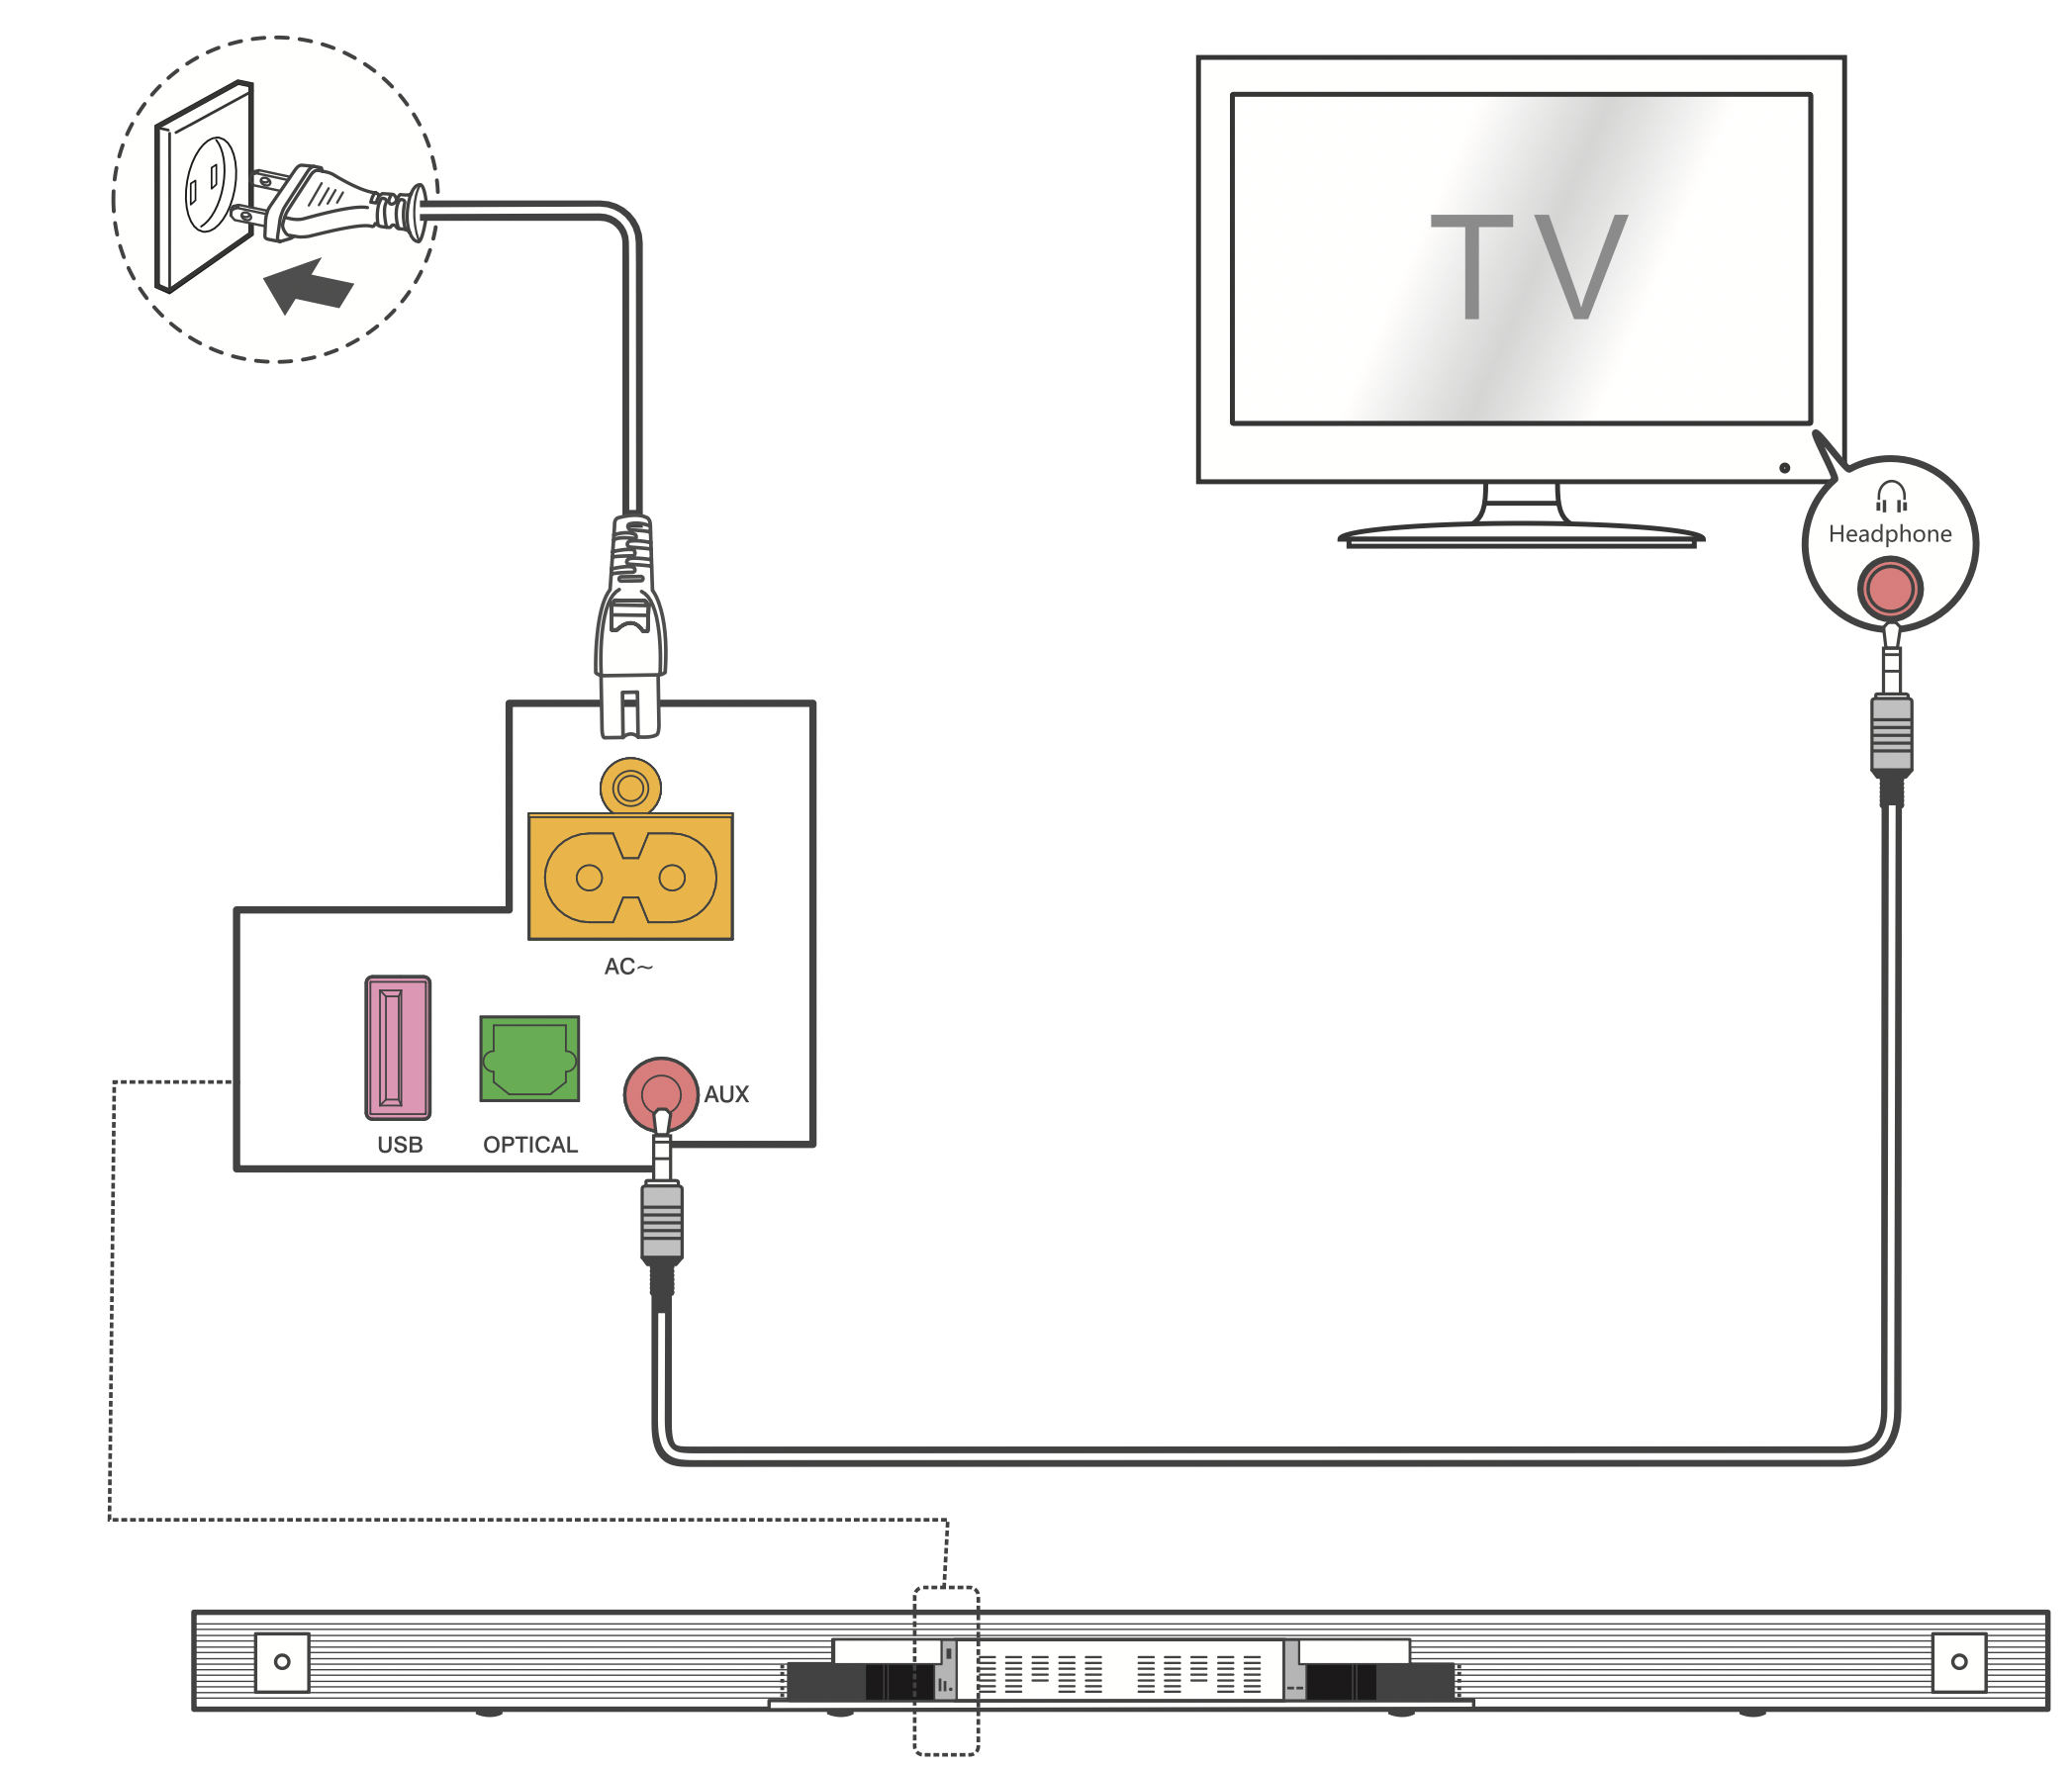
There are 3 ways to connect in order of best performance: HDMI-ARC (refer to 4a), Optical (refer to 4b) and AUX (refer to 4c)
HDMI-ARC
Connect the Sound Bar with your TV through the supplied HDMI cable.
Connect the Sound Bar to the power supply with the supplied power cord.
Optical
Connect the Sound Bar with your TV through the supplied Optical cable.
Connect the Sound Bar to the power supply with the supplied power cord.
Connection
Connect the Sound Bar with your TV through AUX cable (not supplied).
Connect the Sound Bar to the power supply with the supplied power cord.
Connect Blu-Ray player to HDMI-IN (Optional)
Connect your Blu-ray player to HDMI-IN to be able to enjoy Dolby TrueHD based Atmos content.
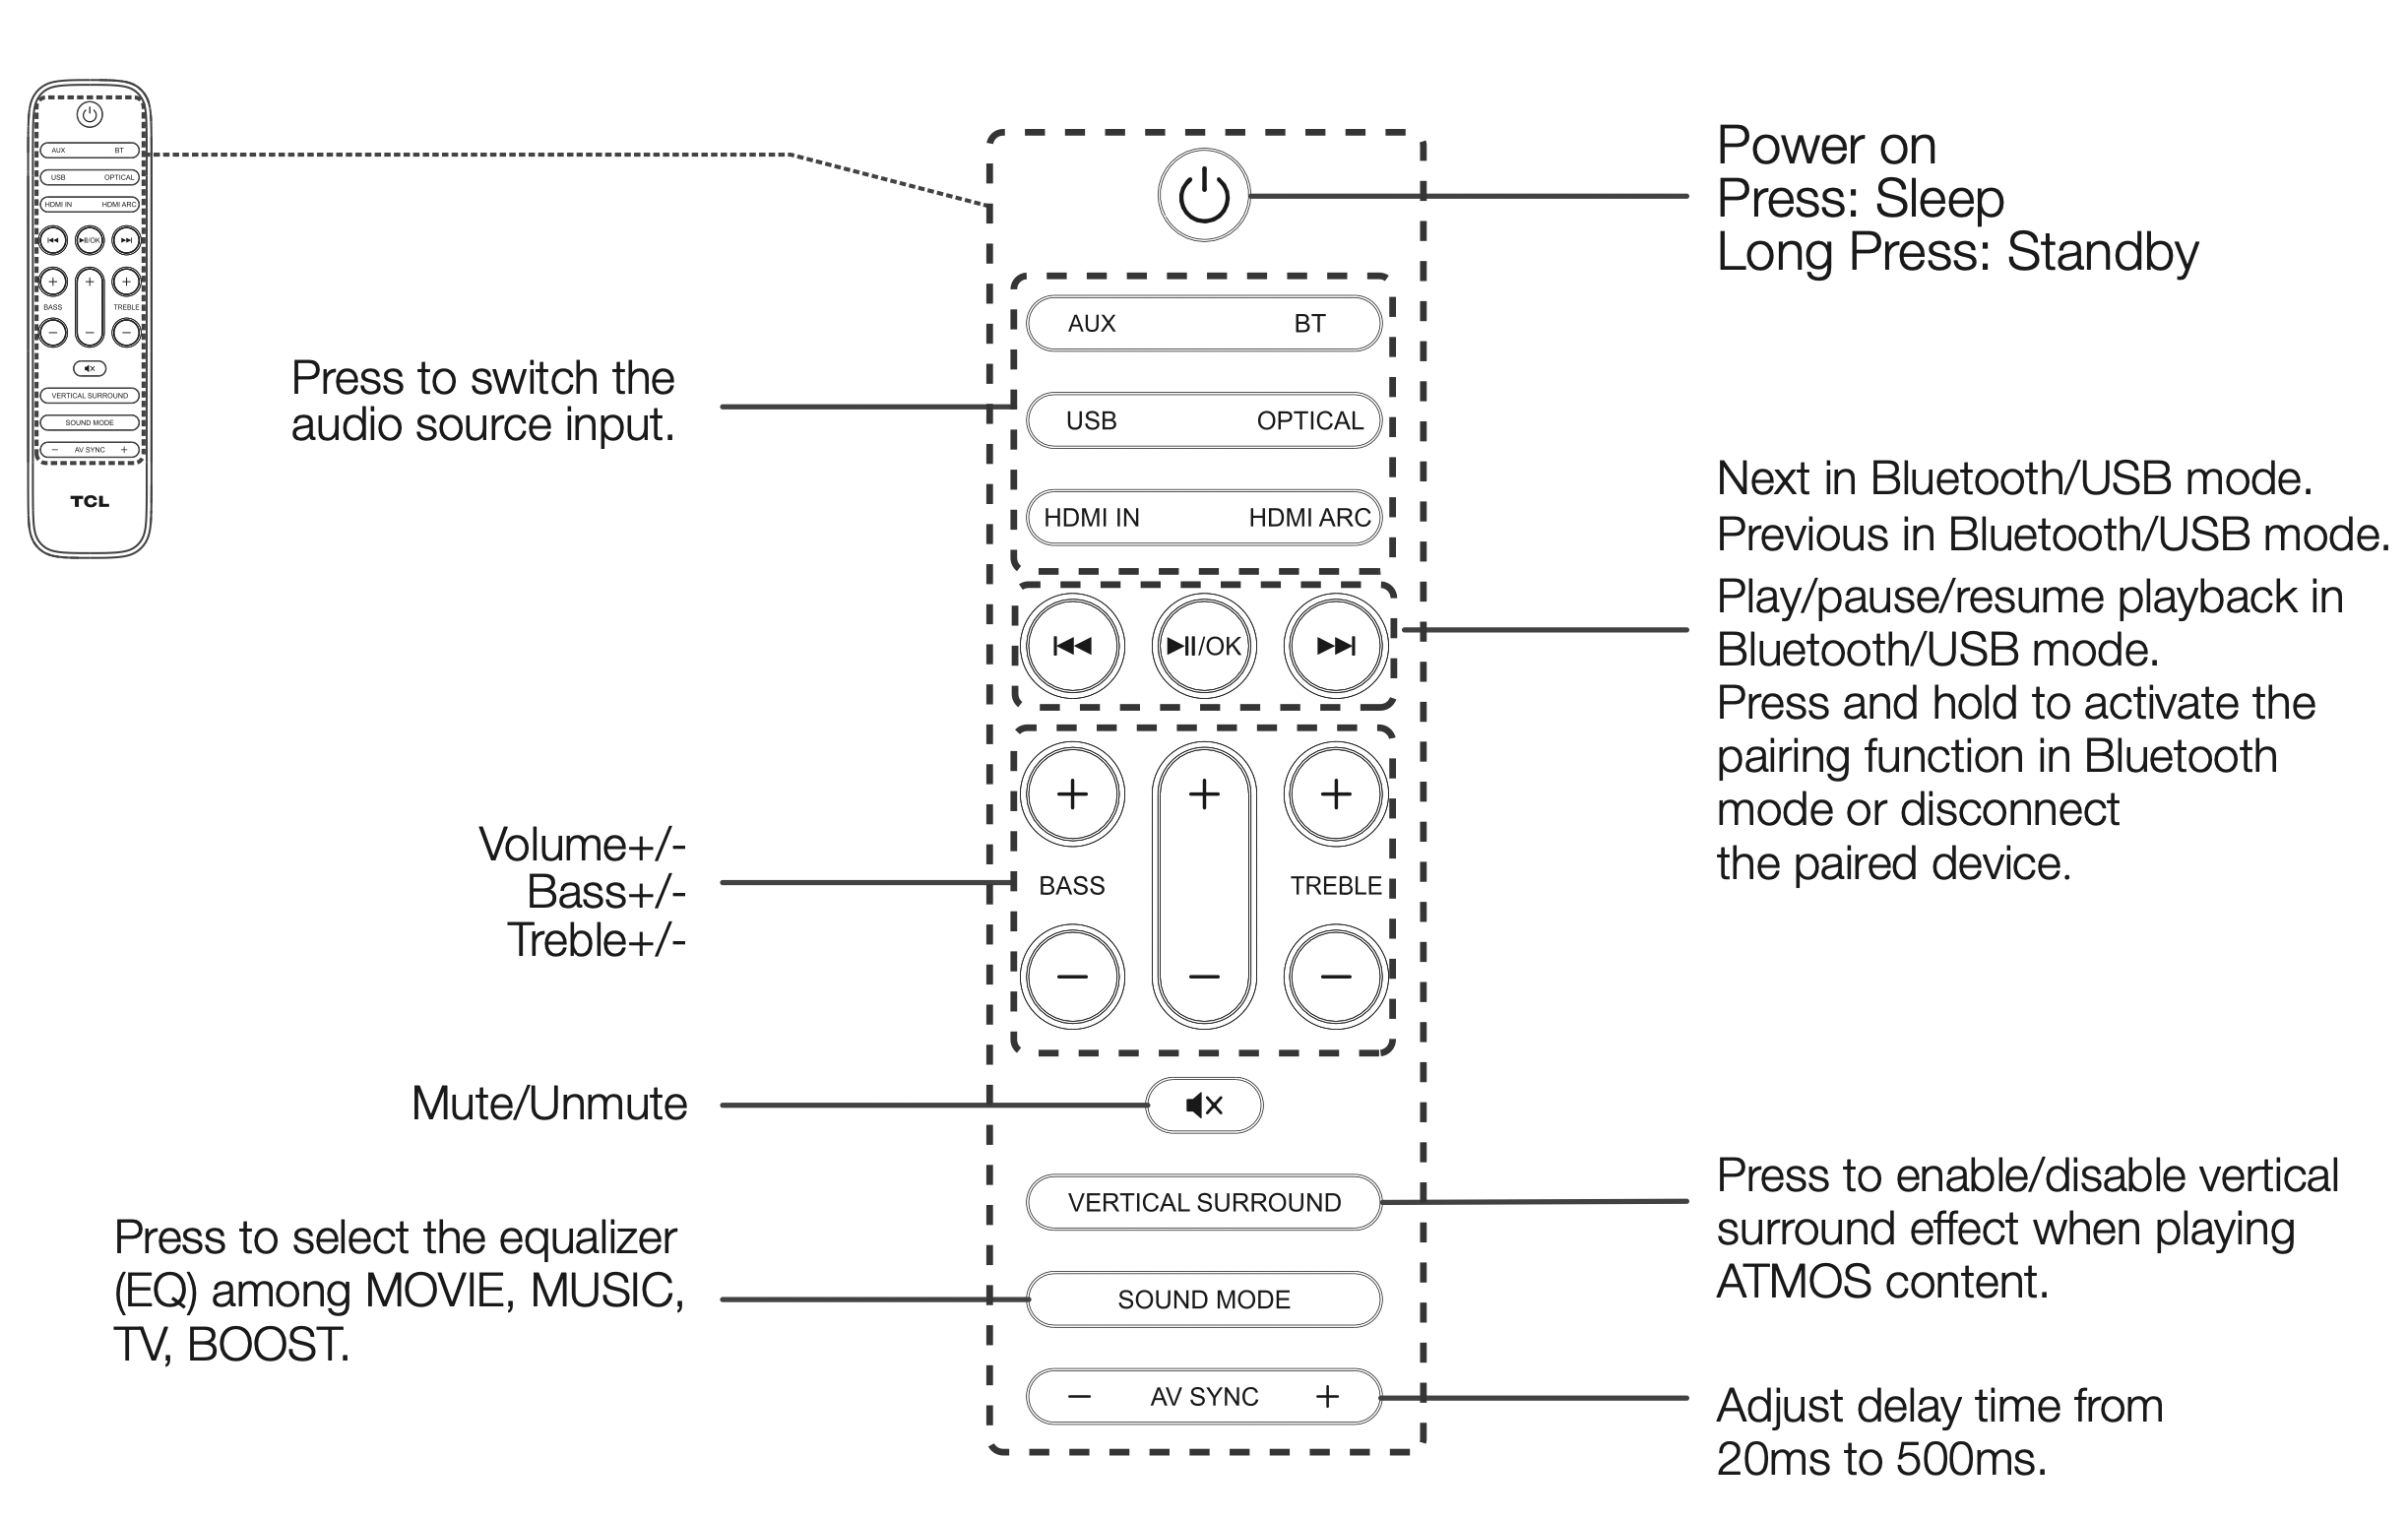
Using the Remote
Pair with your Bluetooth device
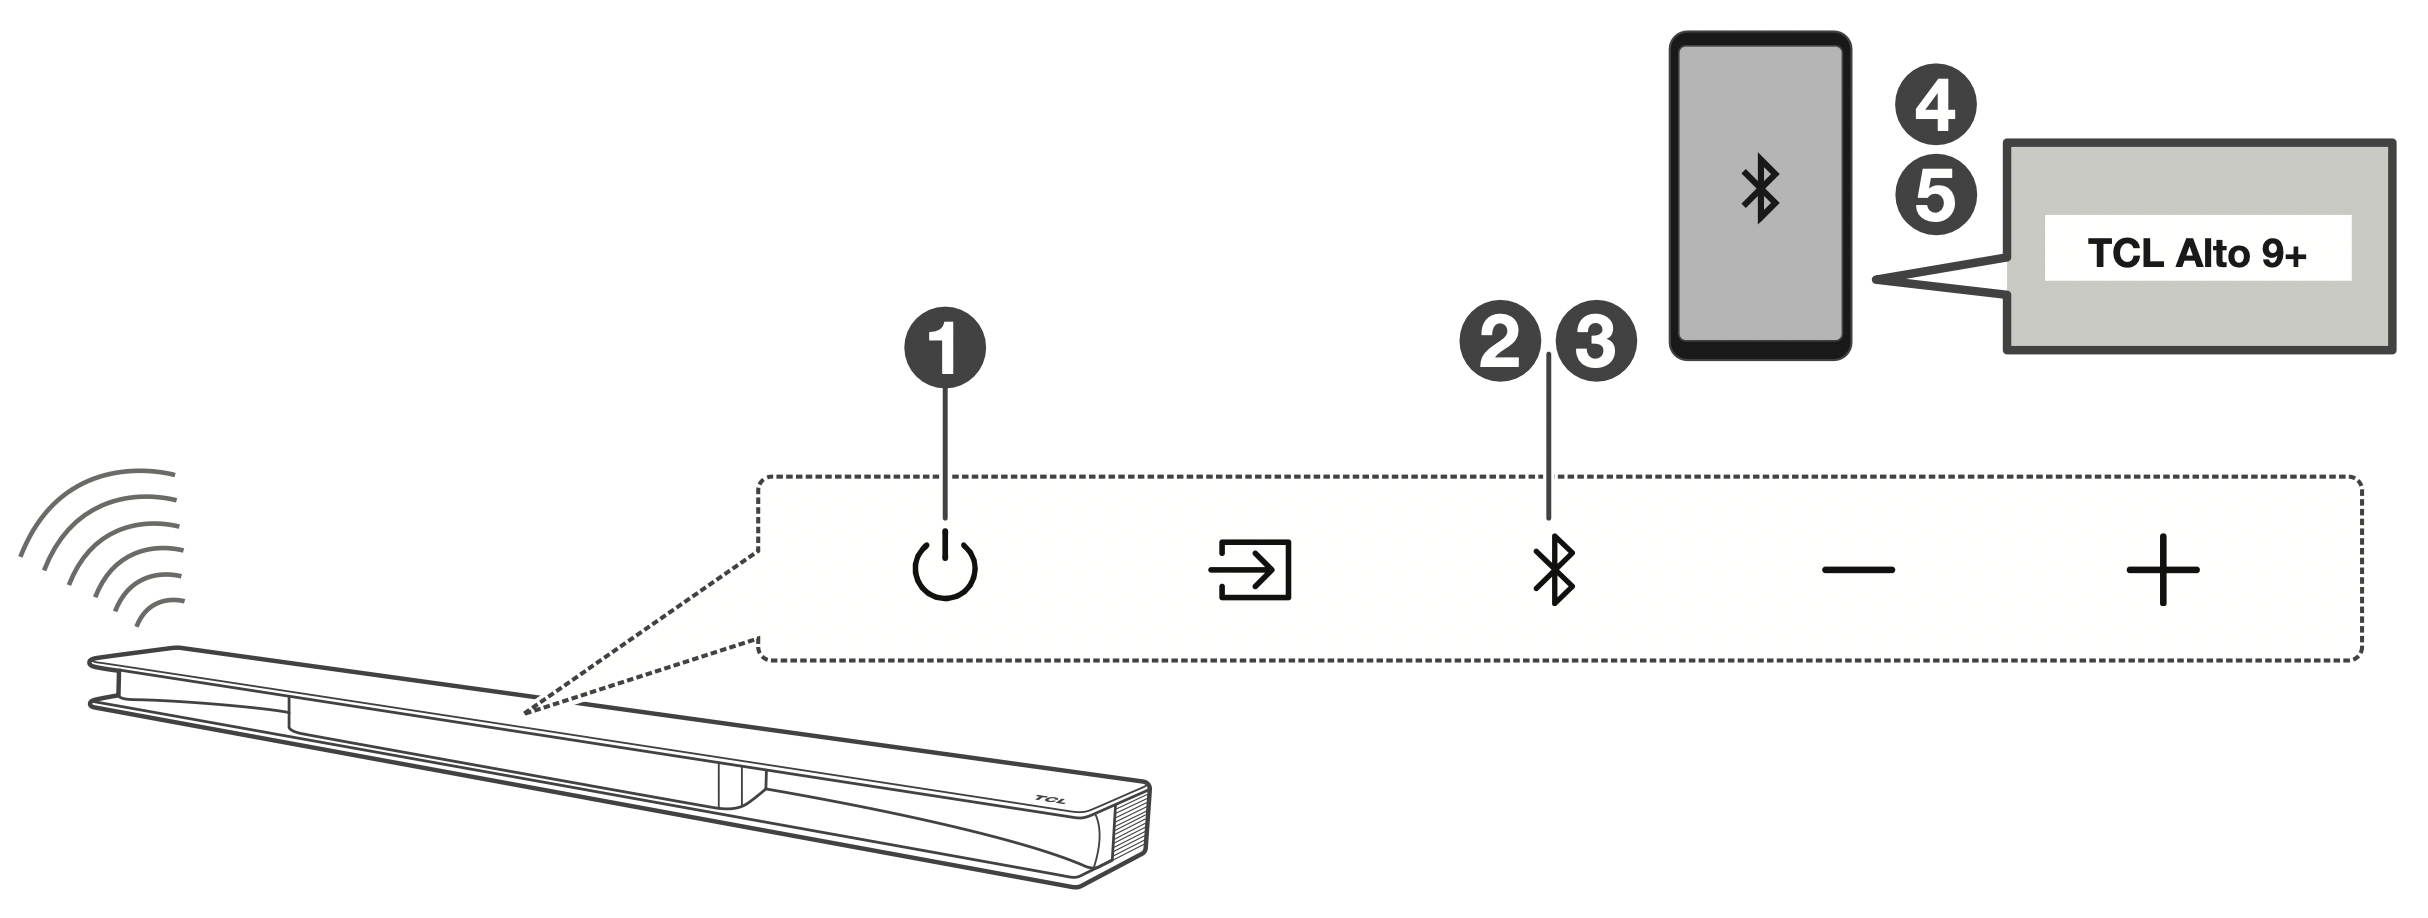
You can stream music from your mobile device via Bluetooth.
- Press
 .
. - Press
 .
. - Press and hold on the sound bar or “Play-Pause/OK” button on your remote control. PAIR is flashing on the LED display. The Sound Bar is ready to pair.
- Power on your Bluetooth device and activate its Bluetooth function.
- Select TCL Alto 9+. You hear a sound signal. Pairing is successful.
- If you want to re-pair with another device, please repeat step 3.
Set up Wi-Fi connection for music streaming
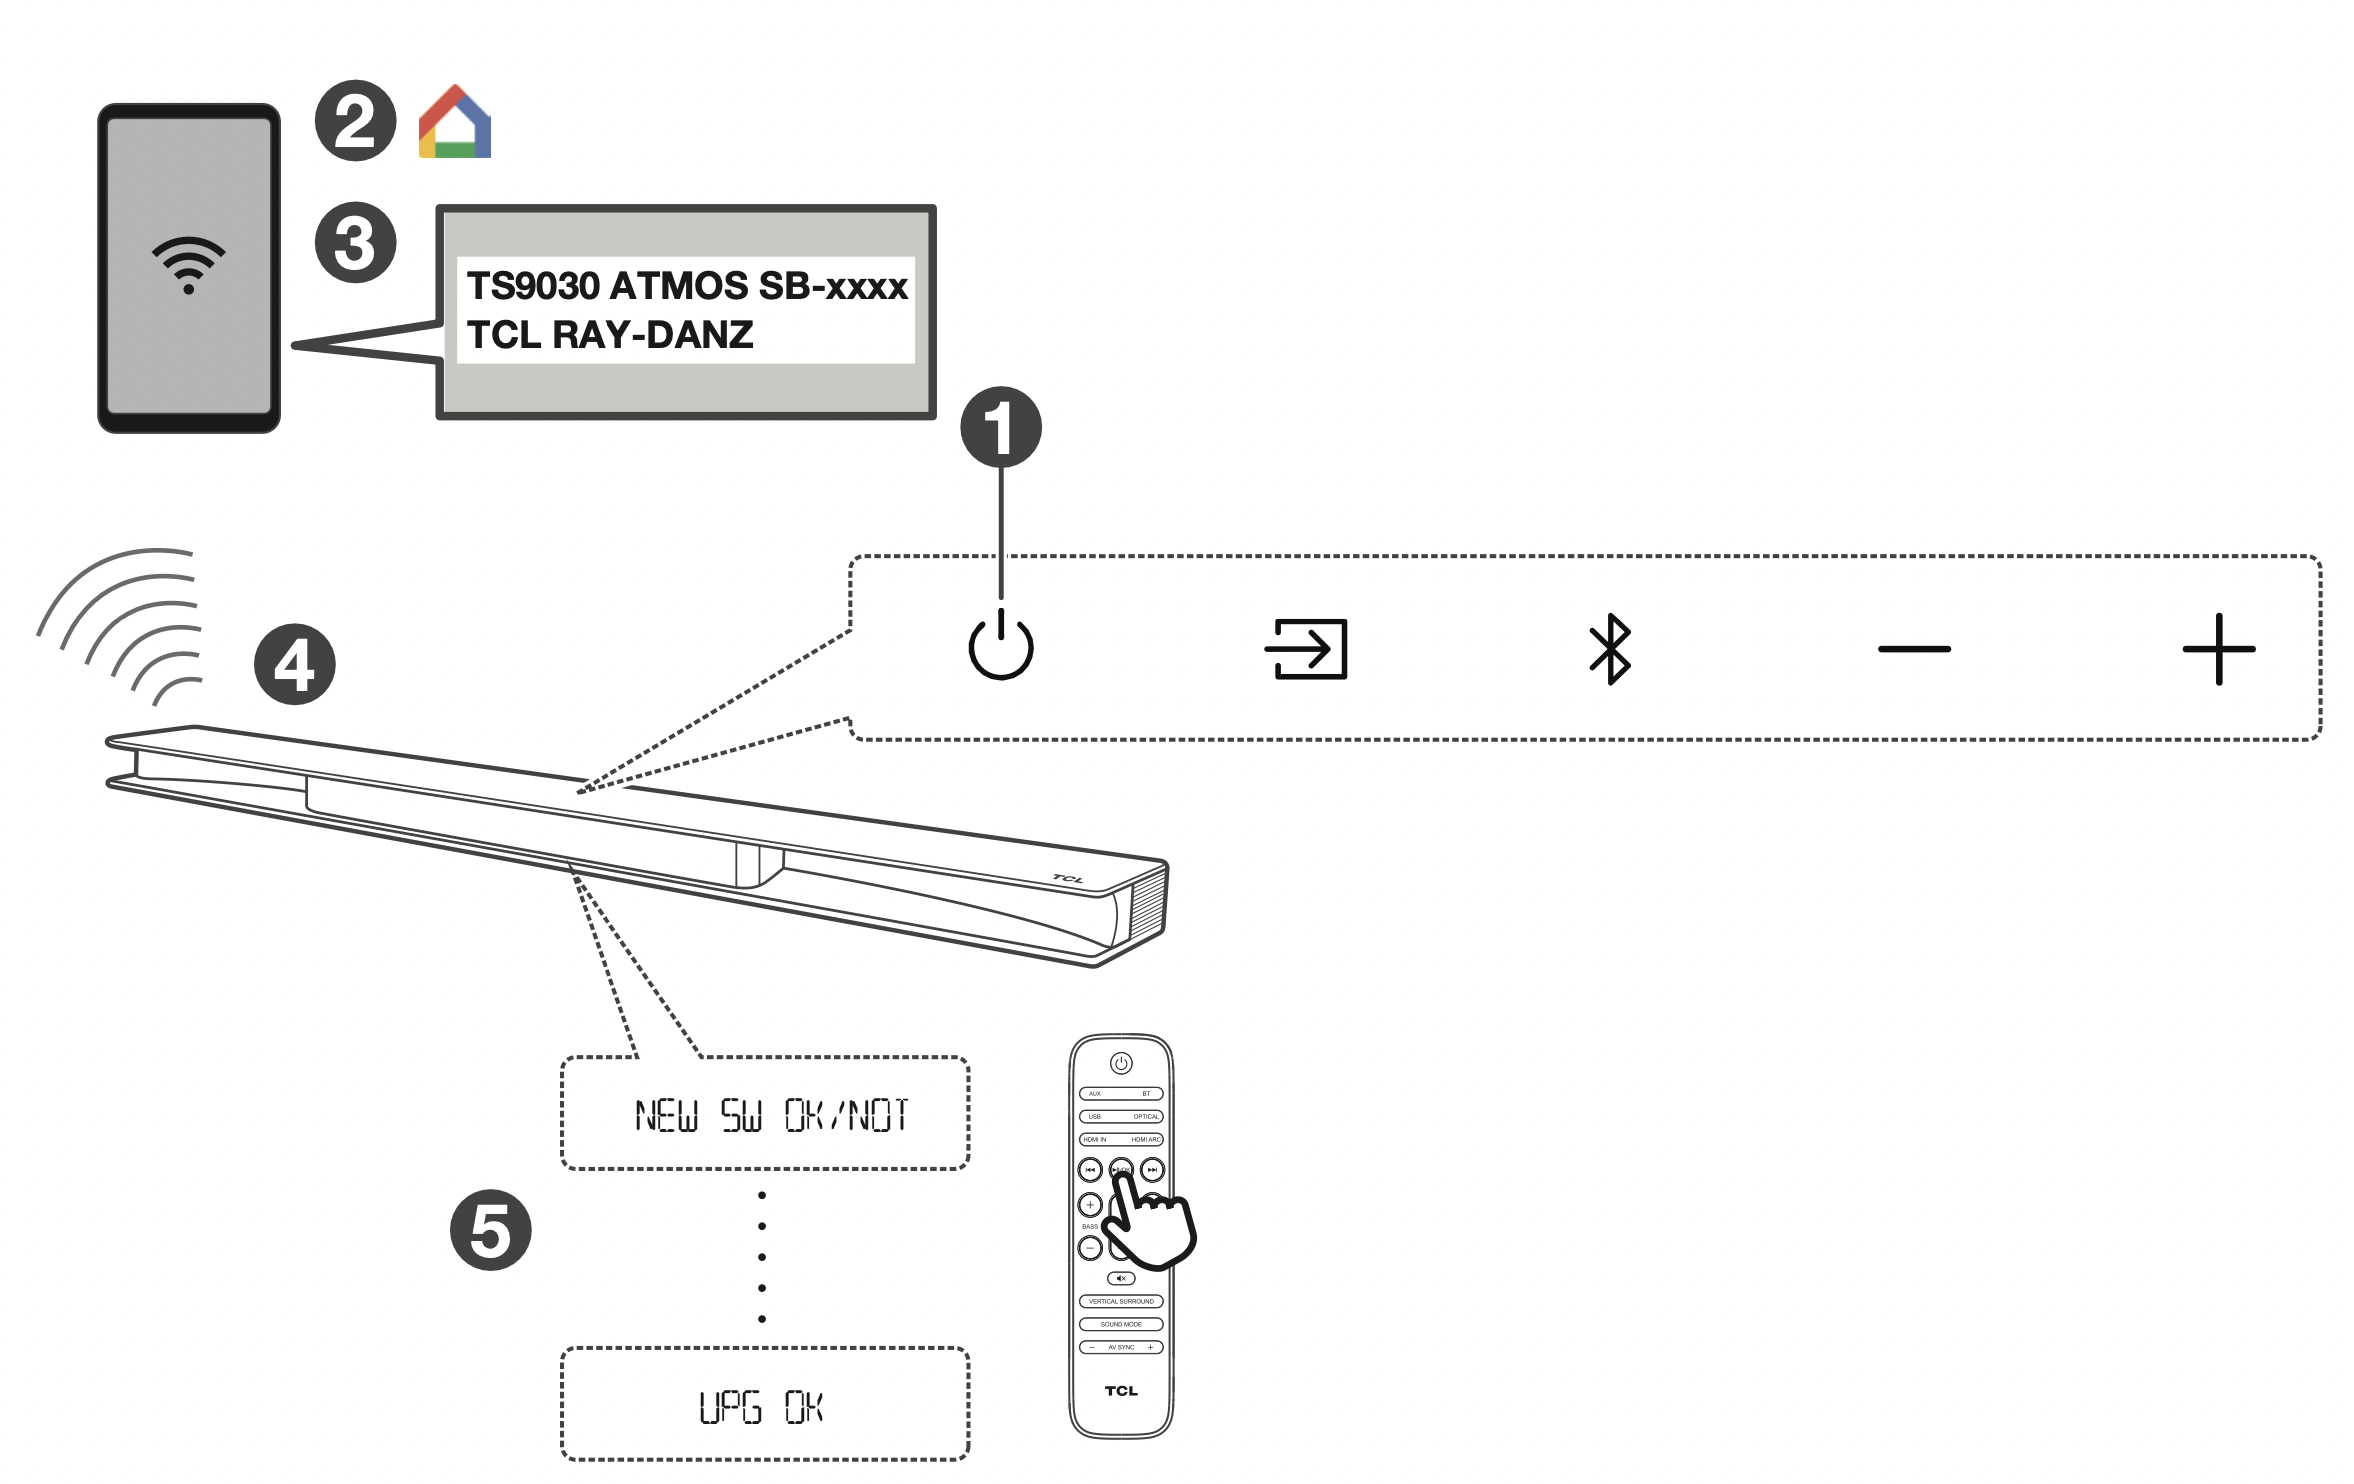
- Power on the sound bar.
- On an Android phone, open the Google Home app and continue with step 3a, on an iOS device, go to Settings - Wi-Fi and continue with step 3b.
- a. In the Google Home app, make sure you are signed in and follow the on-screen instructions to complete the setup process.
b. In Settings - WiFi, look for "TCL RAY-DANZ" under "SETUP AS NEW AIRPLAY SPEAKER" and complete the setup process. - Once setup is complete via either 3a or 3b, you can now enjoy both Chromecast built-in and AirPlay from any device on the same network.
- After this setup you may see an message on the sound bar display that there is new software available (NEW SW OK/NOT"). Please press “Play-Pause/OK” button on your remote control to download software and upgrade your sound bar or any other key to skip for now.
Note: In Standby mode, holding the "Play-Pause/OK" key for 5 seconds will bring you to the system settings menu. You can navigate with VOL +/and select options with "Play-Pause/OK". This menu allows you to reset the system to factory settings and may offer additional settings.
FAQ
Does this Sound Bar work with any TV?
Yes, the Sound Bar is compatible with any TV that has one of the ports below:
- HDMI supporting ARC (preferred)
- Optical audio output (TOSLink)
- Headphone output
When the Sound Bar and TV are both on, there is an echo effect.
Simply mute the TV speaker to have the Sound Bar as the singular source of sound.
How many sound modes are available?
Four sound modes - Movie, Music, TV and Boost.
How do I get the best Wi-Fi connection?
- Ensure your Wi-Fi router is not too far away from the sound bar and preferably in line of sight.
- High levels of data traffic over the Wi-Fi network can affect the sound bar Wi-Fi performance.
What are the subwoofer LED indicator status during pairing:
- Standby mode: flashes slowly.
- Pairing: flashes quickly.
- Paired: on solidly.
How to identify network connection status?
After the Wi-Fi connection has been established (refer to 6b), every time the display is active, the green LED indicates Wi-Fi is successfully connected. When the LED is red it indicates there is a connection problem, please check your network and if needed repeat the Wi-Fi setup (refer to 6b).
See other models: 55C715 S535 85P715 65C815 T770B
