Loading ...
Loading ...
Loading ...
46
D:\WORK\VW60GB\3275583131\3275583131VPLVW200UC\010GB_
VPLVW200UC\07MEN.fm
masterpage:Left
VPL-VW200
3-275-583-13
(
1
)
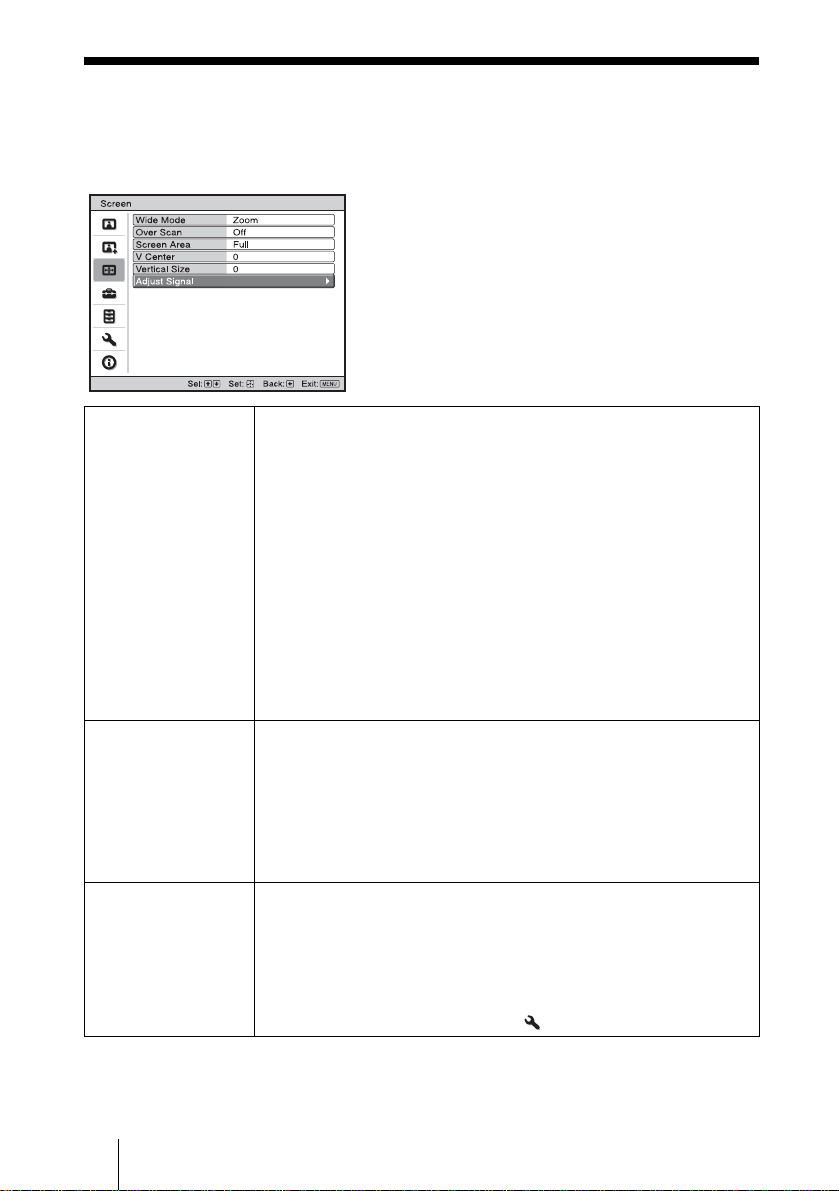
Screen Menu
The Screen menu is used to adjust the input signal. You can adjust the size of the picture,
and select wide screen mode, etc.
.
Wide Mode (When the
image input signal is
input)
You can set the aspect ratio of the picture to be displayed for the
current input signal. This item is enabled only when an image signal
(preset memory numbers 1 to 14) (1 page 73, 74) is input.
Wide Zoom: A 4:3 aspect ratio picture is enlarged over the entire screen
properly. The upper and lower portions of the screen are slightly cut
off.
Normal: A picture with normal 4:3 aspect ratio is displayed in the center
of the screen to fill the vertical screen size.
Full: A picture squeezed to 4:3 is displayed with the correct aspect ratio.
A 4:3 picture is enlarged horizontally to fit the 16:9 screen.
Zoom: A normal 16:9 aspect ratio picture is enlarged vertically and
horizontally in the same ratio to fill the screen.
Anamorphic Zoom: A 2.35:1 aspect ratio picture is converted to a
normal 16:9 picture on the screen. This mode is best suited when
using a commercially available Anamorphic lens which converts a
normal 16:9 aspect ratio picture to a 2.35:1 picture.
Wide Mode (When the
PC signal is input)
You can set the aspect ratio of the picture to be displayed for the
current input signal. This item is enabled only when an PC signal is
input.
Full1: Displays a picture on the whole of the screen without changing
the aspect ratio of the original picture.
Full2: Displays a picture on the whole of the screen.
Zoom: A normal 16:9 aspect ratio picture is enlarged vertically and
horizontally in the same ratio to fill the screen.
Over Scan Hides the outline of the picture.
On: Hides the outline of the input picture. Select this setting when noise
appears along the edge of the picture.
Off: Projects the whole of the input picture.
Tip
To display the displayable region within the four directions of the screen,
refer to “Blanking” on the Installation menu (1 page 53).
Loading ...
Loading ...
Loading ...