Loading ...
Loading ...
Loading ...
D:\WORK\VW60GB\3275583131\3275583131VPLVW200UC\010GB_
VPLVW200UC\07MEN.fm
masterpage:Left
41
Using the Menus
VPL-VW200
3-275-583-13
(
1
)
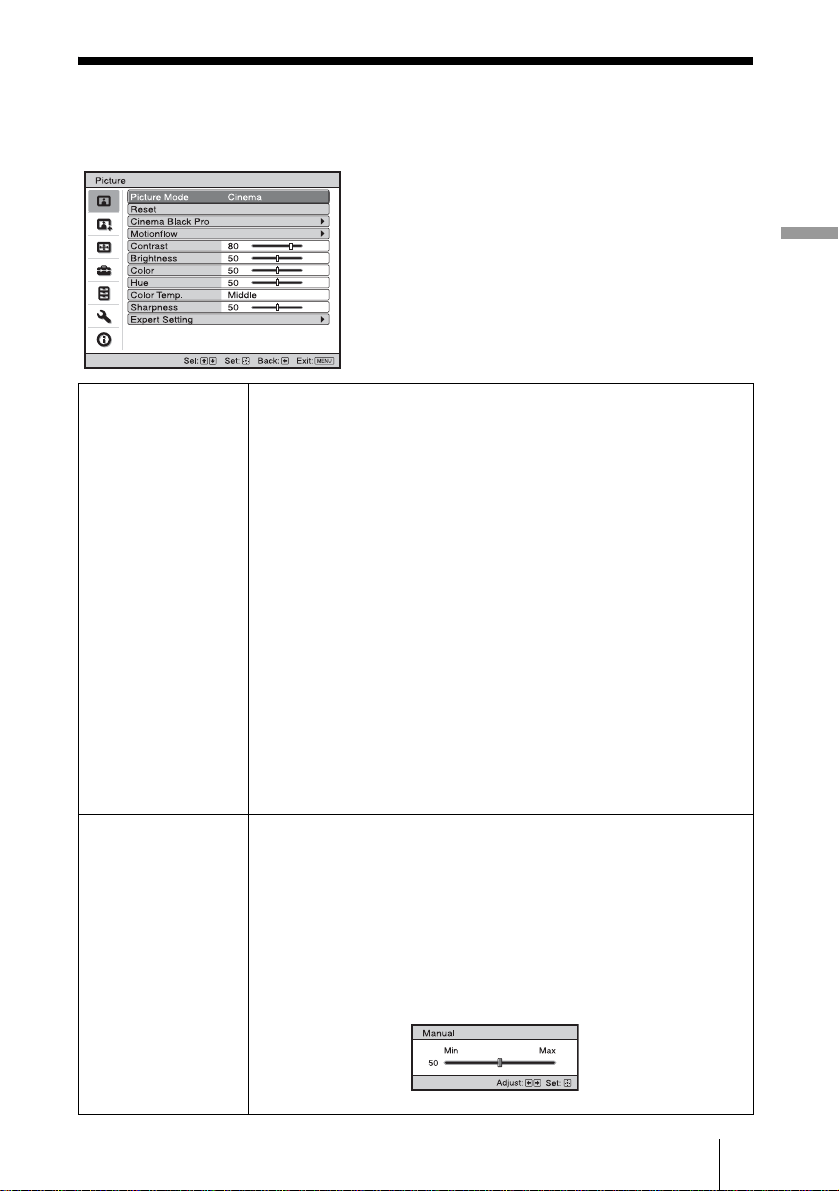
Picture Menu
The Picture menu is used for adjusting the picture.
Picture Mode You can select the picture viewing mode that best suits the type of
picture or the environment.
Dynamic: Select this for enhanced picture contrast and sharpness to
reproduce color tones.
Standard: Select this to reduce roughness compared to viewing the
picture with “Dynamic”.
Cinema: Select this for watching movies, etc. in a dark environment.
User1, User2, User3: You can adjust the quality of the picture to suit
your taste and then store the settings. Once the settings are stored, you
can view the picture with the adjusted picture quality by pressing the
PICTURE MODE button on the remote control.
To store the settings
1 Select User1, User2, or User3.
2 Adjust the items you want in the menus.
Tips
• You can also adjust the picture quality in “Dynamic”, “Standard” or
“Cinema”, and store the settings. To reset everything to the factory
settings, select “Reset” from the menu.
• Some items may not be displayed on the Picture menu, depending on
the type of input signal. For details, see “Input Signals and Adjustable/
Setting Items” (1 page 76).
Cinema Black Pro Advanced Iris
Switches the iris function during projection.
Auto1: Automatically switches to an optimum iris according to a
projected scene. The contrast of the scene is emphasized most.
Auto2: An optimum iris becomes smaller than when set to “Auto1”. The
contrast of the scene becomes reduced.
Sensitivity: If “Auto1” or “Auto2” is selected, either “Recommend”,
“Fast”, or “Slow” can be selected according to the desired response
speed with Sensitivity Mode.
Manual: Manually adjusts the Iris.
Off: Normal contrast.
Loading ...
Loading ...
Loading ...