Loading ...
Loading ...
Loading ...
ENGLISH
INSTALLATION GUIDE CONT.
PARTS INCLUDED
PARTS INCLUDED MAY DIFFER BASED ON UNIT PURCHASED.
ALL MODELS
2 handles
Front grille
4 handle mounting screws
Owner`s manual
STAINLESS STEEL MODELS
Hex key (for handle installation)
ICE MAKER INSTALLED MODELS
Ice bucket
Water supply clamp
#8 screw
IF YOUR REFRIGERATOR COMES WITH A FACTORY-INSTALLED WATER VALVE AND TUBING, DO
NOT CONNECT A WATER SUPPLY TO THE WATER VALVE ON THE REAR OF THE REFRIGERATOR
UNTIL AN ICE MAKER IS INSTALLED.
PAGE 5 ●SET UP & USE
PROPER AIR CIRCULATION
To ensure your refrigerator works at the maximum efficiency it was designed for, you should install it
in a location where there is proper air circulation, plumbing and electrical connections. Your
refrigerator is not designed to operate in temperatures below 55°F (12°C)
or above 95°F (35°C).
Do not install your refrigerator in any location not properly insulated or
heated, e.g. garage, etc.
Keep out of direct sunlight and away from heating sources such as
radiators, heaters and cooking appliances.
The following are recommended clearances around the refrigerator:
Sides and Top ………. 1” (25mm) Back ………. 2” (50mm)
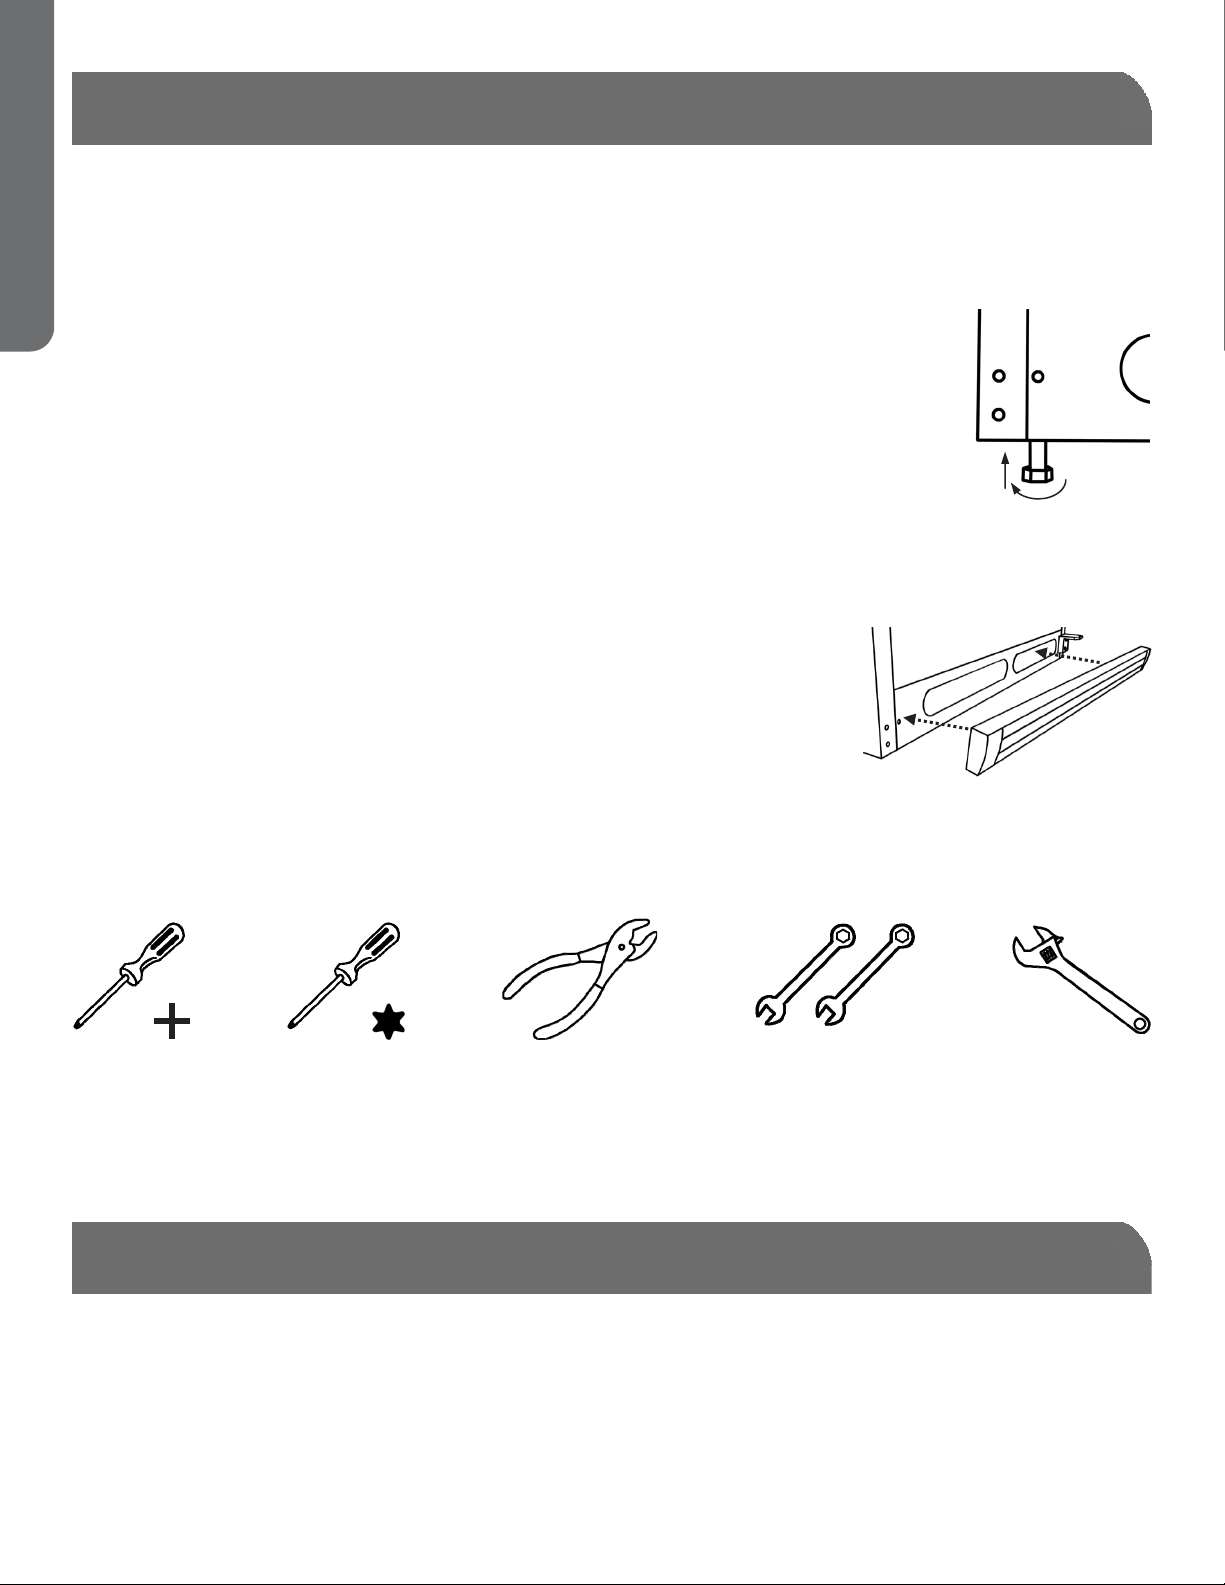
TOOLS NEEDED FOR INSTALLATION
DO NOT USE POWER TOOLS TO INSTALL DOOR HANDLES!
OVERTIGHTENING THE SCREWS COULD STRIP THE THREADS!
Front Grille
Phillips
Screwdriver
T25 Torx
Screwdriver
(Select Models)
Pliers
5/16 & 3/8
Wrenches
Adjustable
Wrench
Or
4. If your refrigerator comes with smooth or stainless steel doors, please remove the clear fi lm before
turning it on for the first time. When removing film, do not pull the film straight down as this could
result in misaligned doors.
5. It is normal for the freezer door to be positioned slightly higher than the top of the cabinet when the
refrigerator is first installed. This positioning is done at the factory to ensure gasket seals properly
once the door is weighted with food items.
LEVELING YOUR REFRIGERATOR
The cabinet must rest firmly on the floor.
The cabinet must sit level from side to side.
The cabinet must tilt slightly (¼”or 6mm) from front to back for the doors to seal
properly.
Turn the leveling legs to raise or lower the cabinet.
Loading ...
Loading ...
Loading ...