Loading ...
Loading ...
Loading ...
91
Before Use
Basic Guide
Advanced Guide
1
Camera Basics
2
Auto Mode
3
Other Shooting Modes
5
Playback Mode
6
Wi-Fi Functions
7
Setting Menu
8
Accessories
4
P Mode
9
Appendix
Index
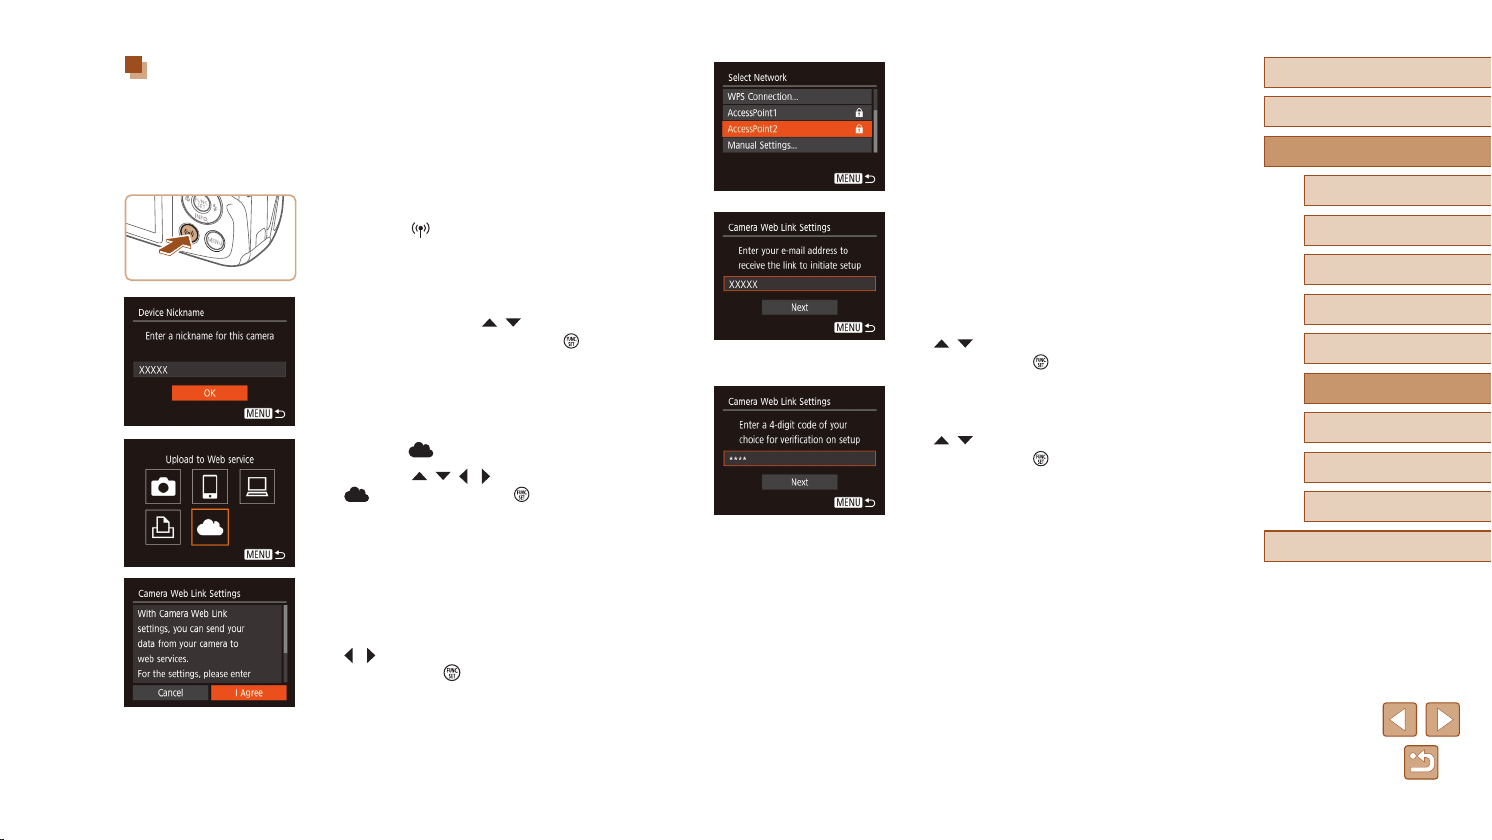
4
Establish a connection with an
access point.
● Connect to the access point as described
in steps 5 – 7 in “Using WPS-Compatible
Access Points” (
=
87) or in steps 2 – 4
in “Connecting to Listed Access Points”
(
=
89).
5
Enter your e-mail address.
● Once the camera is connected to CANON
iMAGE GATEWAY via the access point, a
screen is displayed for entering an e-mail
address.
● Enter your e-mail address, press the
[
][ ] buttons to choose [Next], and
then press the [ ] button.
6
Enter a four-digit number.
● Enter any four-digit number, press the
[ ][ ] buttons to choose [Next], and
then press the [ ] button.
● You will need this four-digit number later
when setting up linkage with CANON
iMAGE GATEWAY in step 8.
Registering CANON iMAGE GATEWAY
To link the camera and CANON iMAGE GATEWAY, add CANON iMAGE
GATEWAY as a destination Web service on the camera. By setting
this, an e-mail notication for Camera Web Link Settings will be sent,
so you must use the e-mail address that you use on your computer or
smartphone.
1
Access the Wi-Fi menu.
● Press the [ ] button.
● After the [Device Nickname] screen is
displayed, press the [
][ ] buttons to
choose [OK], and then press the [ ]
button.
2
Choose [ ].
● Press the [ ][ ][ ][ ] buttons to choose
[ ], and then press the [ ] button.
3
Consent to entering your e-mail
address.
● Read the displayed content, press the
[ ][ ] buttons to choose [I Agree], and
then press the [ ] button.
Loading ...
Loading ...
Loading ...