Loading ...
Loading ...
Loading ...
71
Before Use
Basic Guide
Advanced Guide
1
Camera Basics
2
Auto Mode
3
Other Shooting Modes
5
Playback Mode
6
Wi-Fi Functions
7
Setting Menu
8
Accessories
4
P Mode
9
Appendix
Index
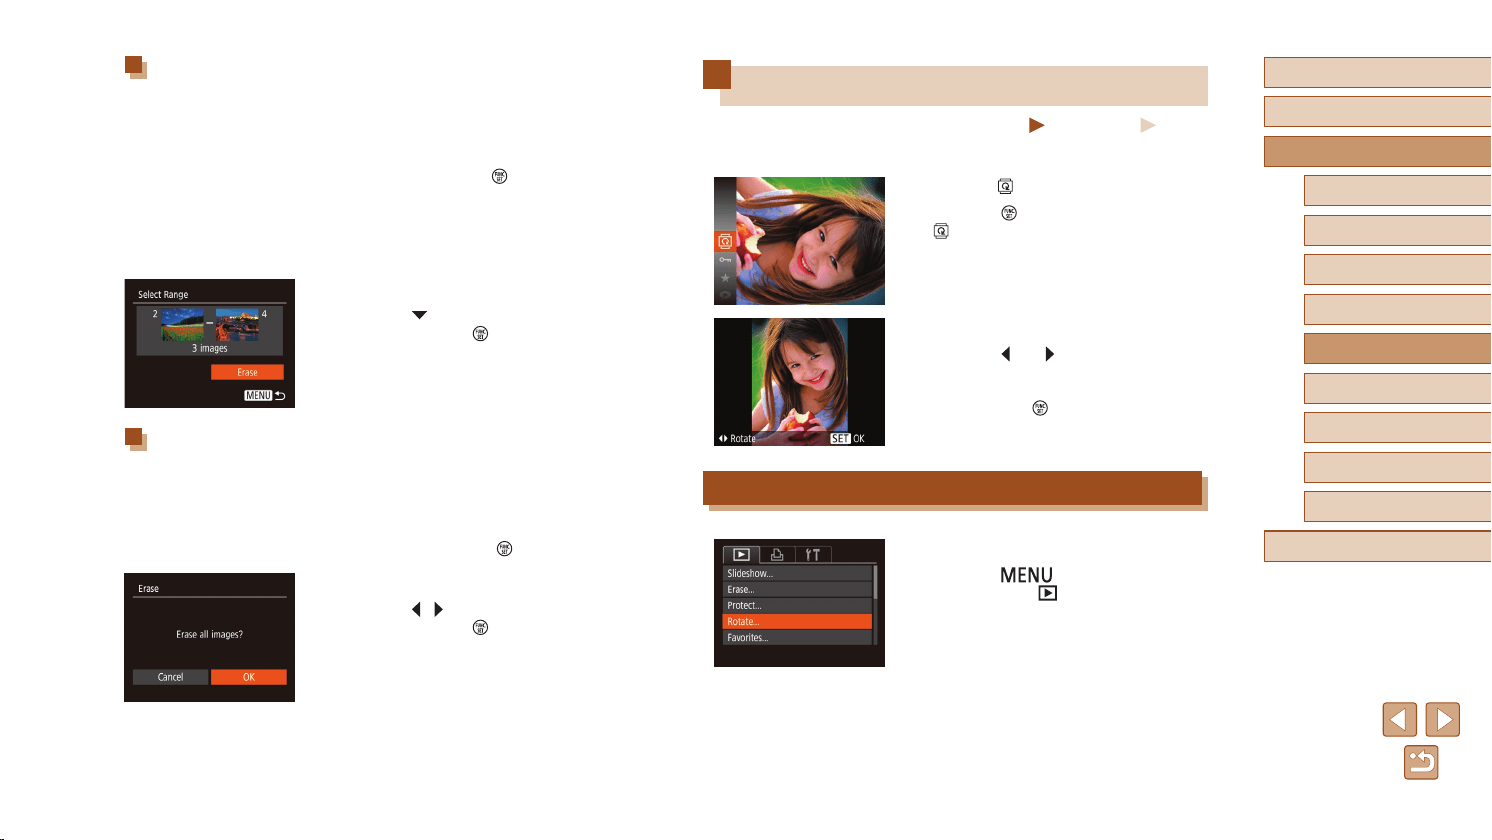
Rotating Images
Still Images
Movies
Change the orientation of images and save them as follows.
1
Choose [ ].
● Press the [ ] button, and then choose
[ ] in the menu (
=
24).
2
Rotate the image.
● Press the [ ] or [ ] button, depending
on the desired direction. Each time you
press the button, the image is rotated
90°. Press the [ ] button to complete the
setting.
Using the Menu
1
Choose [Rotate].
● Press the [ ] button and choose
[Rotate] on the [ ] tab (
=
25).
Selecting a Range
1
Choose [Select Range].
● Following step 2 in “Choosing a Selection
Method” (
=
70), choose [Select
Range] and press the [ ] button.
2
Choose images.
● Follow steps 2 – 3 in “Selecting a Range”
(
=
68) to specify images.
3
Erase the image.
● Press the [ ] button to choose [Erase],
and then press the [ ] button.
Specifying All Images at Once
1
Choose [Select All Images].
● Following step 2 in “Choosing a Selection
Method” (
=
70), choose [Select All
Images] and press the [ ] button.
2
Erase the image.
● Press the [ ][ ] buttons to choose [OK],
and then press the [ ] button.
Loading ...
Loading ...
Loading ...