Loading ...
Loading ...
Loading ...
34
Before Use
Basic Guide
Advanced Guide
1
Camera Basics
2
Auto Mode
3
Other Shooting Modes
5
Playback Mode
6
Wi-Fi Functions
7
Setting Menu
8
Accessories
4
P Mode
9
Appendix
Index
2
Shoot.
● For Still Images: Press the shutter button
halfway to focus on the subject, and then
press it all the way down.
● For Movies: Press the movie button.
● Once you start the self-timer, the lamp
will blink and the camera will play a self-
timer sound.
● Two seconds before the shot, the blinking
and sound will speed up. (The lamp will
remain lit in case the ash res.)
● To cancel shooting after you have
triggered the self-timer, press the
[
] button.
● To restore the original setting, choose [
]
in step 1.
Using the Self-Timer to Avoid Camera Shake
Still Images
Movies
This option delays shutter release until about two seconds after you
have pressed the shutter button. If the camera is unsteady while you are
pressing the shutter button, it will not affect your shot.
● Follow step 1 in “Using the Self-Timer”
(
=
34) and choose [ ].
● Once the setting is complete, [
] is
displayed.
● Follow step 2 in “Using the Self-Timer”
(
=
34) to shoot.
● Moving the zoom lever will display the zoom bar (which indicates
the zoom position). The color of the zoom bar will change
depending on the zoom range.
- White range: optical zoom range where the image will not
appear grainy.
- Yellow range: digital zoom range where the image is not
noticeably grainy (ZoomPlus).
- Blue range: digital zoom range where the image will appear
grainy.
● Because the blue range will not be available at some recording
pixel settings (
=
37), the maximum zoom factor can be
achieved by following step 1.
● To deactivate digital zoom, choose MENU (
=
25) > [ ] tab >
[Digital Zoom] > [Off].
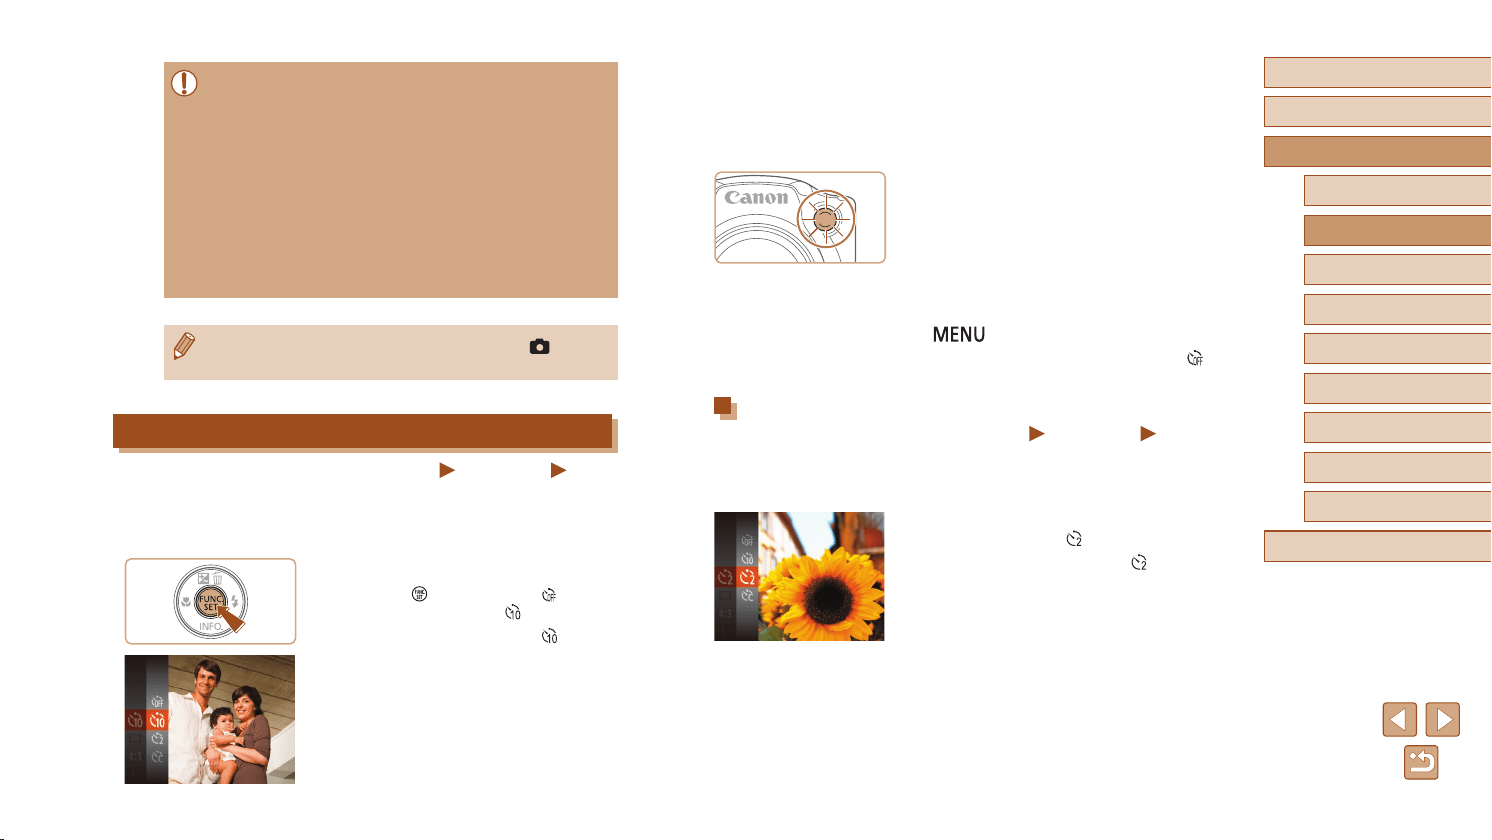
Using the Self-Timer
Still Images
Movies
With the self-timer, you can include yourself in group photos or other
timed shots. The camera will shoot about 10 seconds after you press the
shutter button.
1
Congure the setting.
● Press the [ ] button, choose [ ] in the
menu, and then choose [ ] (
=
24).
● Once the setting is complete, [
] is
displayed.
Loading ...
Loading ...
Loading ...