Loading ...
Loading ...
Loading ...
47
Before Use
Basic Guide
Advanced Guide
1
Camera Basics
2
Auto Mode
3
Other Shooting Modes
5
Playback Mode
6
Wi-Fi Functions
7
Setting Menu
8
Accessories
4
P Mode
9
Appendix
Index
4
Join the subjects in the shooting
area and look at the camera.
● After the camera detects a new face, the
lamp blinking and self-timer sound will
speed up. (When the ash res, the lamp
will remain lit.) About two seconds later,
the camera will shoot.
● To cancel shooting after you have
triggered the self-timer, press the
[
] button.
● Even if your face is not detected after you join the others in the
shooting area, the camera will shoot about 15 seconds later.
● To change the number of shots, after choosing [
] in step 1,
press the [
] button, choose the number of shots by pressing the
[
][ ] buttons, and then press the [ ] button.
Shooting Long Exposures (Long Shutter)
Still Images
Movies
Specify a shutter speed of 1 – 15 seconds to shoot long exposures. In this
case, mount the camera on a tripod or take other measures to prevent
camera shake.
1
Choose [ ].
● Follow step 1 in “Specic Scenes”
(
=
43) and choose [ ].
Special Modes for Other Purposes
Using the Face Self-Timer
Still Images
Movies
The camera will shoot about two seconds after detecting that the face of
another person (such as the photographer) (
=
56) has entered the
shooting area. This is useful when including yourself in group photos or
similar shots.
1
Choose [ ].
● Follow step 1 in “Specic Scenes”
(
=
43) and choose [ ].
2
Compose the shot and press the
shutter button halfway.
● Make sure a green frame is displayed
around the face you focus on and white
frames around other faces.
3
Press the shutter button all the way
down.
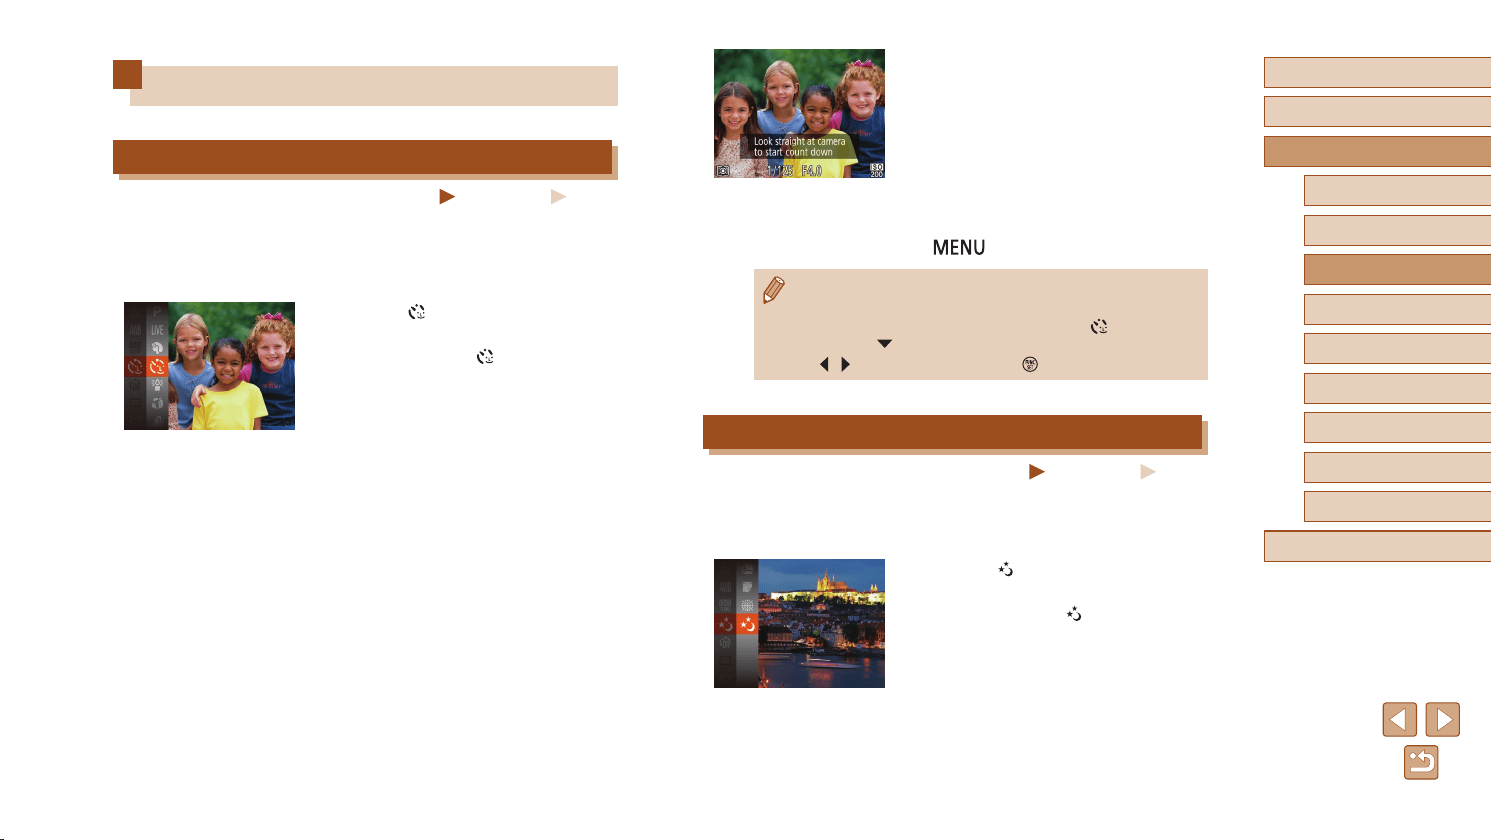
● The camera now enters shooting standby
mode, and [Look straight at camera to
start count down] is displayed.
● The lamp blinks and the self-timer sound
is played.
Loading ...
Loading ...
Loading ...