Loading ...
Loading ...
Loading ...
25
Before Use
Basic Guide
Advanced Guide
1
Camera Basics
2
Auto Mode
3
Other Shooting Modes
5
Playback Mode
6
Wi-Fi Functions
7
Setting Menu
8
Accessories
4
P Mode
9
Appendix
Index
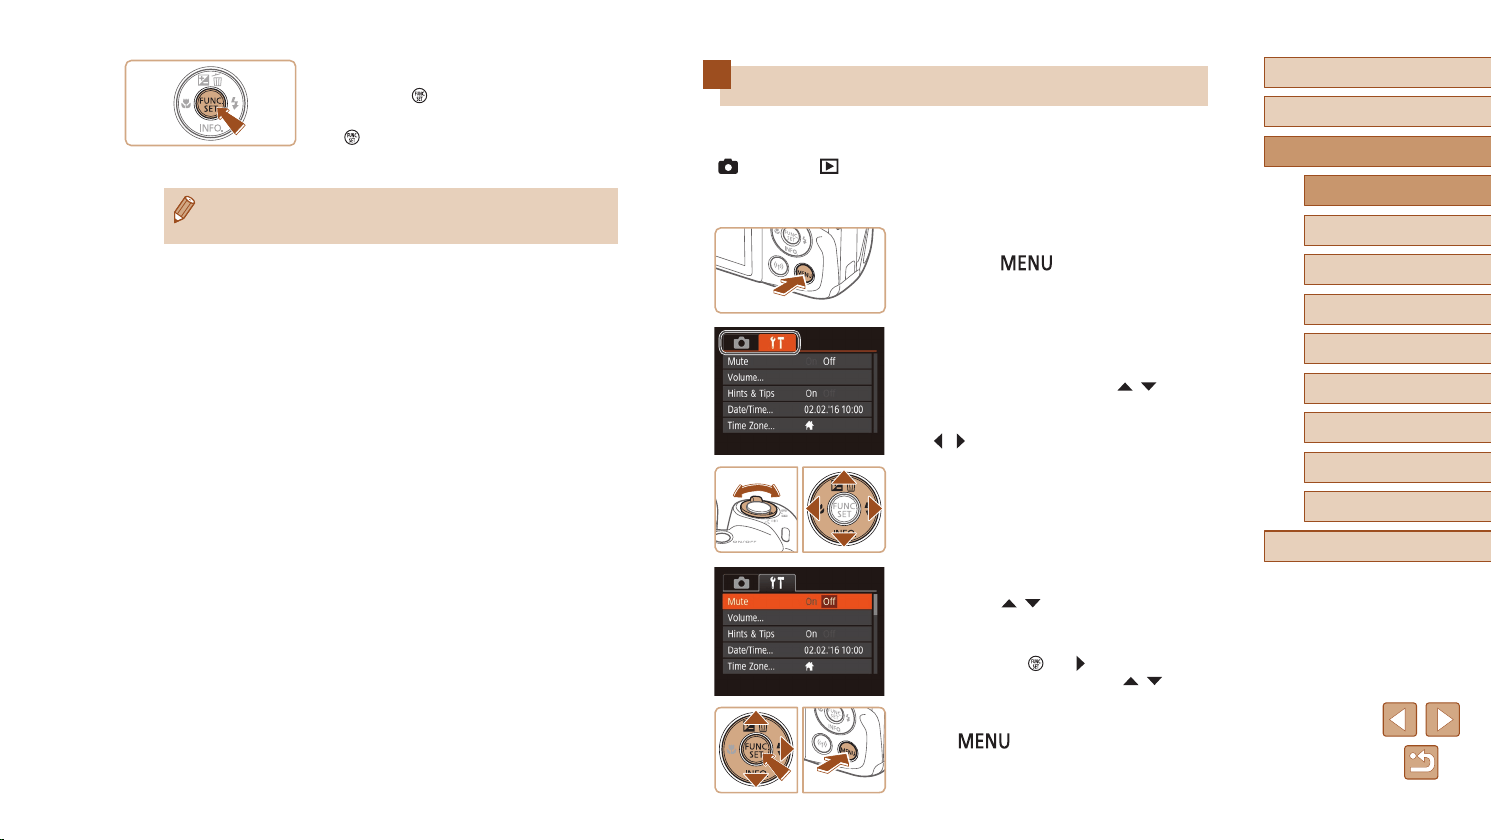
Using the Menu Screen
Congure a variety of camera functions through the menu screen as
follows. Menu items are grouped by purpose on tabs, such as shooting
[ ], playback [ ], and so on. Note that available menu items vary
depending on the selected shooting or playback mode (
=
137 –
=
140).
1
Access the menu screen.
● Press the [ ] button.
2
Choose a tab.
● Move the zoom lever to choose a tab.
● After you have pressed the [
][ ]
buttons to choose a tab initially, you can
switch between tabs by pressing the
[ ][ ] buttons.
3
Choose a menu item.
● Press the [ ][ ] buttons to choose an
item.
● For menu items with options not shown,
rst press the [
] or [ ] button to switch
screens, and then press the [ ][ ]
buttons to select the menu item.
● To return to the previous screen, press
the [
] button.
4
Finish the setup process.
● Press the [ ] button.
● The screen before you pressed the
[
] button in step 1 is displayed again,
showing the option you congured.
● To undo any accidental setting changes, you can restore the
camera’s default settings (
=
112).
Loading ...
Loading ...
Loading ...