Loading ...
Loading ...
Loading ...
9
8
OPERATING INSTRUCTIONS
PREPARING THE OVEN FOR USE
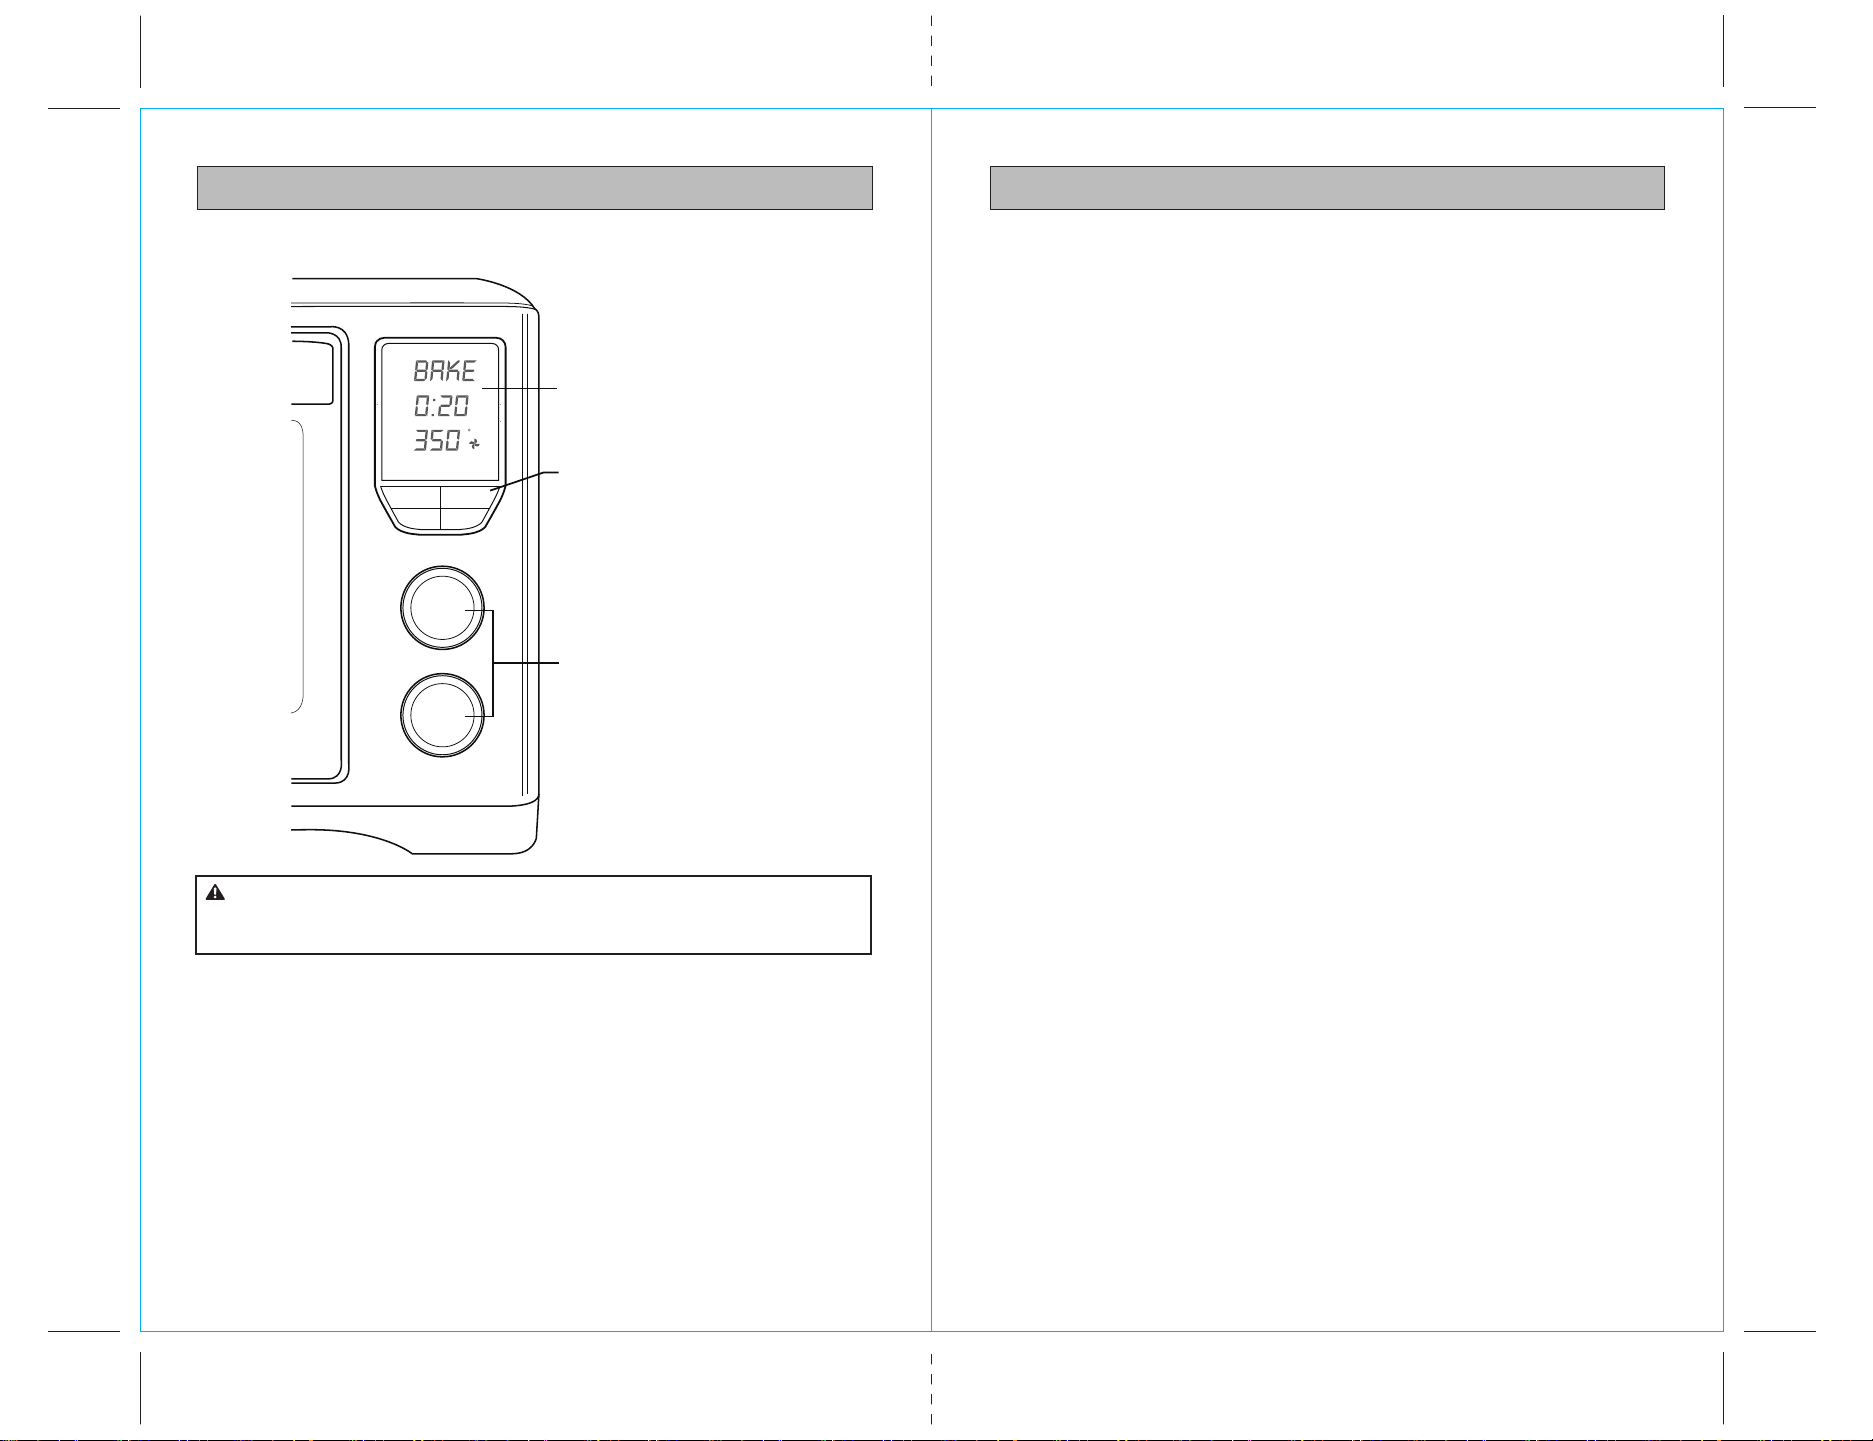
PARTS AND FEATURES
DIGITAL CONTROL PANEL
LED Screen
Control Buttons
Control dials
Do not touch hot surfaces. The outer surfaces of the oven, including
the oven door, are hot during and after operation. Allow the oven to cool down
before handling.
CAUTION:
1. Remove and safely discard any packing material, promotional labels and tape
from the oven.
2. Remove the crumb tray, wire rack, broil rack, baking pan and pizza pan from
the polyfoam packaging. Wash them in warm soapy water with a soft sponge,
rinse and dry thoroughly. Re-insert the crumb tray into the oven.
3. Wipe the interior of the oven with a soft damp sponge. Dry thoroughly.
4. Place the oven on a flat, dry surface. Ensure there is a minimum distance of
4” (10cm) of space on both sides of the appliance. Ensure there are no items
on top of the oven.
5. Unwind the power cord completely and insert the power plug into a grounded
wall outlet.
6. The oven alert will sound one time and the LED screen will illuminate.
The function options will appear with an indicator on the preset BAKE function.
7. The oven is now ready to use.
NOTE: The cooking cycle can be stopped at any time by pressing the Start/
Stop button. This will cancel the cycle and the button illumination will go out.
INITIAL USE
Heat the oven empty for 15 minutes the first time it is used to burn off protective
coatings from the heating elements. The burn-off will emit non-toxic vapors which
are harmless, nor will they damage the oven.
Time/Temp
Convec
Function
Mode
Time
Temp
Start/Stop
Slice/Shade
Min
Time
Temp
Hr
F
Slic e Shade
Fig. 2
Loading ...
Loading ...
Loading ...