Loading ...
Loading ...
Loading ...
19
18
OPERATING INSTRUCTIONSOPERATING INSTRUCTIONS
BROIL FUNCTION BROIL FUNCTION cont.
ELEMENTS
Top heating elements cycle on and off to regulate the correct temperature.
RACK POSITION
Top rack height position.
OPTIONAL SETTINGS
Convec button: Activate for convection cooking
The BROIL function is ideal for open sandwiches, small cuts of meat, poultry, fish, sausages
and vegetables. Broiling can also be used to brown the tops of casseroles and gratins.
1. Insert the oven rack into the top rack height position. Position the rack with the
spokes facing upwards.
NOTE: We recommend using the top rack height position during the BROIL function.
However this is a guide only. Certain foods may require the middle rack position
depending on the recipe, the amount and size of the food and your personal taste.
For example, the middle rack height position may be more appropriate for taller
foods that may touch the heating elements, thicker foods such as hamburger patties,
marinated foods such chicken wings, or foods that require a gentle broil.
We recommend experimenting with the rack height position, as well as the
temperature and time settings to produce the desired results.
2. Insert the broiling rack into the enamel baking pan with
the broiling rack spokes facing upwards. Place food on
the rack, then place rack onto the center of the oven
rack so that air flows around the sides of the food.
NOTE: When broiling, the broiling rack must be inserted into
the Kenmore enamel baking pan. When assembled together,
the broiling rack is designed to drain grease and fats away
from meats for healthier cooking. The baking pan collects
these pan drippings and helps prevent spattering.
Fig. 15
Min
Time
Temp
F
NOTE: Do not use lids of any type in the oven as hot ingredients can build up
pressure and cause injury.
3. Close the oven door.
4. Turn the FUNCTION dial until the indicator on the LED screen reaches the BROIL
function. The bottom figure on the LED screen indicates the preset temperature of
500°F’, while the top figure on the LED screen indicates the preset time of ‘0:30 MIN’.
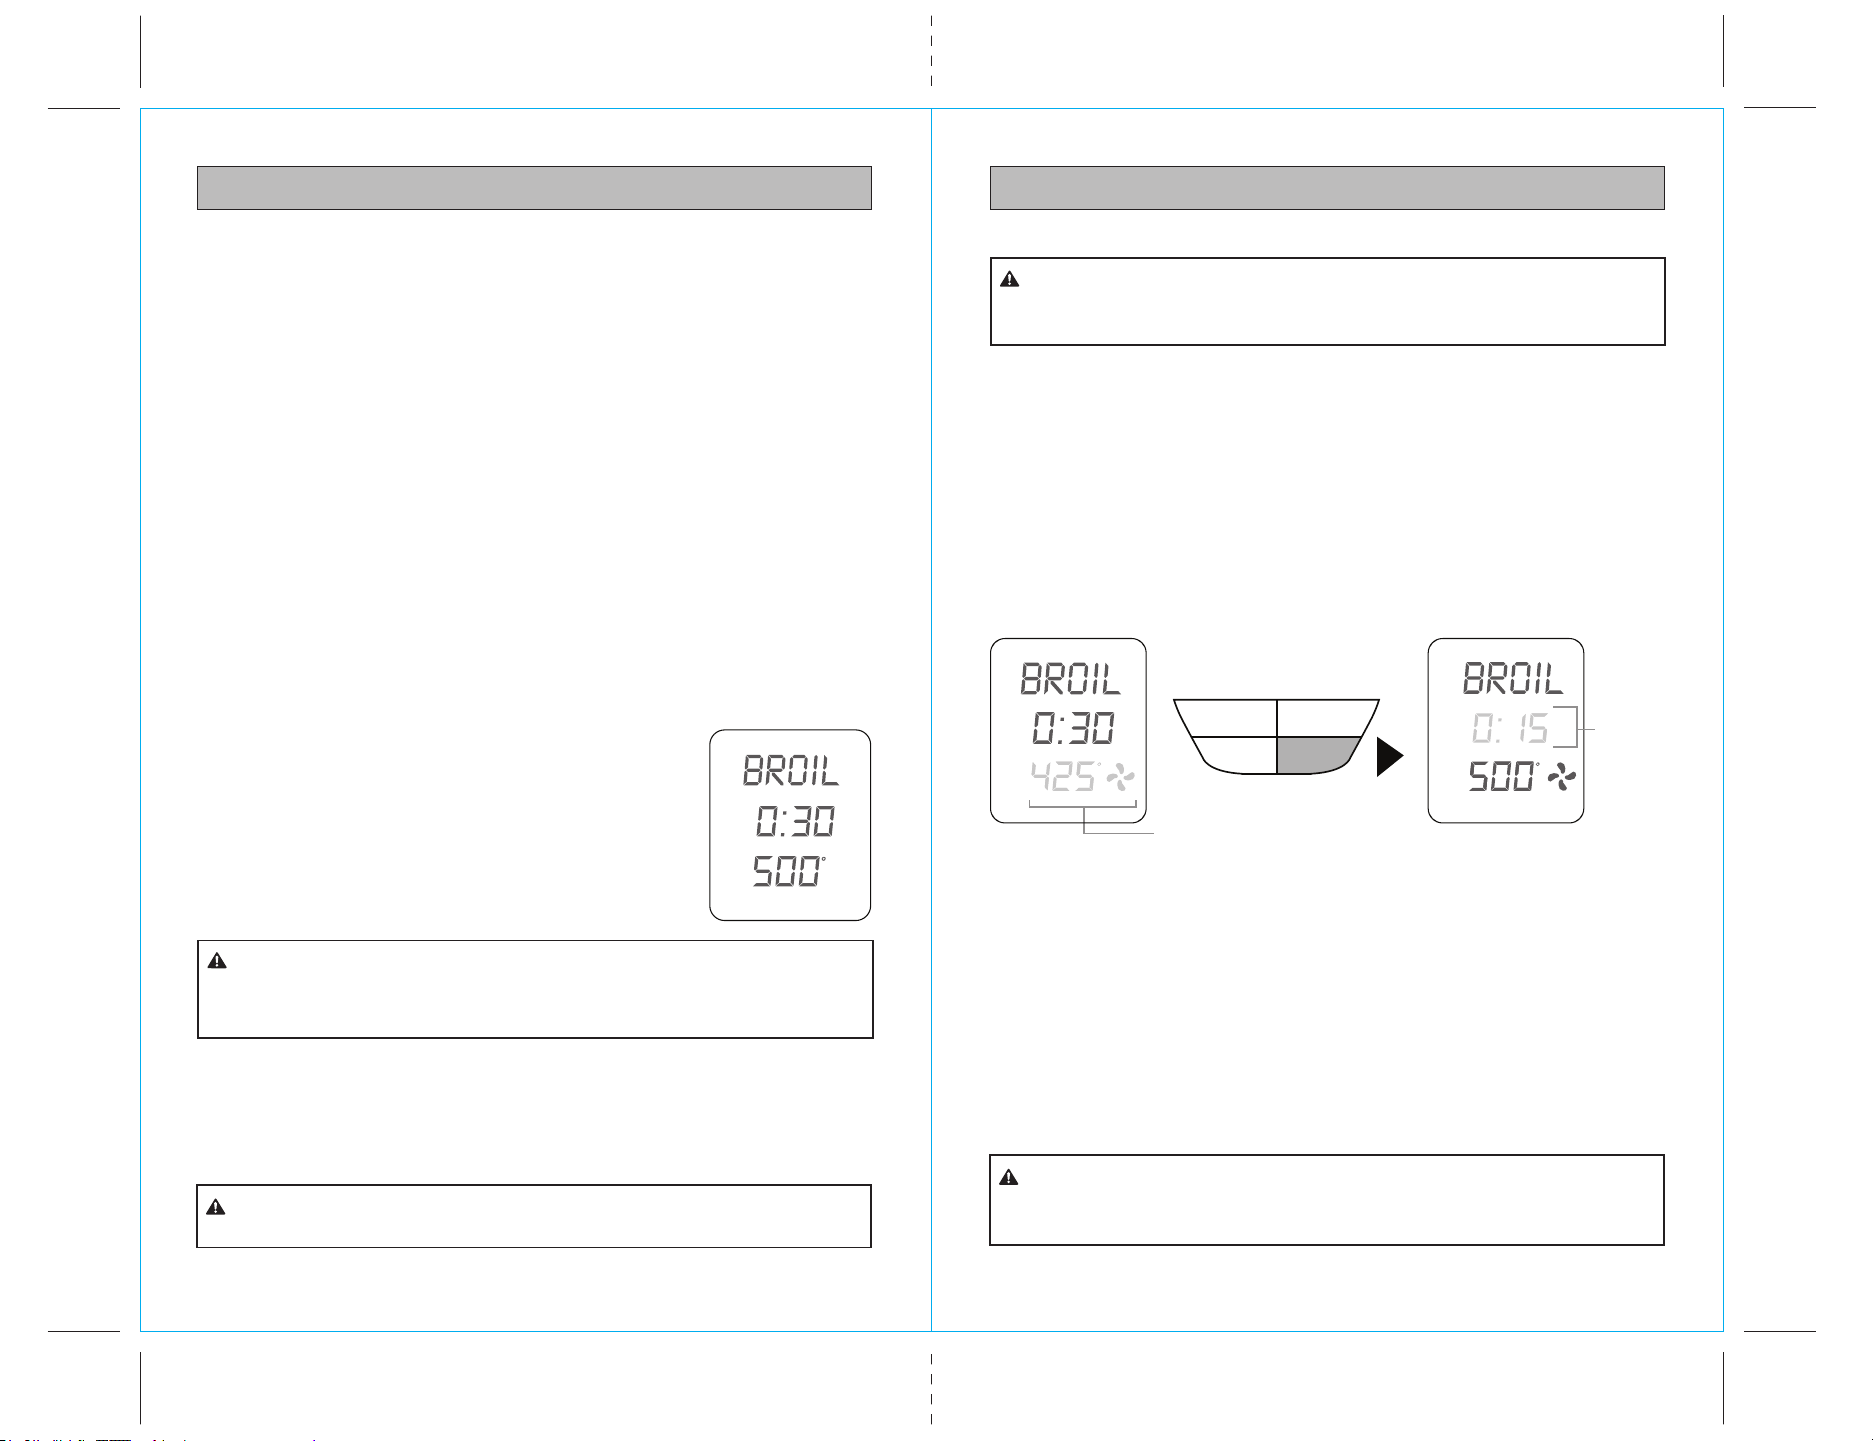
5. The broiling temperature and time can be adjusted before or during the broiling cycle.
a) Press the Time/Temp control button until Temp flashes in the display.
b) Turn the Time Temp control dial to adjust broiling temperature. Adjustment
must be made while Temp is flashing (10 seconds).
c) Press the Time/Temp control button again for Time to flash in the display.
d) Turn the Time Temp control dial to adjust broiling time. Adjustment must be
made while Time is flashing (10 seconds).
Always ensure the oven door is completely closed when using the
broil function.
CAUTION:
Be extremely careful if using cooking utensils for broiling other than
the supplied broiling rack and baking pan, especially those constructed of material
other than metal. Even oven-safe glassware can overheat and crack if it contacts
the oven heating elements.
CAUTION:
6. Press the Start/Stop control button to begin broiling cycle. The Start/Stop control
button words will light up and the oven alert will sound.
7. While the oven is heating up, the Temp digits will flash the escalating temperature
of the oven interior on the LED display. When the oven reaches the set broiling
temperature, the Temp digits stop flashing, the oven alert sounds, and the Time digits
begin counting down in one minute increments. NOTE: When the Time digits reach
10 minutes, the display shifts to counting down by the second.
NOTE: Depending on the food being broiled, it may be necessary to turn food over
half way through the cooking time to achieve even cooking and browning.
8. At the end of the broiling cycle, the oven alert will sound five times and the
START/STOP button words will cease to illuminate.
NOTE: You may stop the broiling cycle at any time by pressing the Start/Stop control button.
Fig. 16
Min
Time
The outer surface of the oven, including the oven door, is hot during
and after operation. Always use protective hot pads or insulated oven mitts when
inserting, removing or handling items from the oven.
CAUTION:
DO NOT use lids of any type in the oven as they can cause hot
ingredients within cooking vessels to build up pressure and possibly cause sudden
eruption of contents and serious burns to vessel handlers.
WARNING:
NOTE: Do not cover any part of the oven, including accessories, pans, and dishes
with metal foil. This may cause overheating of the oven.
Flashing until selected
temperature is reached
Time/Temp
Convection Start/Stop
Slice/Darkness
Min
Time
Temp
F
Temp
F
Count
down
begins
(Flashing)
Loading ...
Loading ...
Loading ...