Loading ...
Loading ...
Loading ...
06 Maintenance and specifications
Wheels and tires
06
264
Temporary Spare
The spare tire in your vehicle is called a "Tem-
porary Spare".
Recommended tire pressure (see the placard
on the B-pillar or on the fuel filler door) should
be maintained irrespective of which position on
the vehicle the temporary spare tire is used on.
In the event of damage to this tire, a new one
can be purchased from your Volvo retailer.
WARNING
Current legislation prohibits the use of the
"Temporary Spare" tire other than as a tem-
porary replacement for a punctured tire. It
must be replaced as soon as possible by a
standard tire. Road holding and handling
may be affected with the "Temporary
Spare" in use. Do not exceed 50 mph
(80 km/h).
CAUTION
The vehicle must not be driven with wheels
of different dimensions or with a spare tire
other than the one that came with the vehi-
cle. The use of different size wheels can
seriously damage your car's transmission.
Changing a wheel
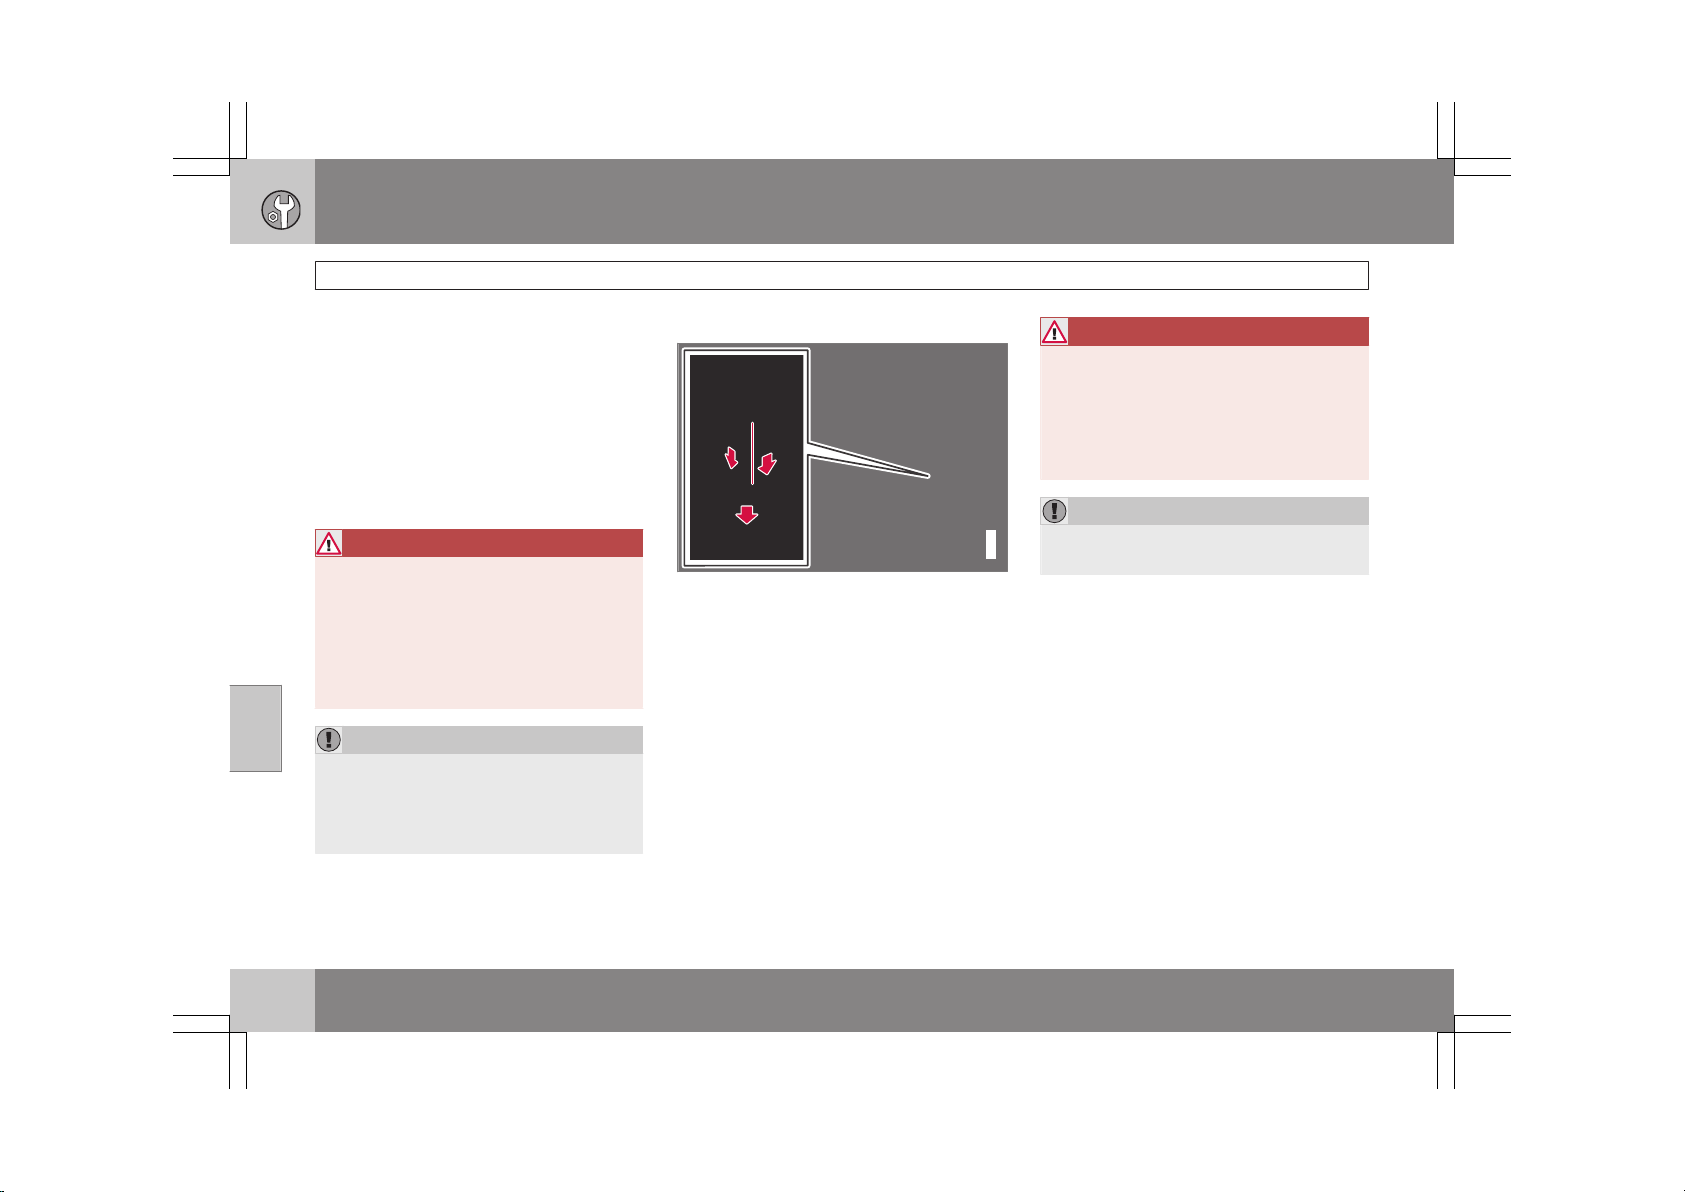
G031900
Location of jack and tools
Spare wheel
The spare wheel (Temporary spare) is only
intended for temporary use. Replace the spare
wheel with a normal wheel as soon as possible.
The car's handling may be altered by the use
of the spare wheel. The correct tire pressure for
the spare wheel is stated in the tire pressure
tables beginning on page 258.
WARNING
Current legislation prohibits the use of the
“Temporary Spare” tire other than as a tem-
porary replacement for a punctured tire. It
must be replaced as soon as possible by a
standard tire. Road holding and handling
may be affected with the “Temporary
Spare” in use.
CAUTION
The vehicle must never be driven with more
than one temporary spare wheel.
The spare wheel is located in the spare wheel
well with the rim side down. There are two foam
blocks, one under the spare wheel and one
over/inside. The upper one contains all tools.
The same bolt runs through to secure the spare
wheel and the foam blocks.
Taking out the spare wheel
1. Fold the rear edge of the floor mat forward.
2. Open the floor hatch.
3. Undo the retaining bolt.
4. Lift out the foam block with tools.
5. Lift out the spare wheel.
The other two blocks can remain in the wheel
well.
Loading ...
Loading ...
Loading ...