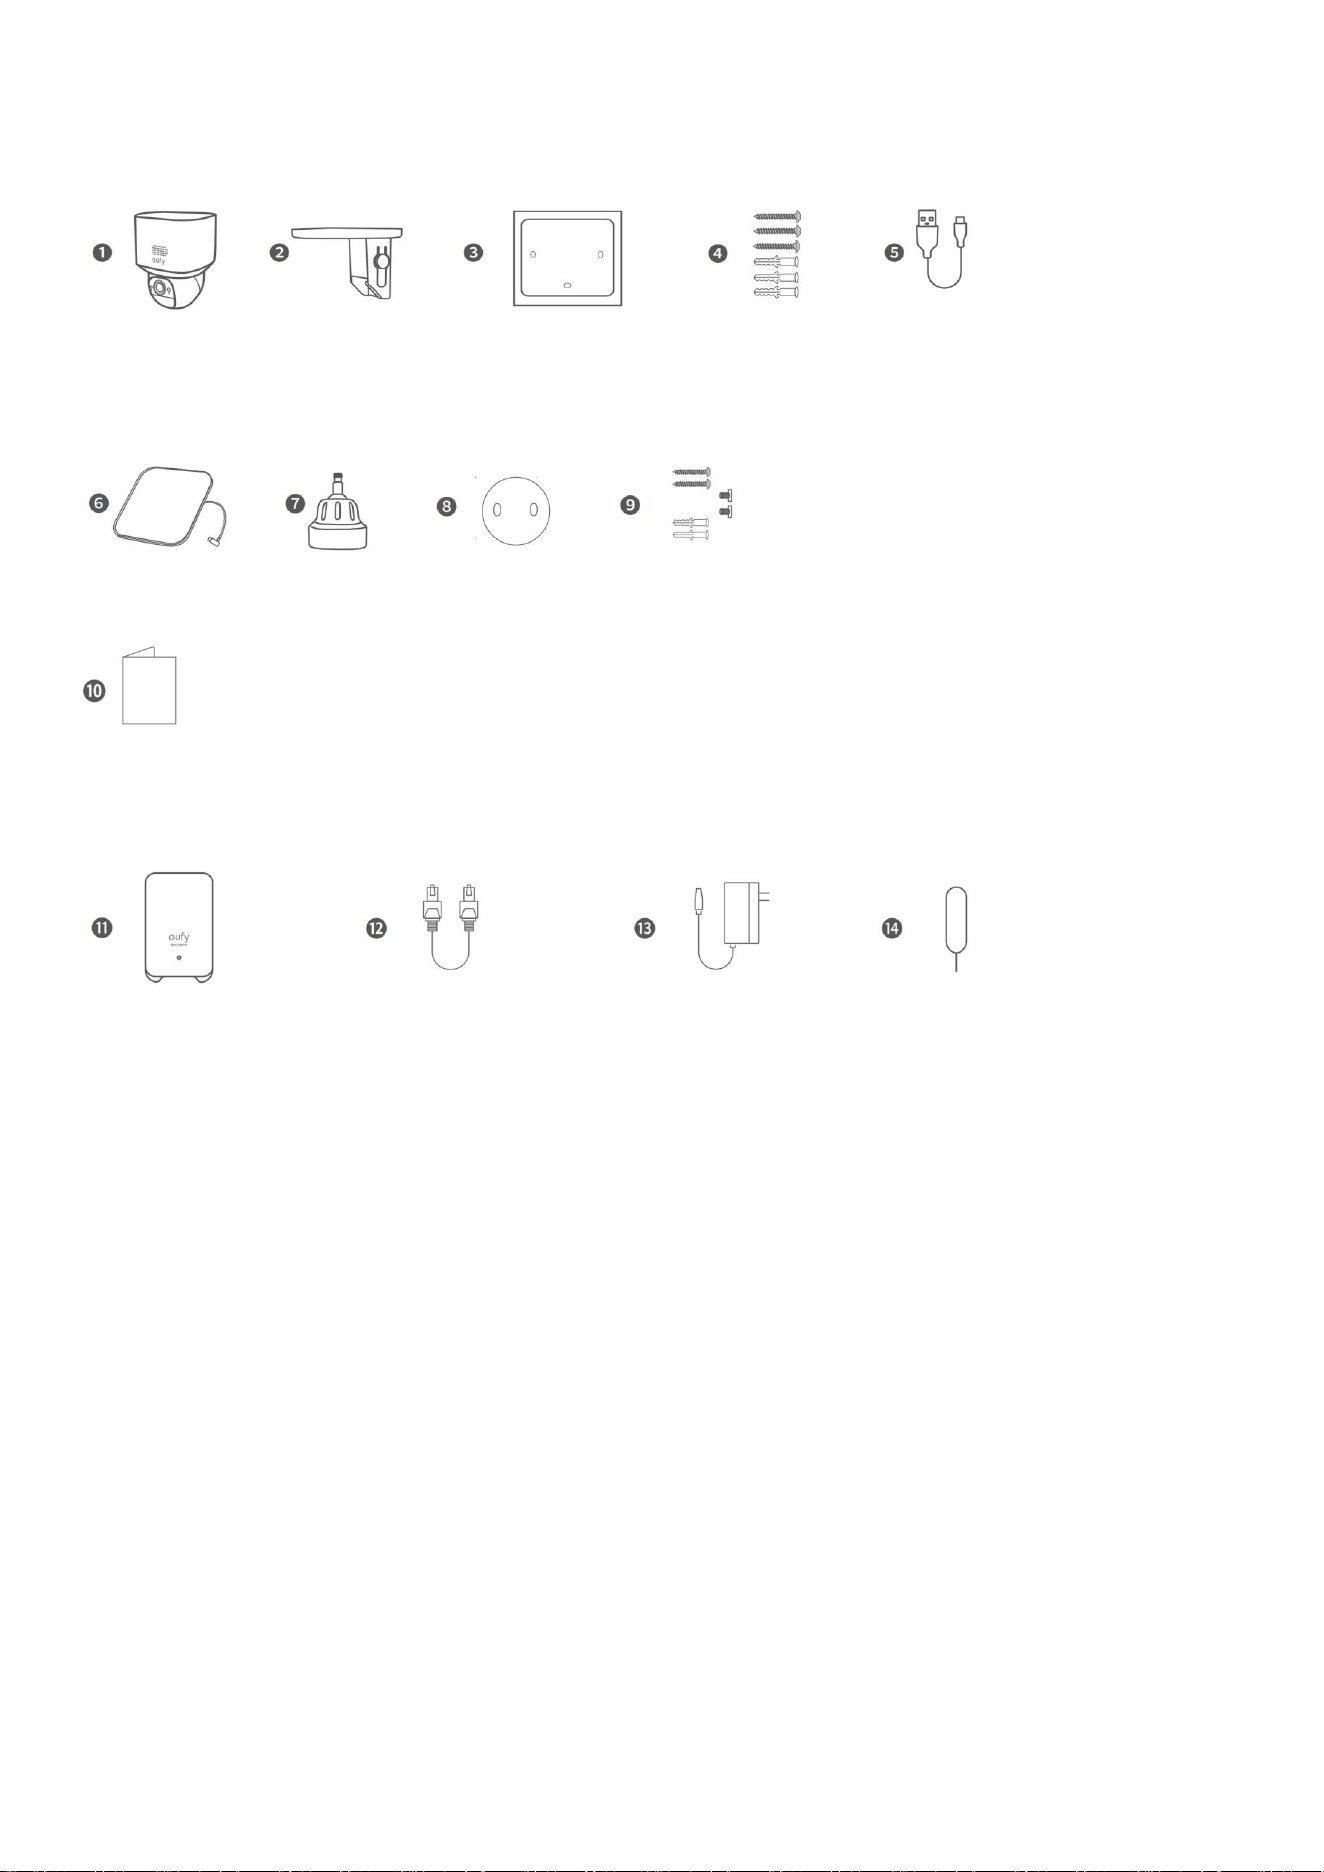
What's in the Box
For Camera Installation
For Solar Panel Installation
Others
For HomeBase Setup
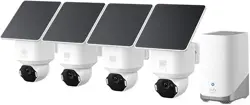
*Only available in kits with HomeBase.
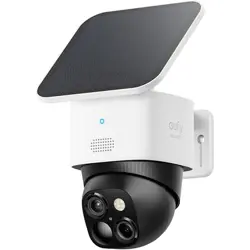
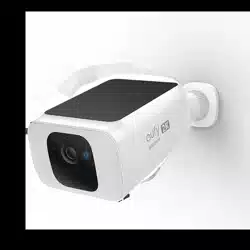
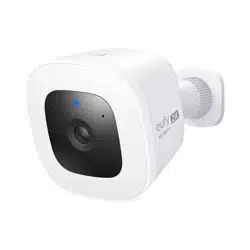
❶ Camera
❷ Camera Mounting Bracket
❸ Positioning Sticker for Camera Mount
❹ Screw Pack (Camera)
❺ USB-C Charging Cable
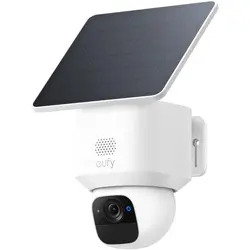
❻ Solar Panel
❼ Solar Panel Mounting Bracket
❽ Positioning Sticker for Solar Panel Mount
❾ Screw Pack (Solar Panel)
❿ QSG
⓫ HomeBase 2

⓬ Ethernet Cable
⓭ Power Adapter
⓮ Reset Pin
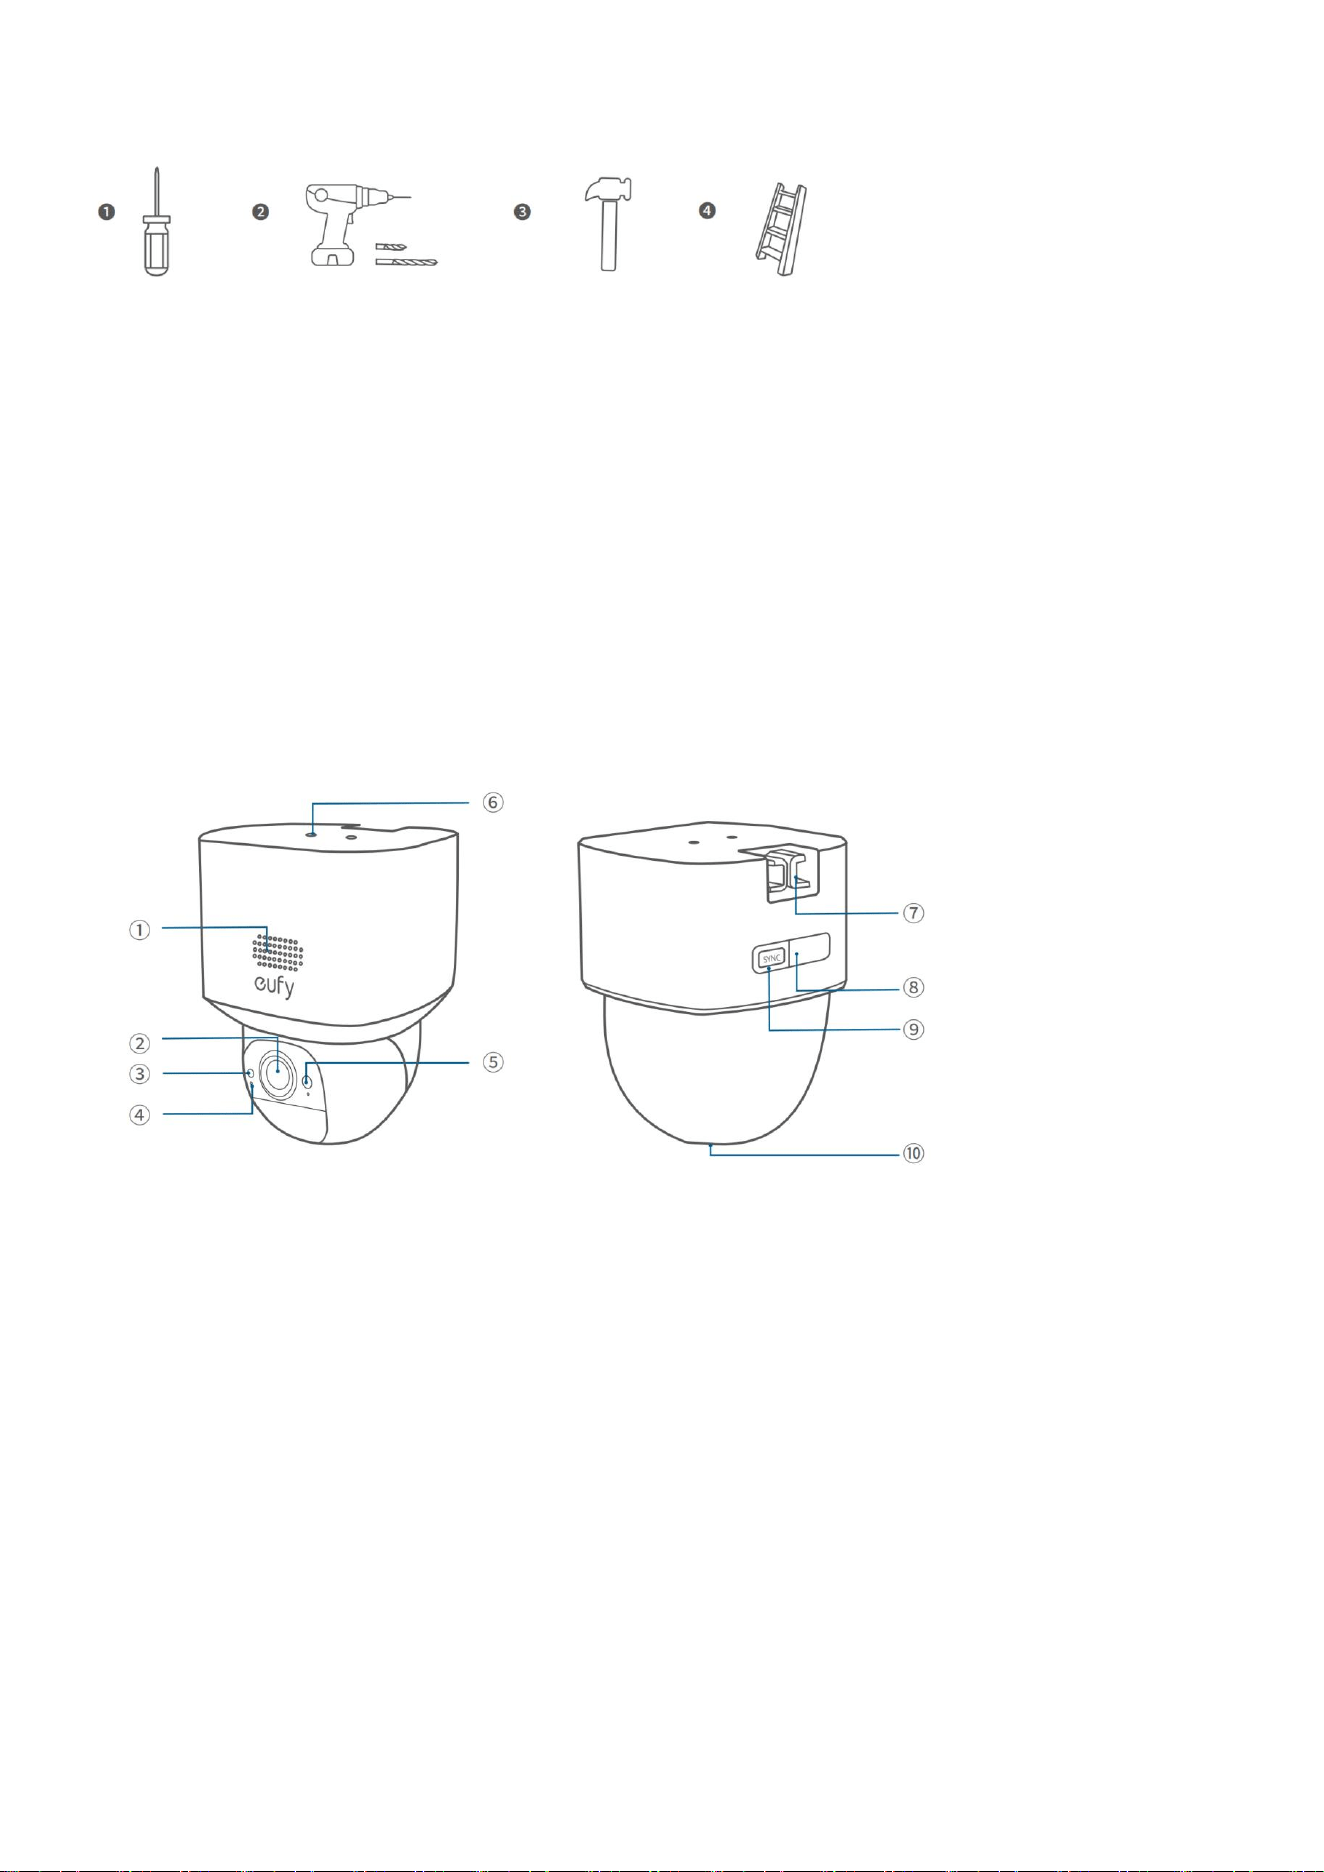
Tools You Will Need
❶ Phillips Screwdriver
❷ Power Drill & Drill Bits
• Pilot Holes: 1.5 mm (1/16 in)
• Wall Anchors: 5.95 mm (15/64 in)
❸ Hammer
❹ Ladder
At a Glance
① Speaker
② Lens
③ Photosensitive Sensor
④ Microphone
⑤ LED Indicator
⑥ Solar Panel Mounting Hole
⑦ Mounting Hook
⑧ USB-C Charging Port
⑨ SYNC Button
⑩ microSD Card Slot
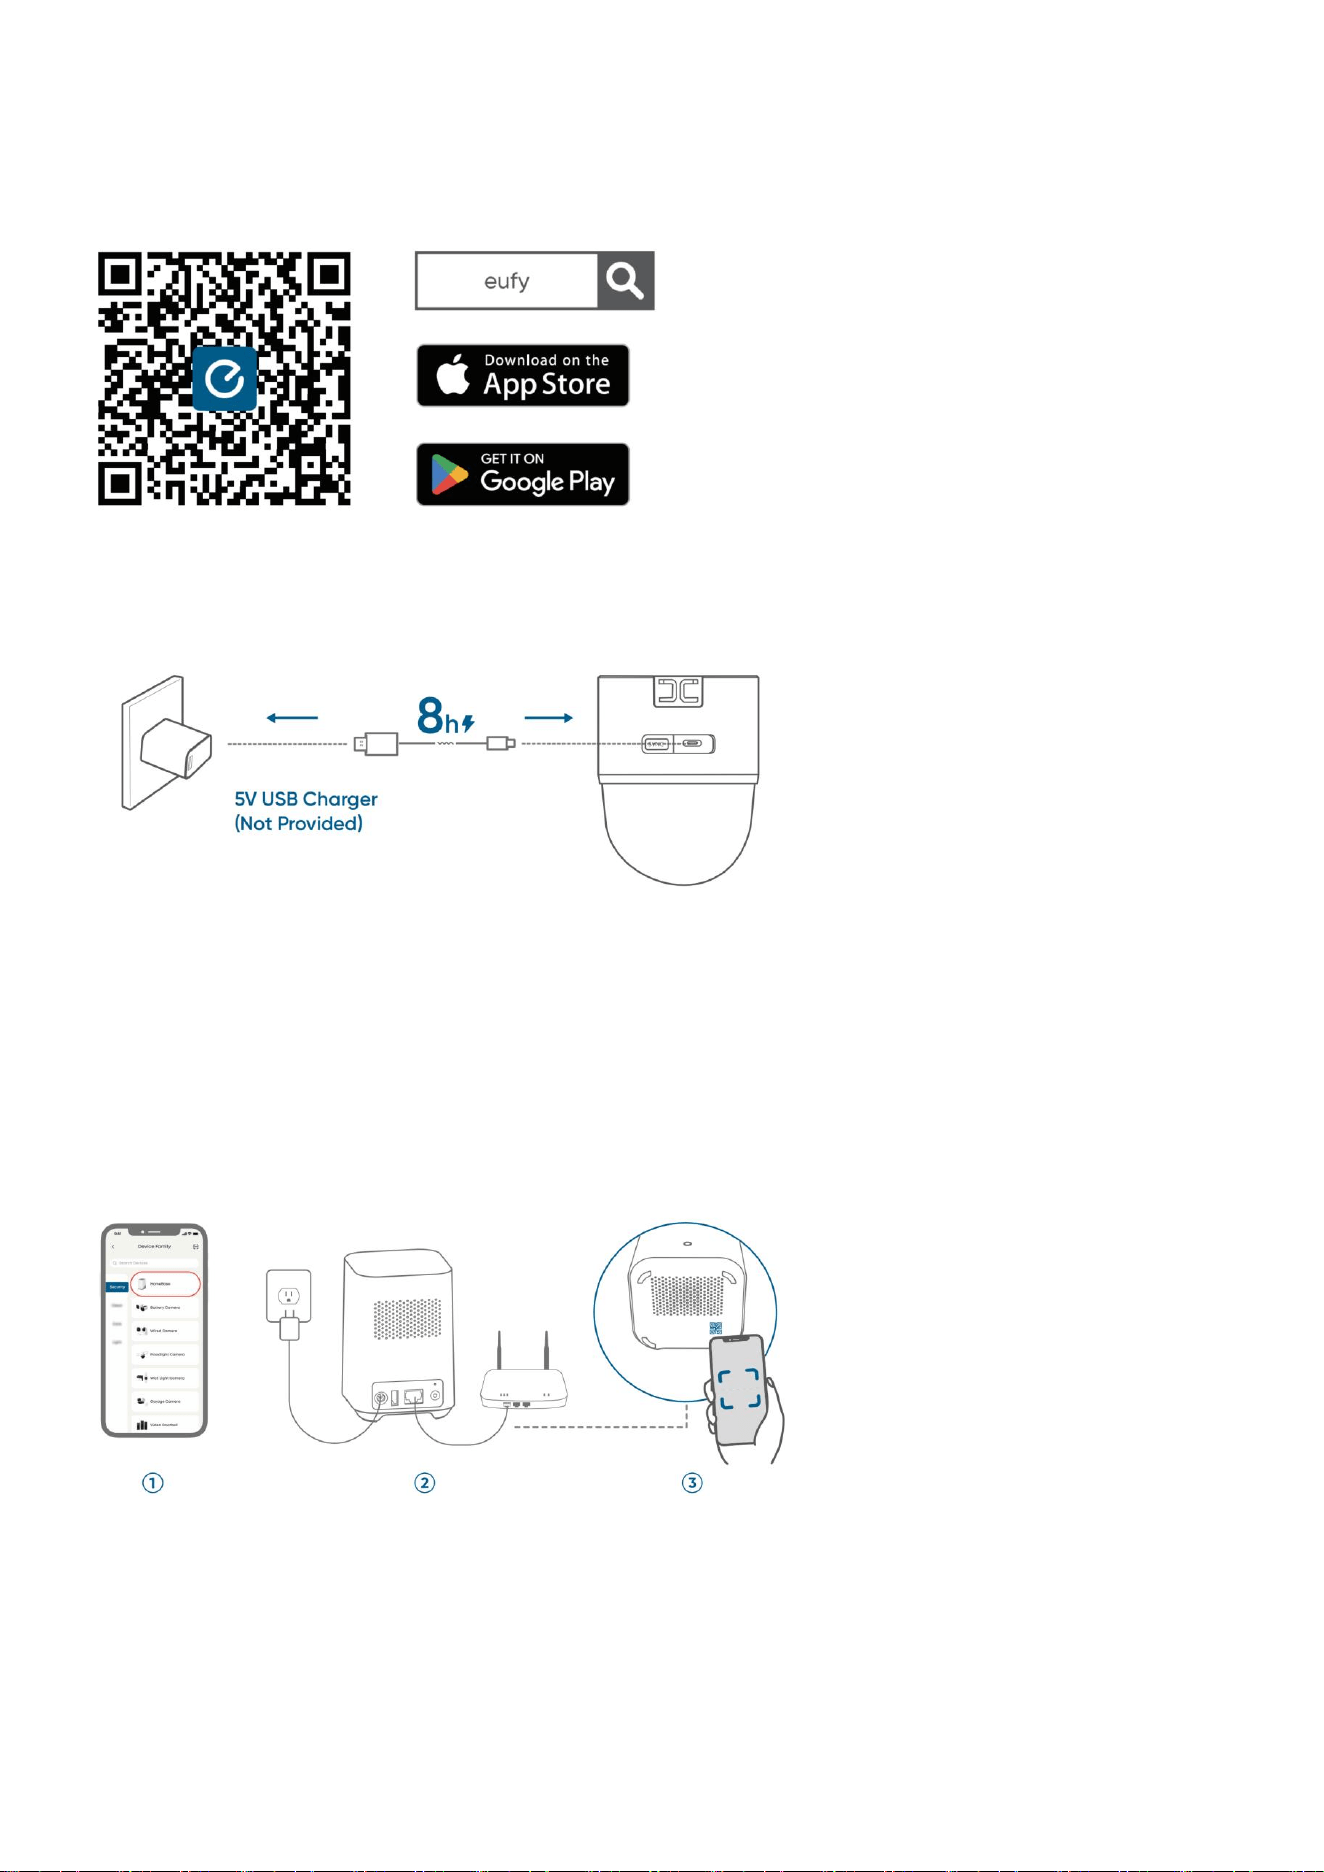
Before Mounting
1. Download eufy App
Make sure your app is updated to the latest version.
2. Fully Charge the Cameras
Fully charge the cameras before first use.
You can check the battery level in the app.
3. Add HomeBase (Optional)
Follow the in-app instructions to add HomeBase.
①
Add HomeBase
②
Connect
③
Scan via the app
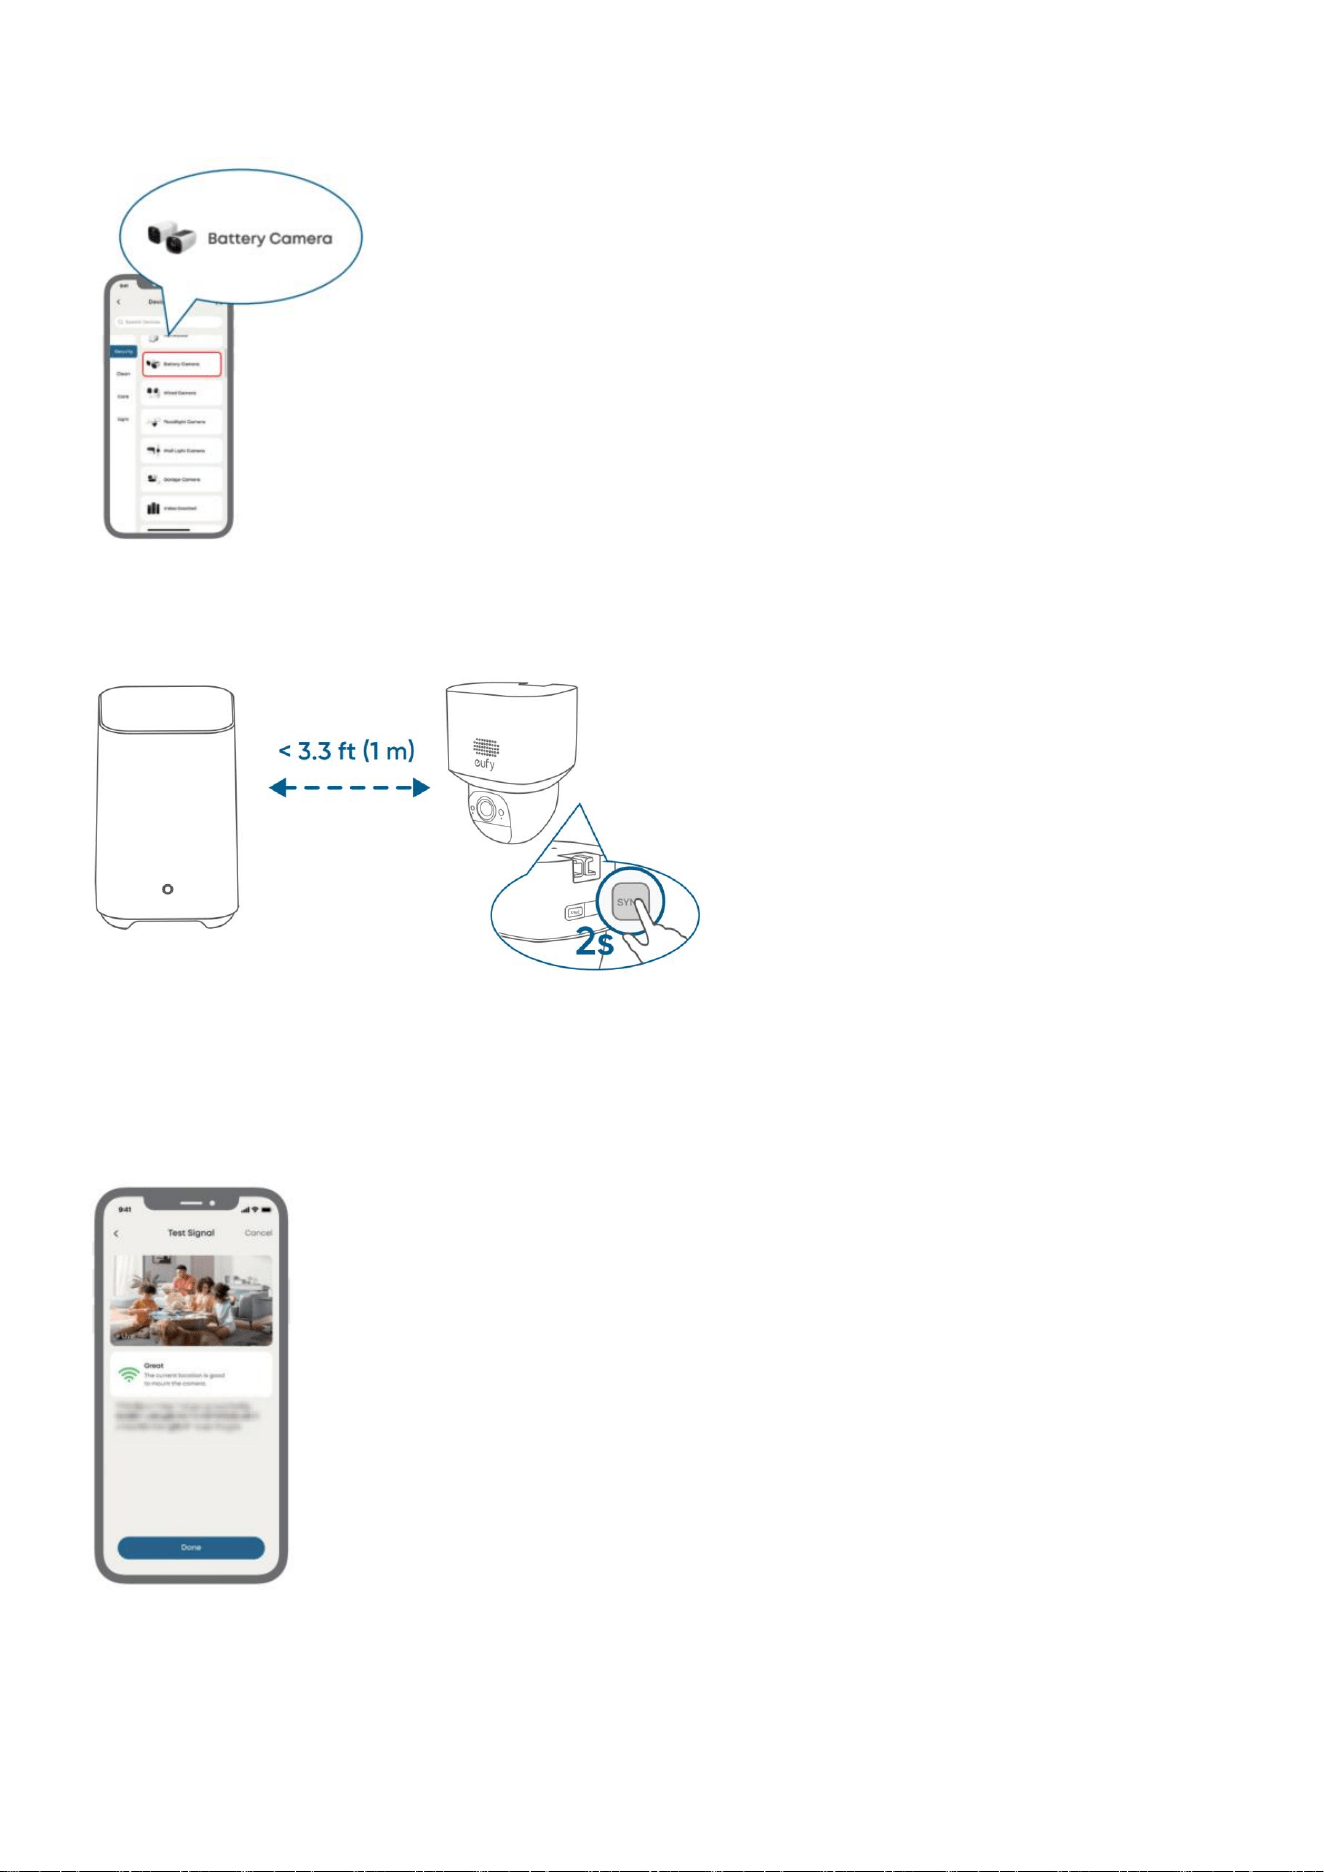
4. Add Cameras
① Add camera
② Sync with HomeBase
5. Recheck in the App
Check before installation:
• Strong Wi-Fi signal
• Smooth live streaming
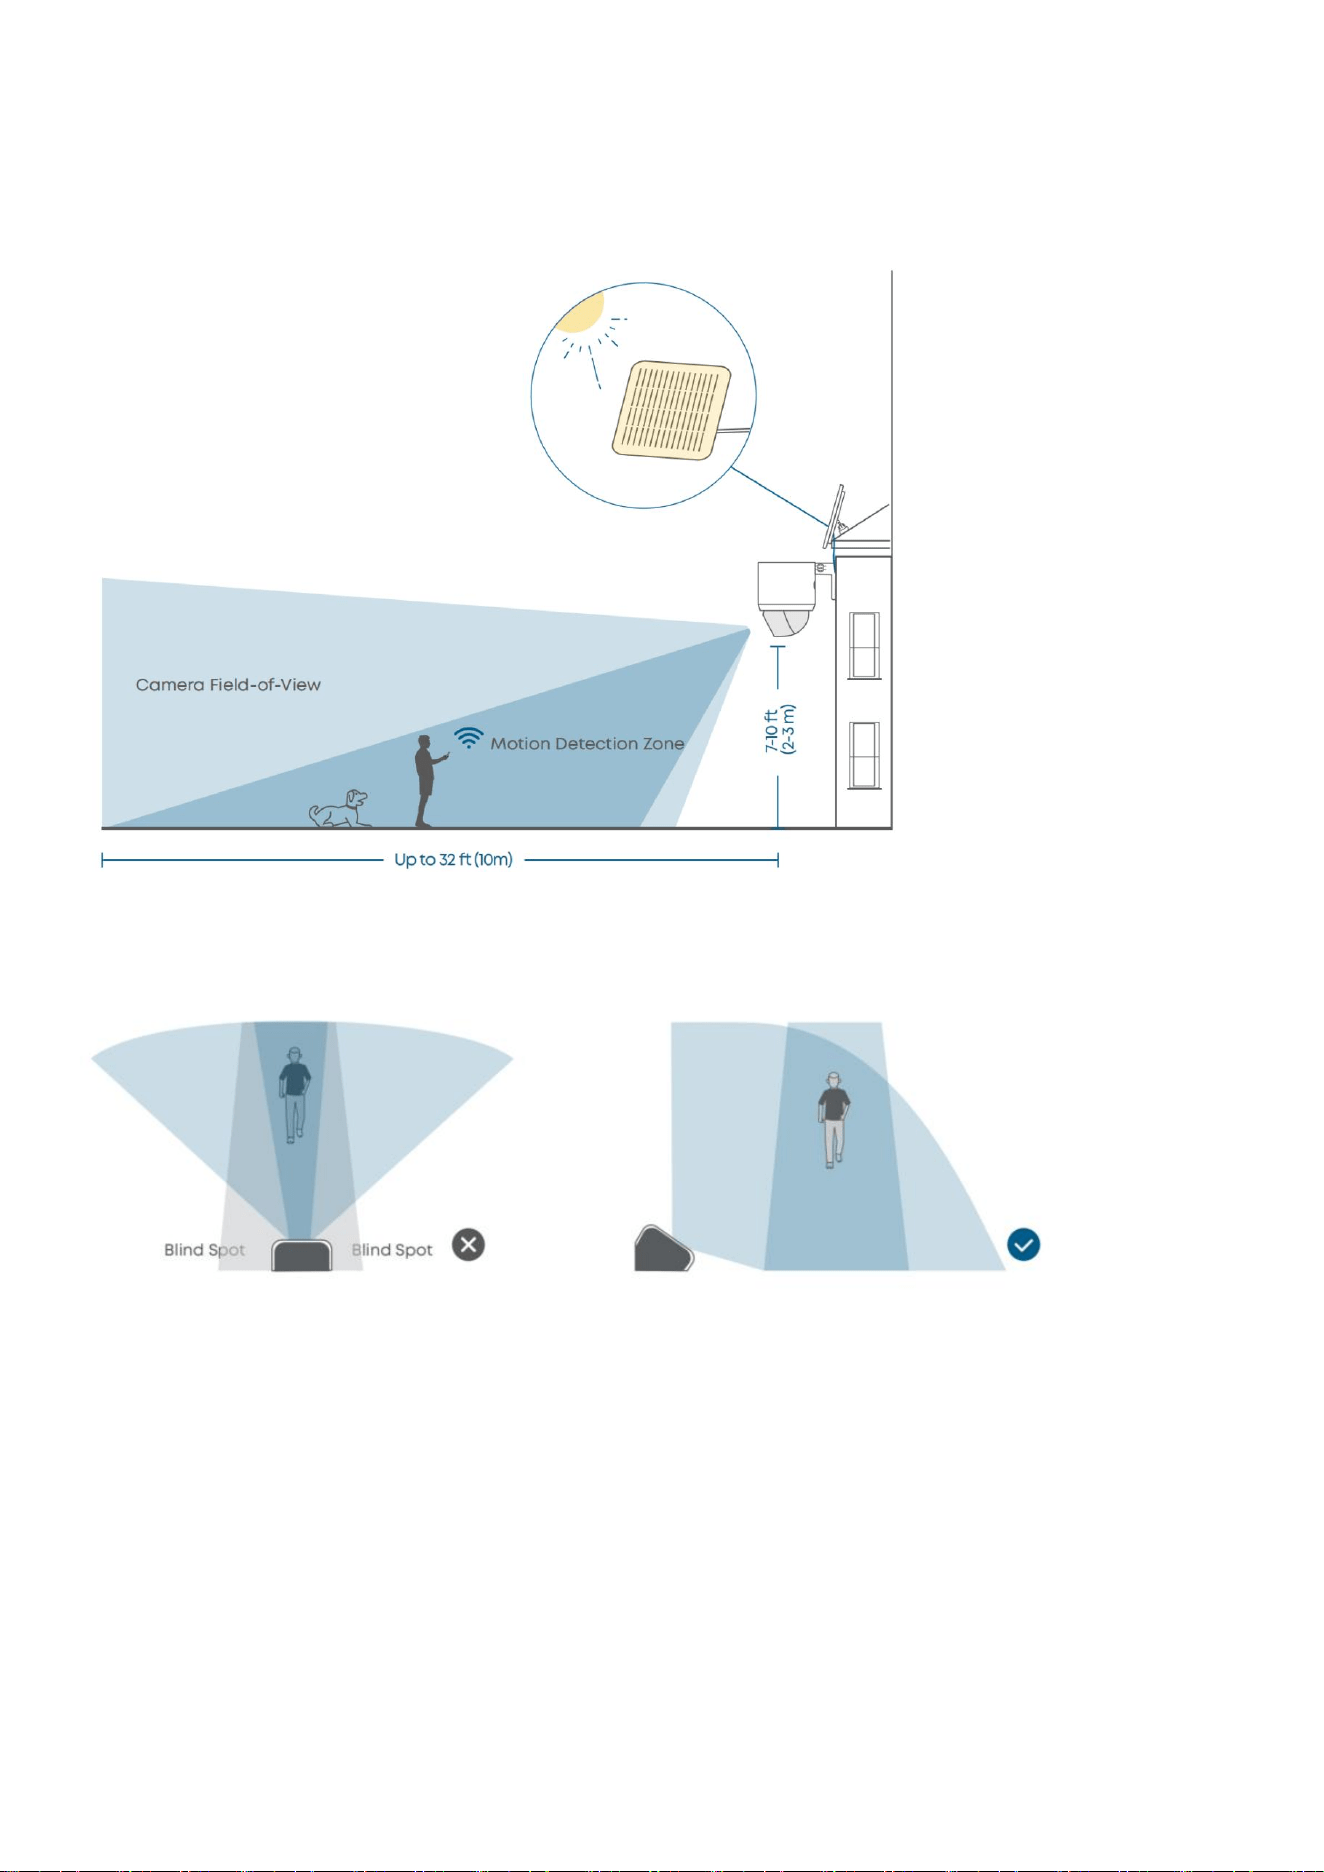
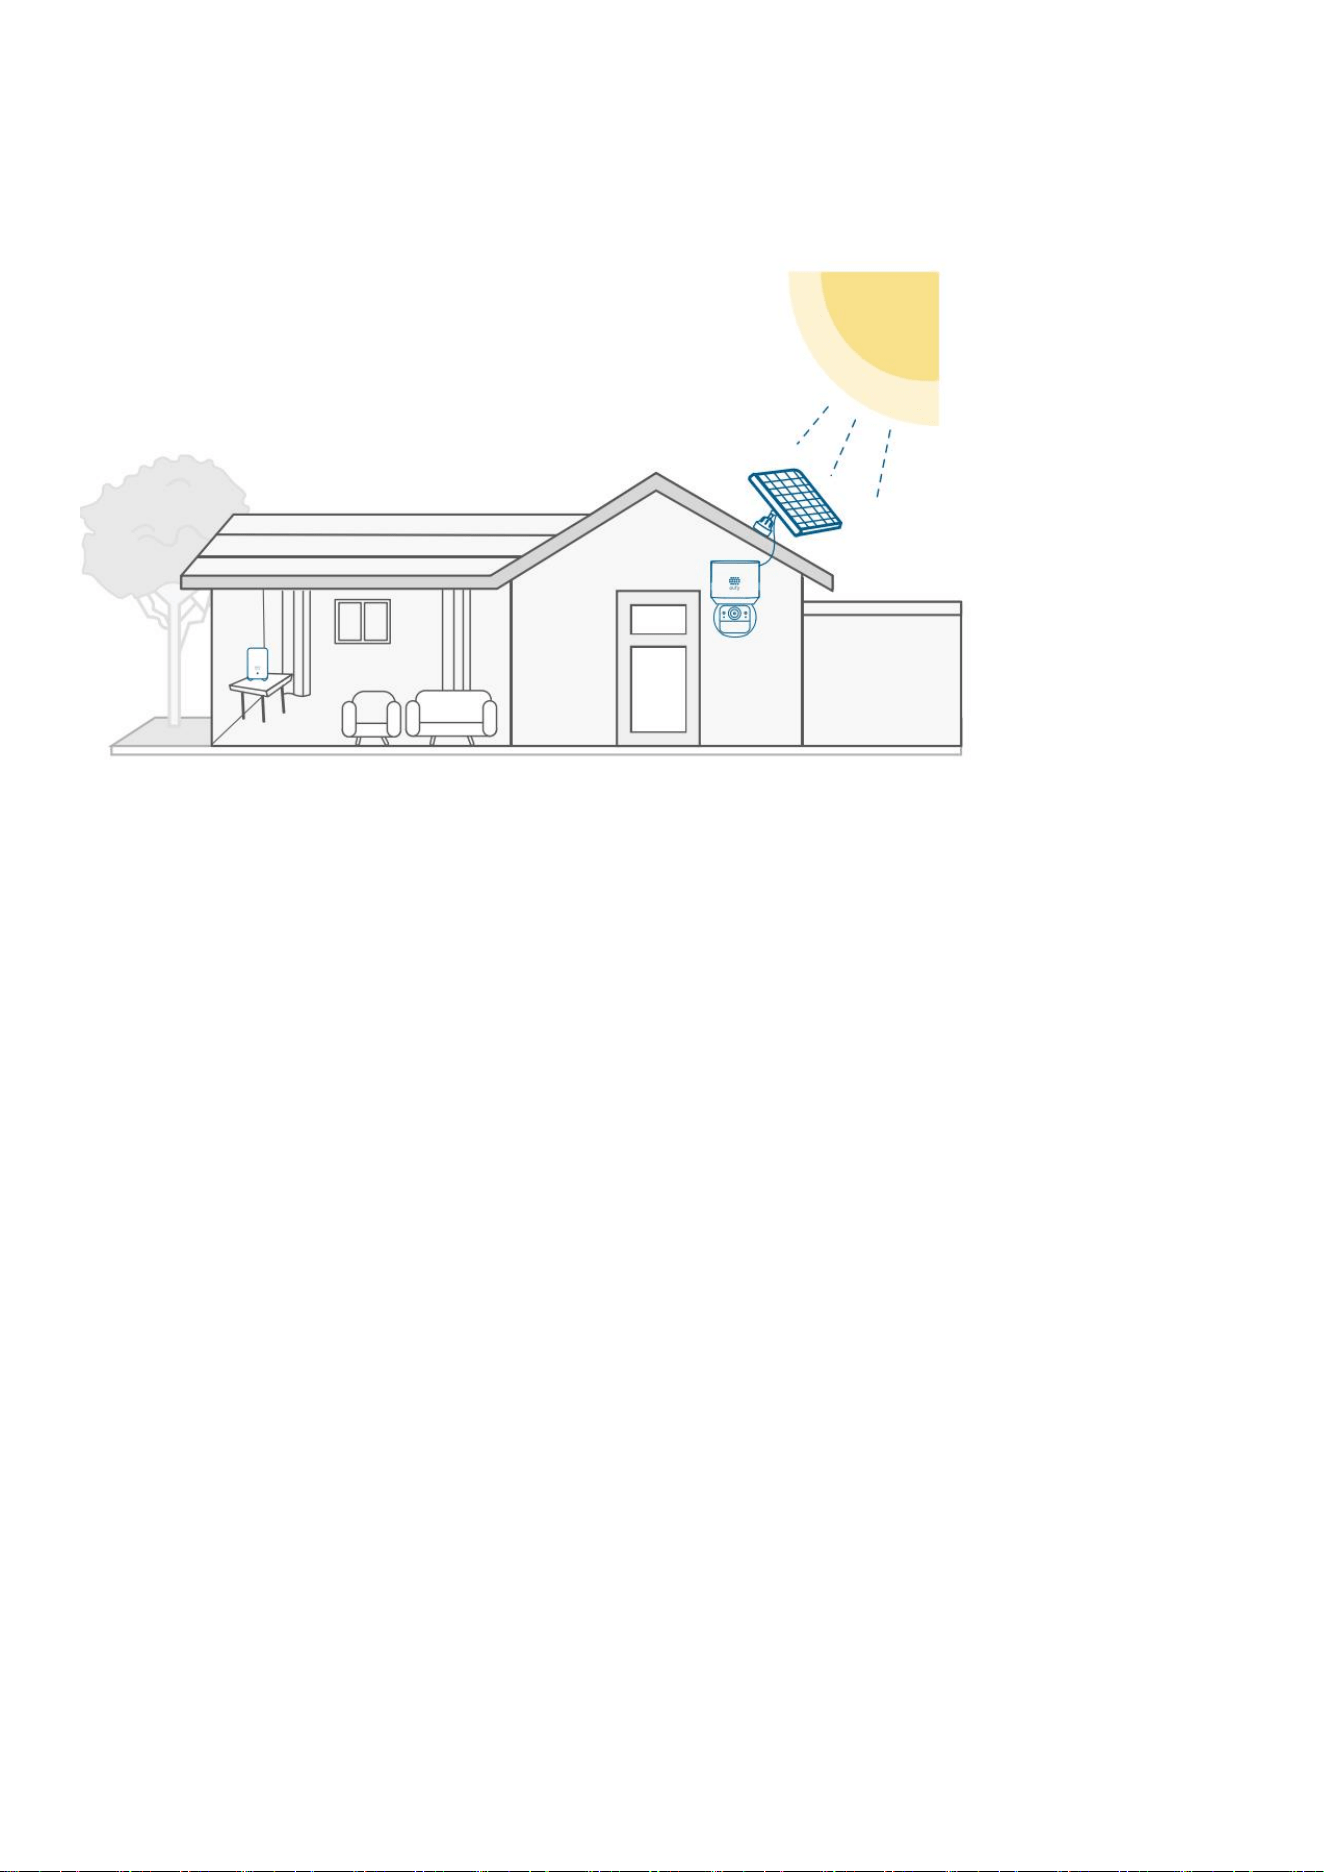
6. Choose a Location
Recommended location:
• Height of 2 m to 3 m (7 ft to 10 ft)
• Where solar panels get enough sunlight
• Strong Wi-Fi signal
To avoid missed detections, install the cameras at an angle rather than directly facing the monitoring
area.
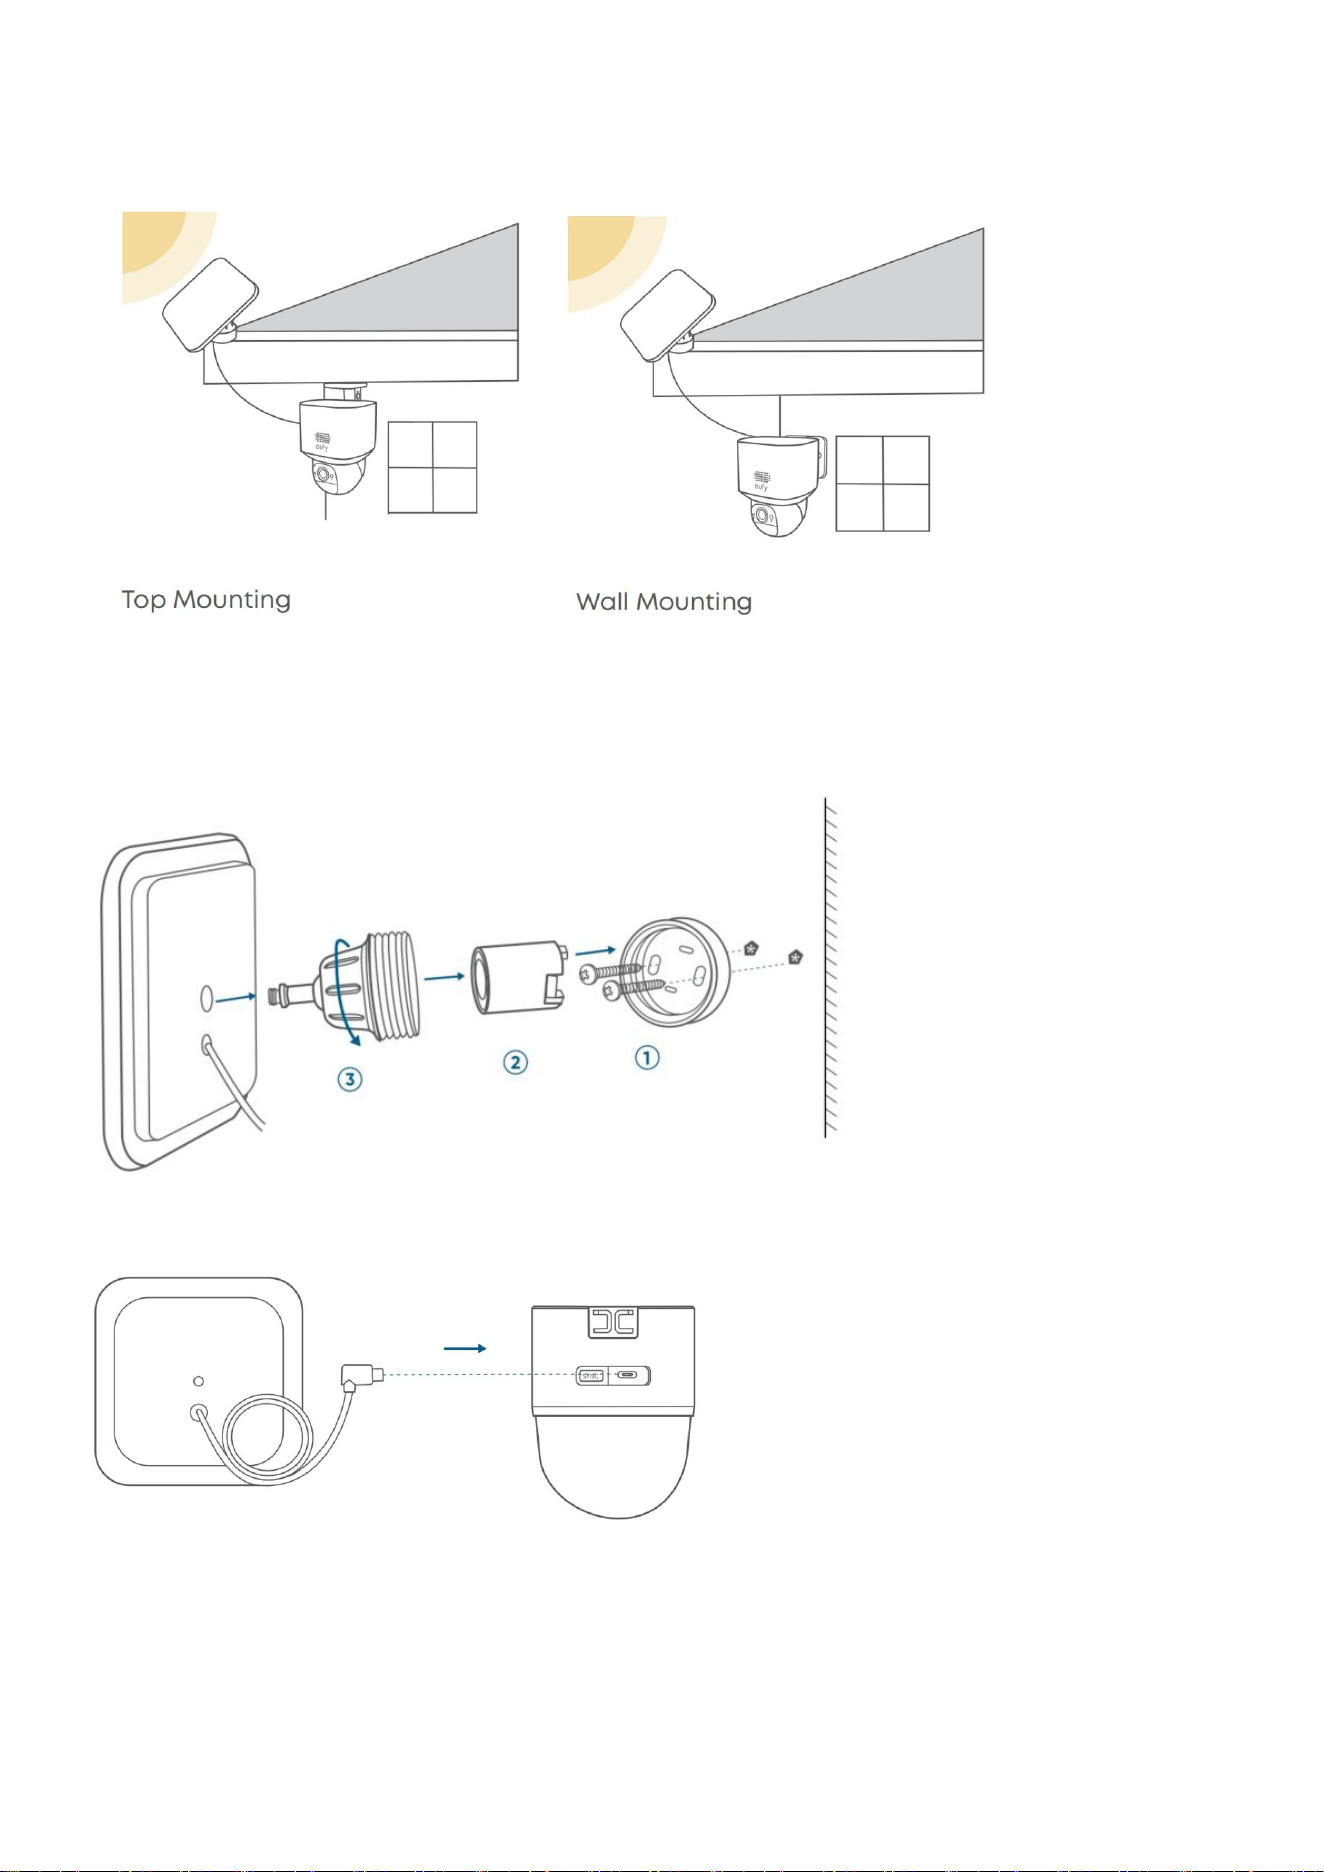
Mounting the Solar Panel
1. Flexible Mounting (Best Sunlight)
① Install the base
② Install the supporting piece
③ Screw the mounting bracket
④ Connect the solar panel to the camera
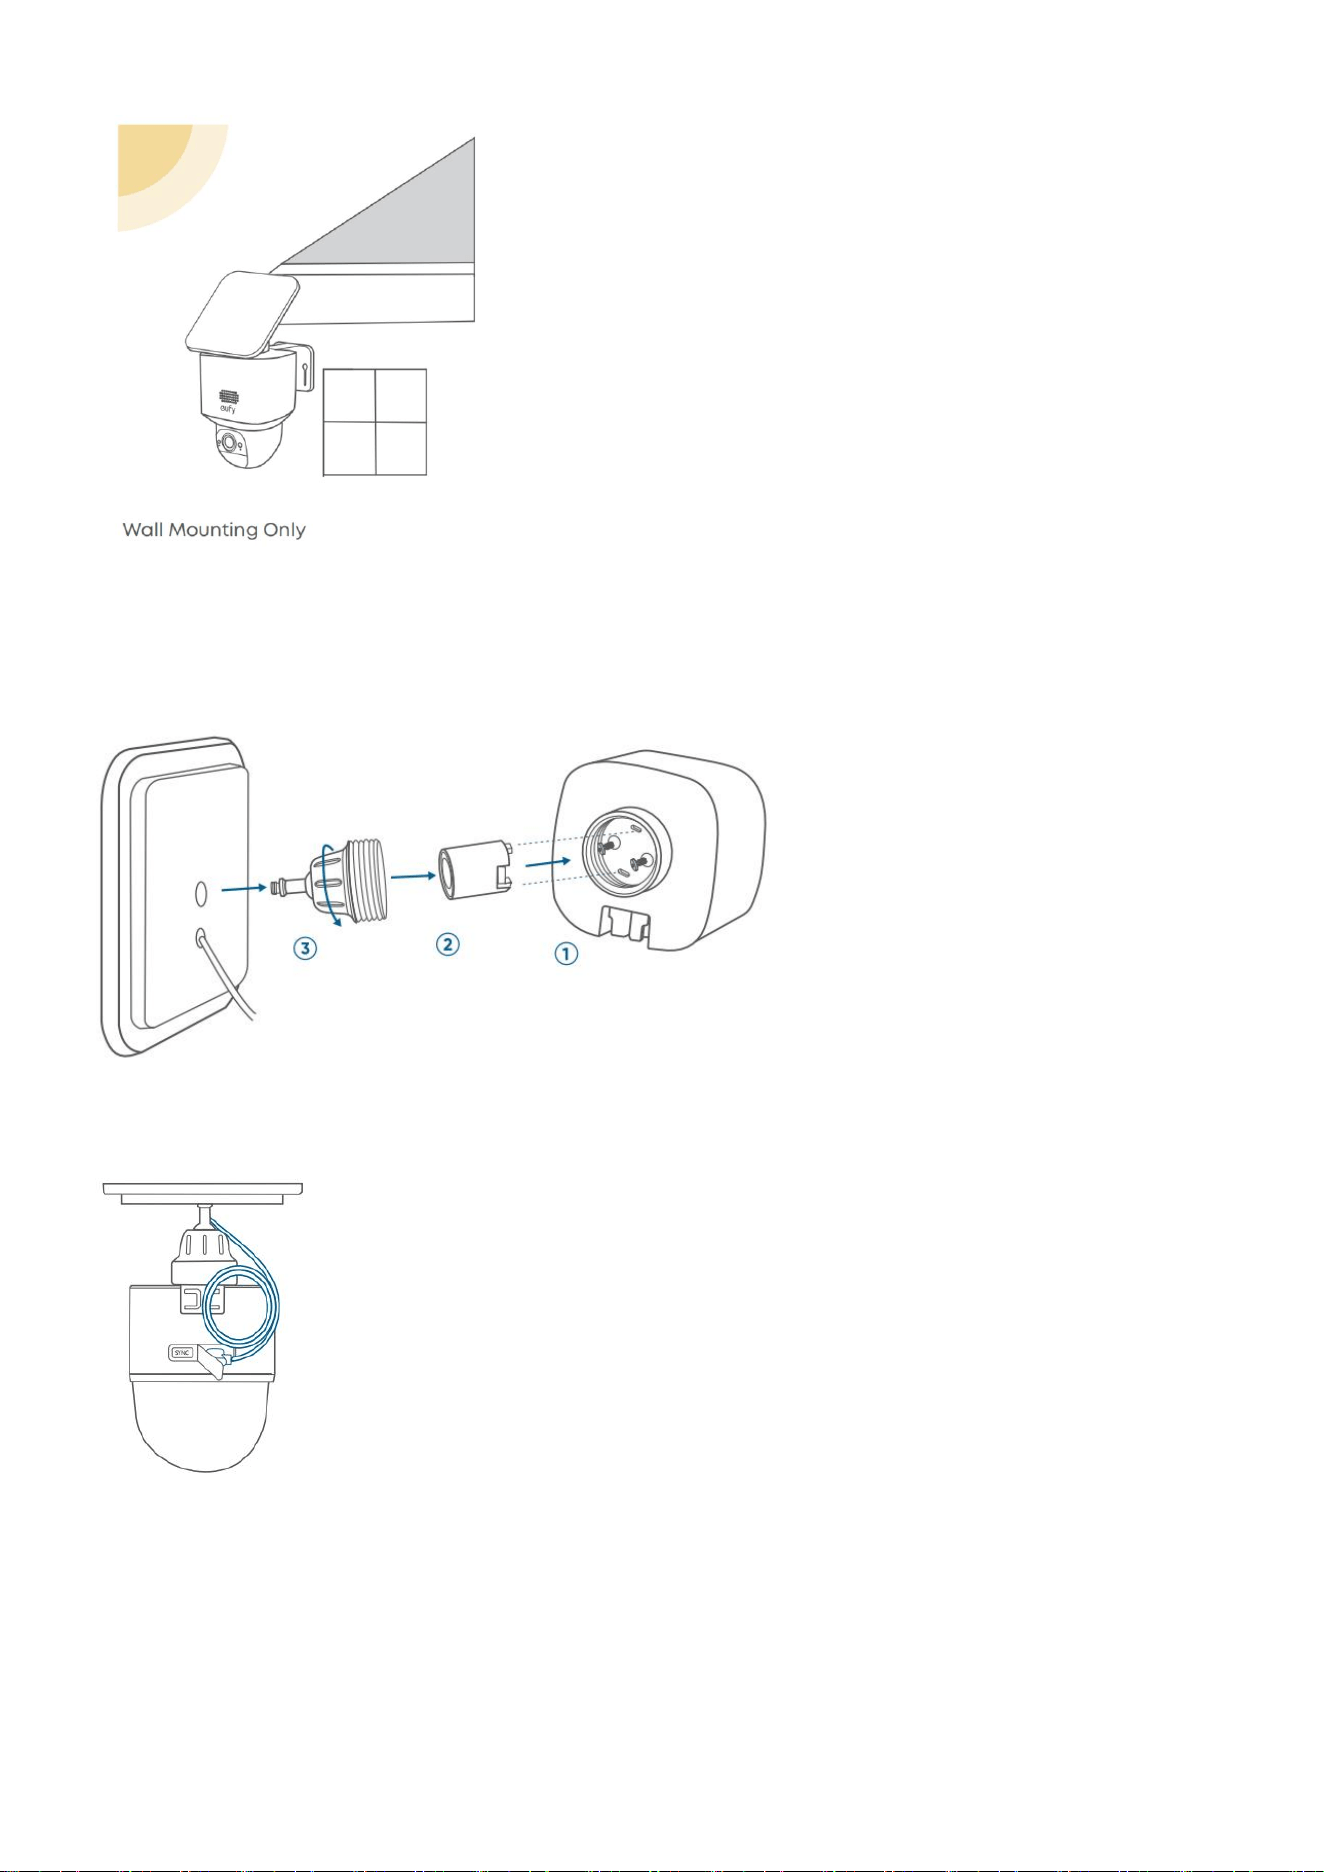
2. Integrated Mounting (Less Drilling)
① Install the base
② Install the supporting piece
③ Screw the mounting bracket
④ Connect the solar panel to the camera
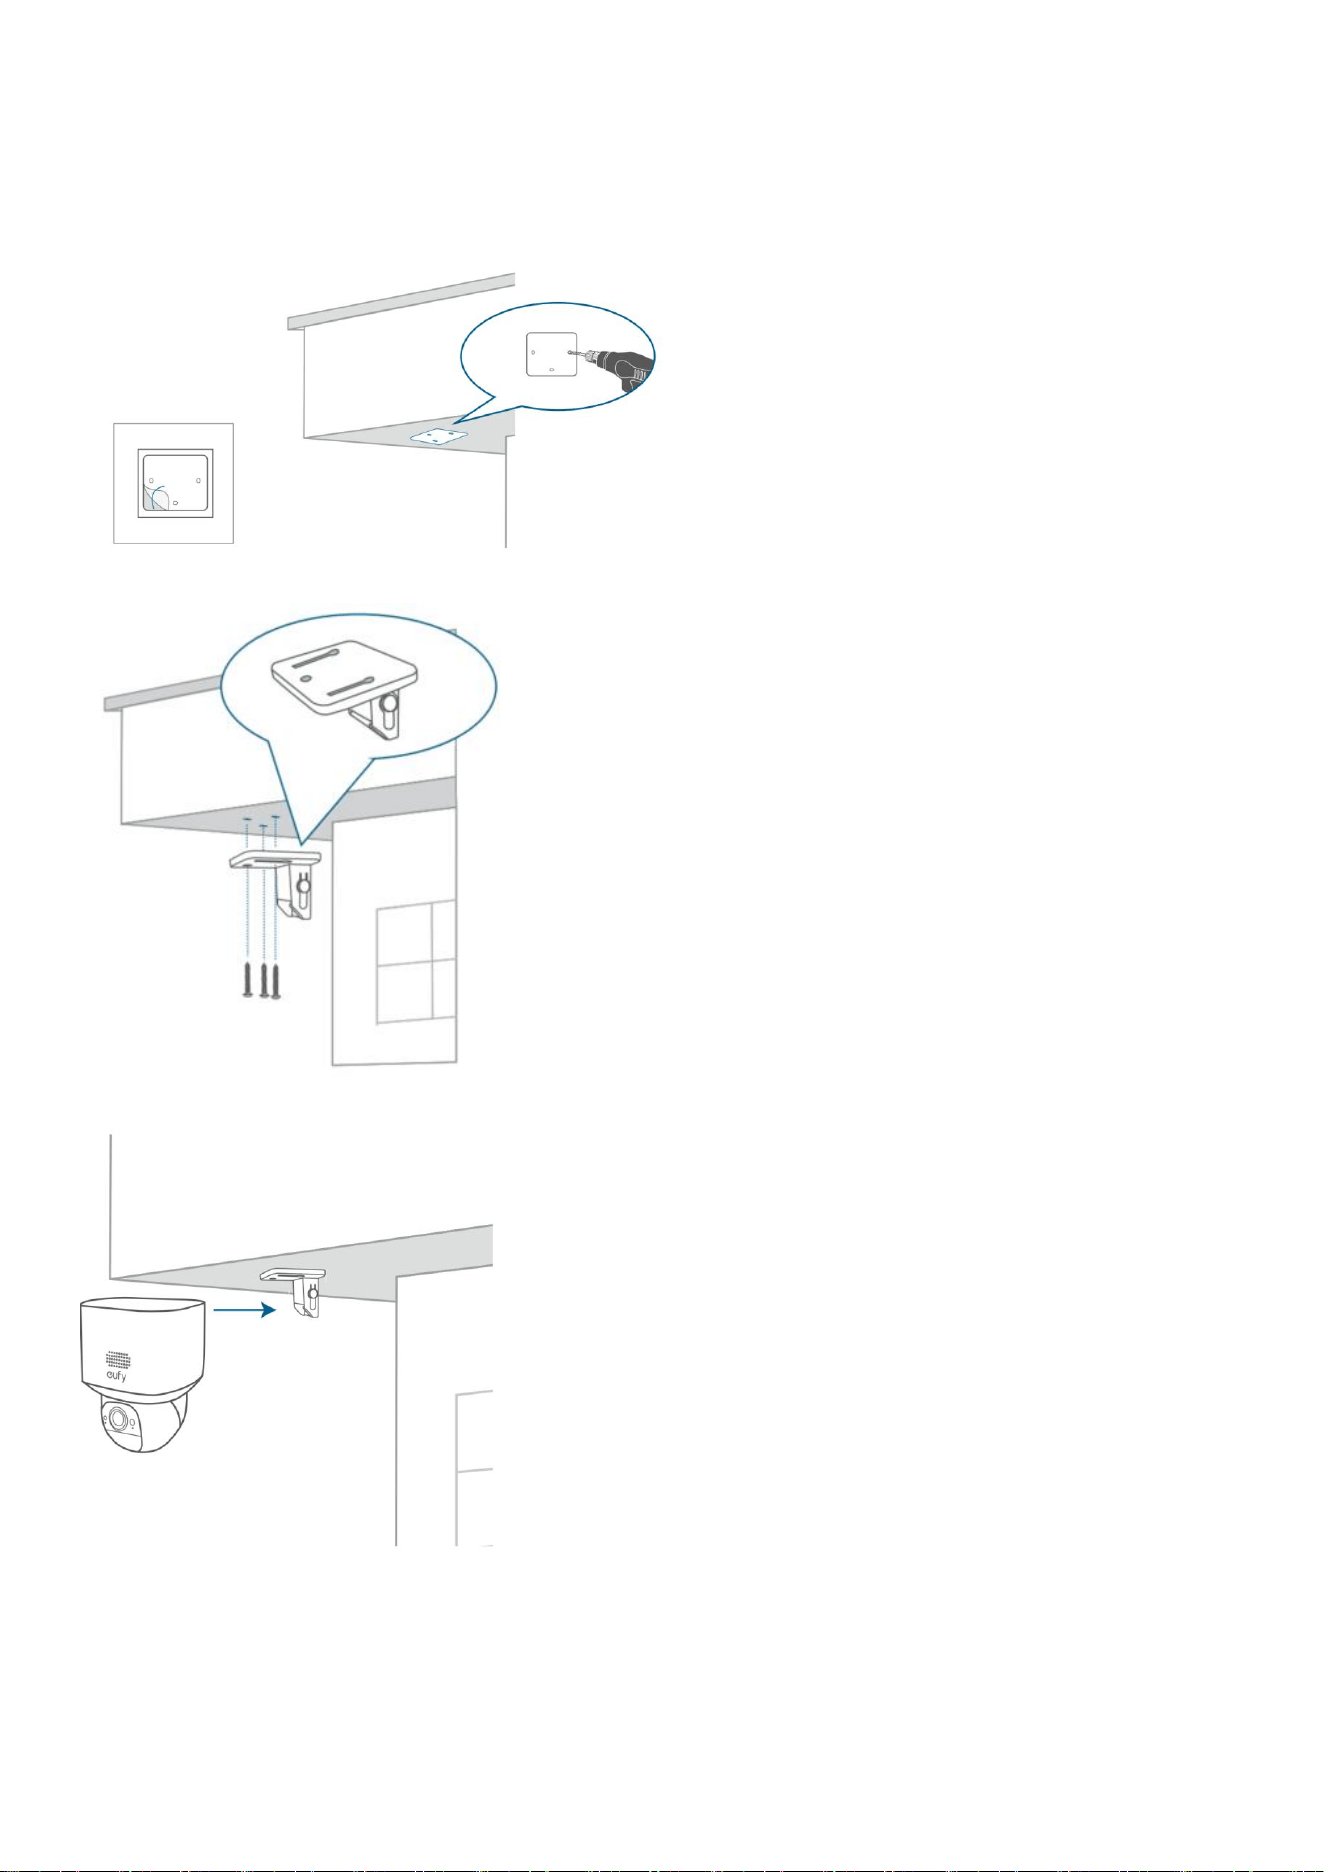
Mount the Camera
1. Top Mounting
① Position & Drill holes
② Install the Mounting Bracket
③ Insert the camera
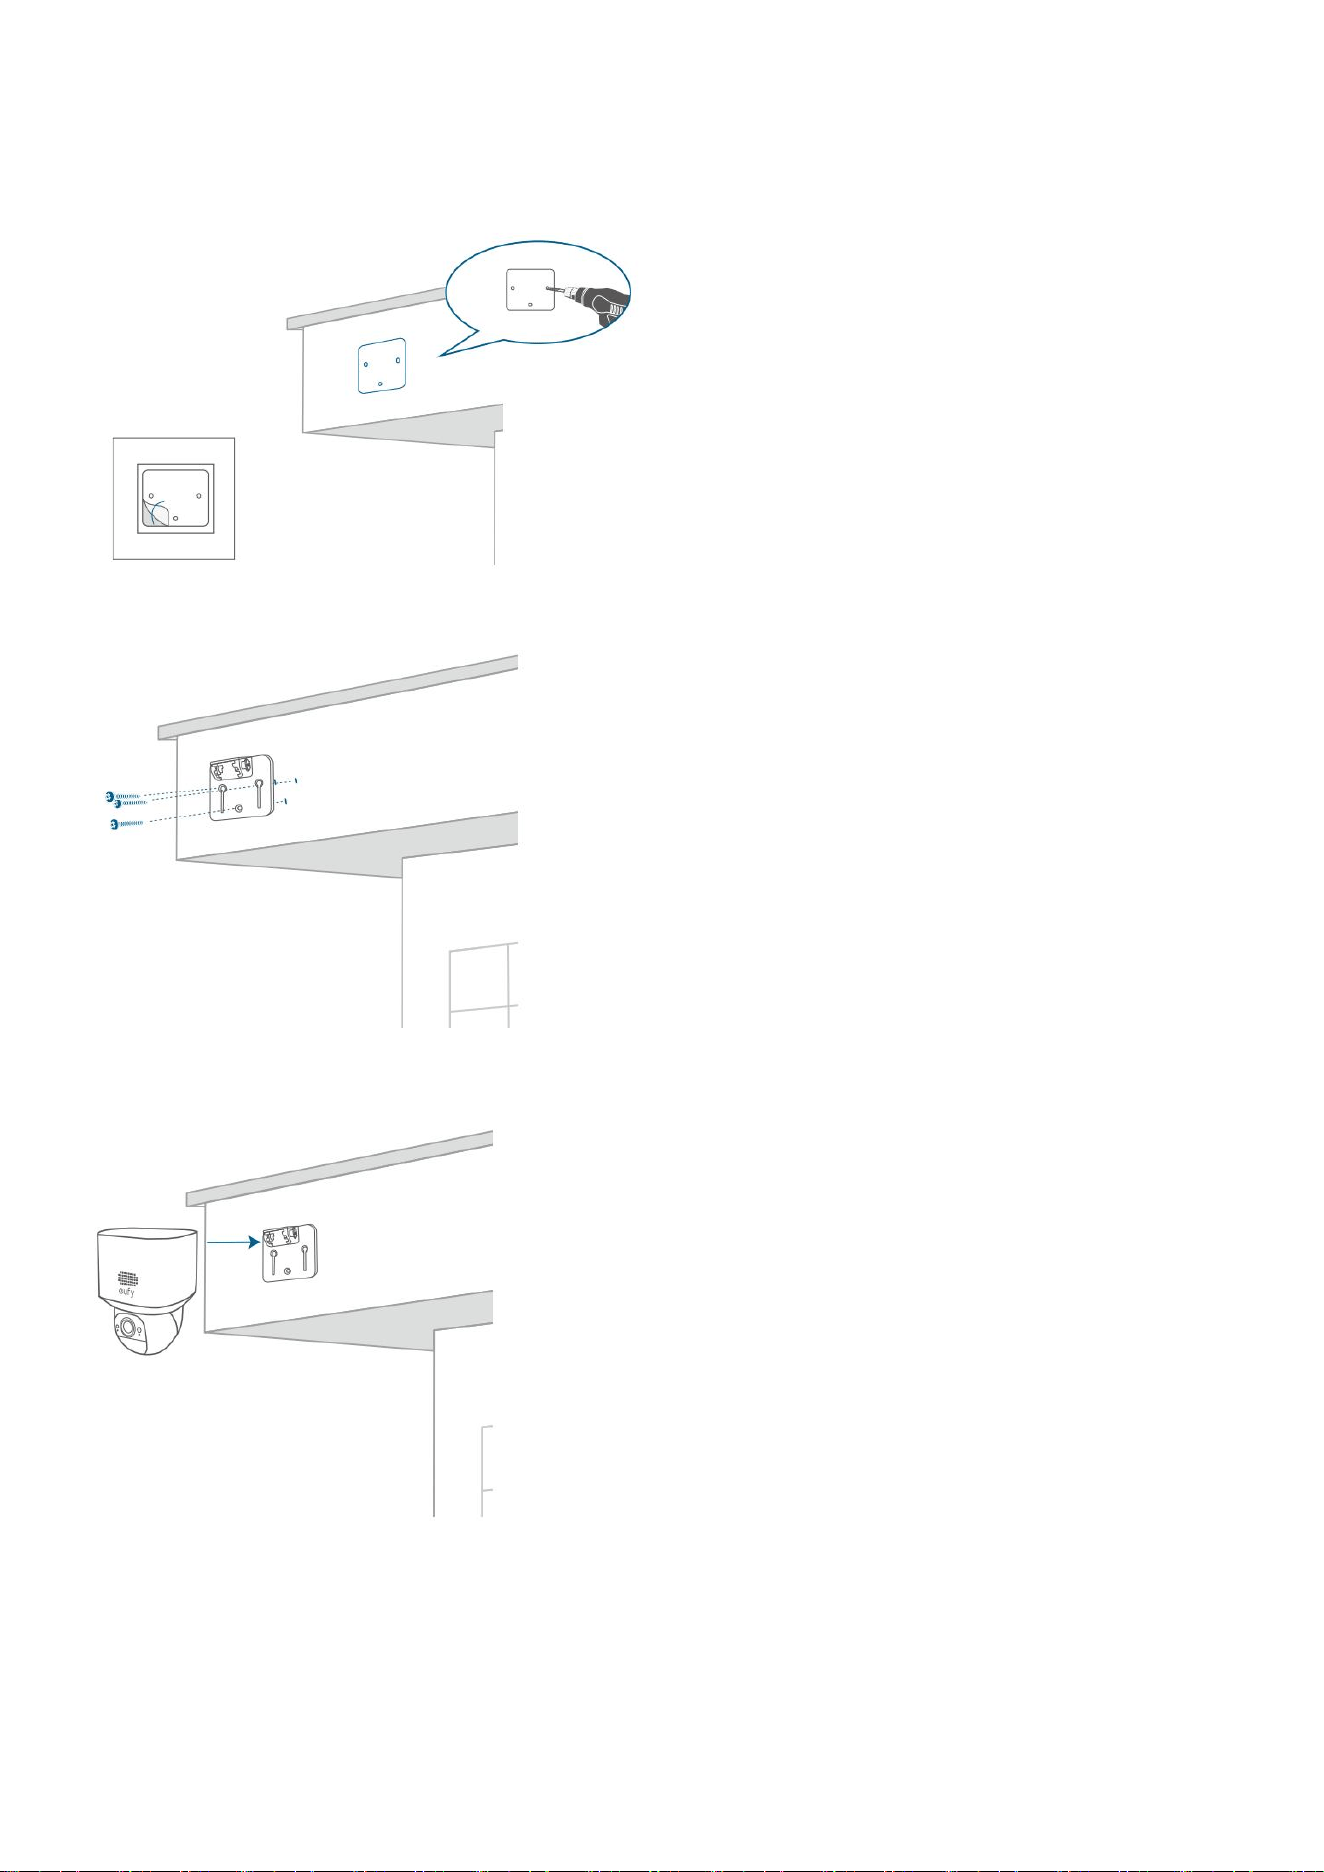
2. Wall Mounting
① Position & Drill holes
② Install the Mounting Bracket
③ Insert the camera
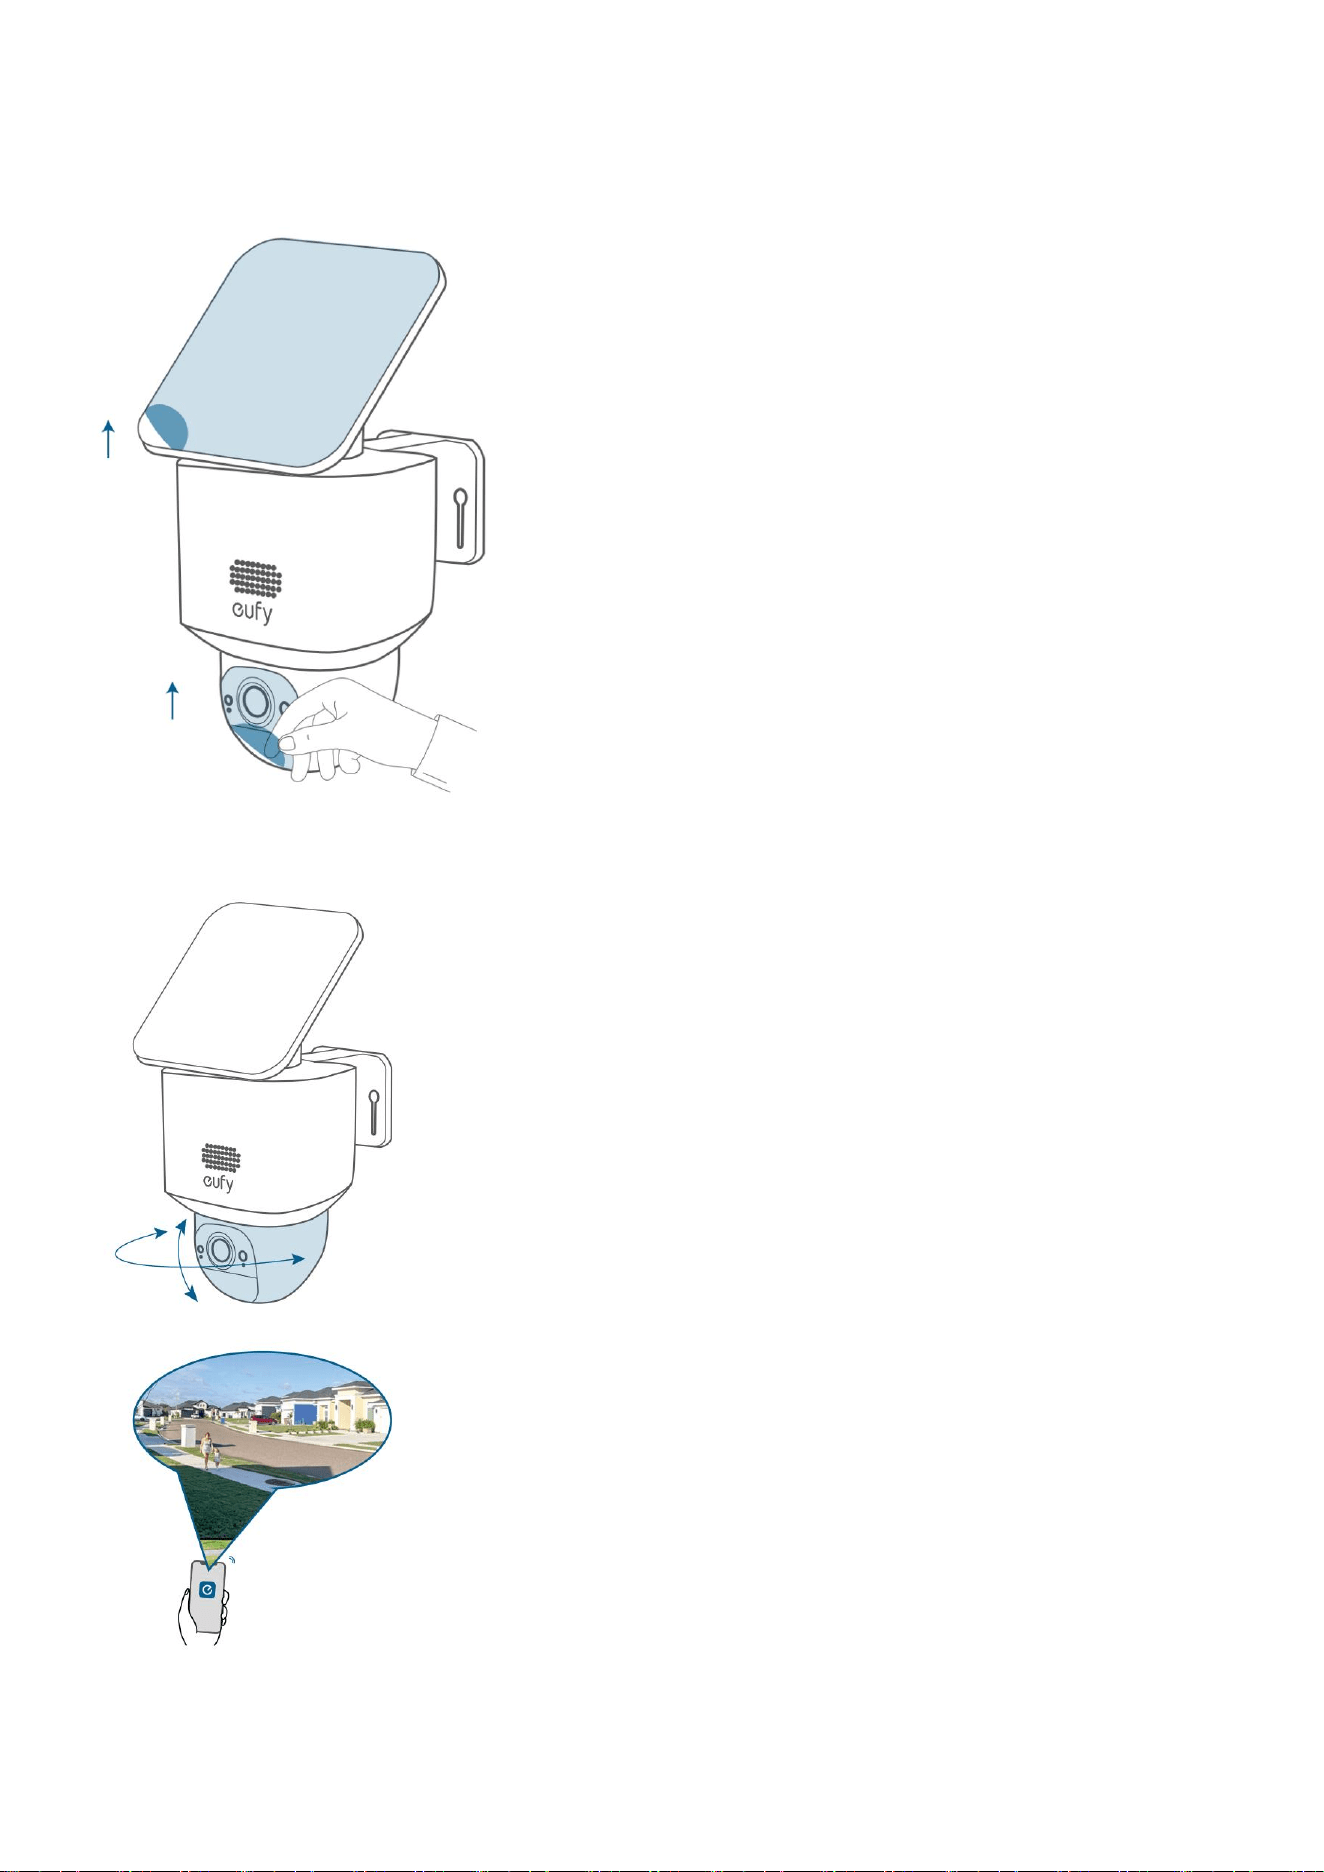
After Mounting
Adjust the Camera Field of View
① Remove the protective film
② Rotate the camera to the optimal angle
Find Out More
Congratulations! Now you're all set to use your SoloCam E30!
Please explore more in the eufy app.
Other Information
Model: T8171
1. Power consumption in low power: ≤ 0.5 W;
When the product is fully charged and supplied by the EPS, it enters the low power consumption
condition after 1 minute.
2. Recommended external adapter:
Brand: ANKER
Manufacturer: Anker Innovations Limited
Model: A2337
Input: 100-240V~ 1.0A, 50-60Hz
Output: 5.0VDC, 2.0A, 10W
Model: T8010
1. Networked standby mode: ≤ 7 W;
When the product is connected to the router via the RJ45 port and provides Wi-Fi signal to T8171, in case
of no data transmission, it enters the networked standby mode after 1 minute.
When the product is disconnected from the RJ45 port and does not provide Wi-Fi signal to T8171, in case
of no data transmission, it enters the networked standby mode after 1 minute.
2. Adapter information:
Brand: Keyu
Manufacturer: Shenzhen Keyu Power Supply Technology Co., Ltd.
Model: KA2401A-2001200EU
Input: 100-240V~, 50/60Hz or 50-60Hz, 0.65A Max
Output: 20.0VDC, 1.2A, 24.0W