Loading ...
Loading ...
Loading ...
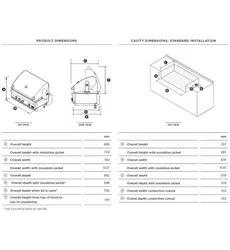
36
USING THE ROTISSERIE
IMPORTANT!
Do not use the rotisserie burner when the secondary cooking racks or trays are in place. Before using
the rotisserie burner, ensure that these racks and trays are removed.
Preparation
Recommended: dental floss or butcher string, scissors, secondary cooking tray, pliers, meat probe,
foil, and hot pads.
Working area
Allow enough space to accommodate food and rotisserie rod assembly in a clean environment.
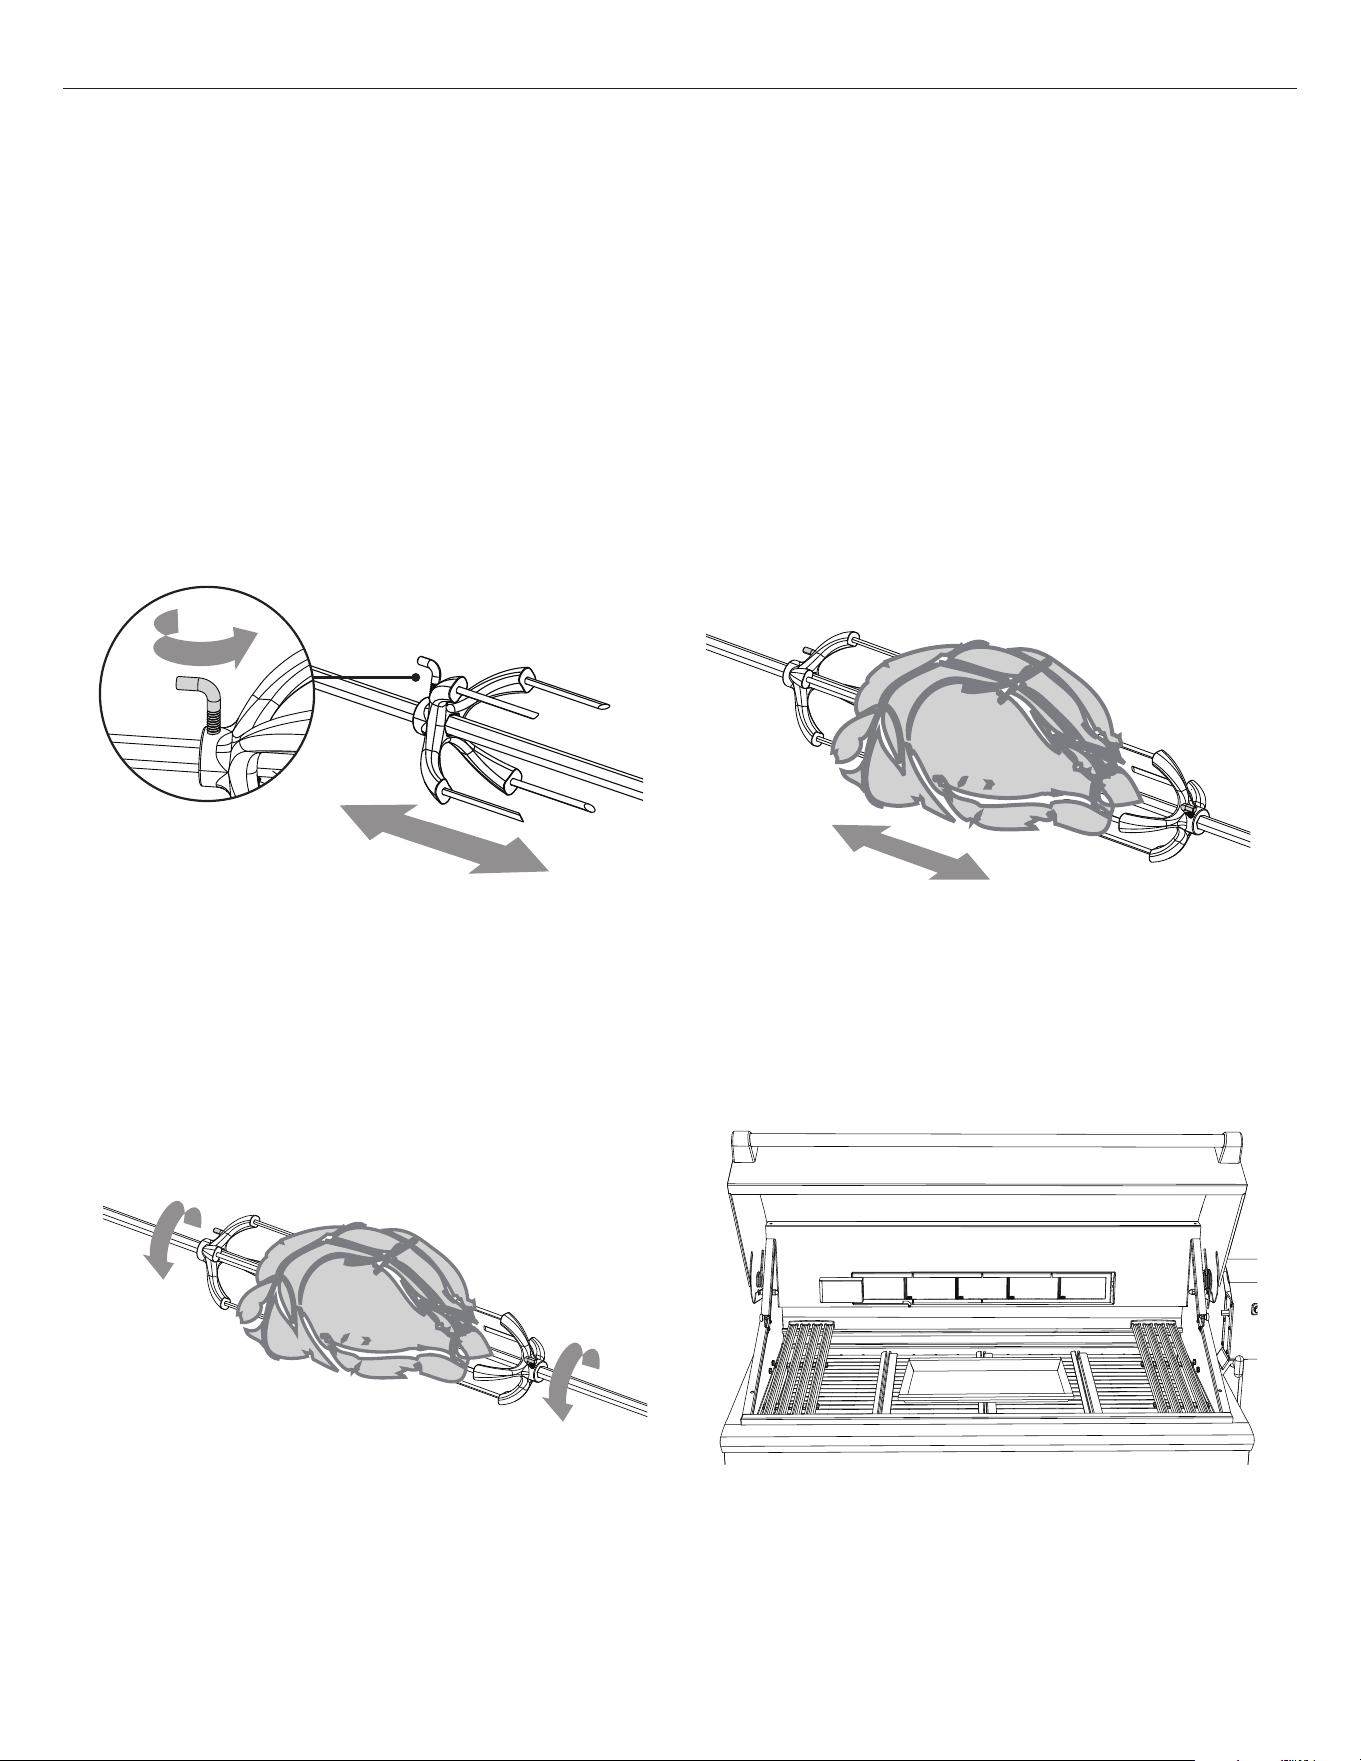
1 Determine the center placement for the food,
put first prong on the rod, turn ‘L’- shaped
screw to tighten.
3 Pick up the rod, rotate it to check for balance.
If unbalanced, adjust prongs and food. Take
pliers and tighten the ‘L’- shaped screws on
both prongs.
2 Center tied meat/poultry on the rod, place
second prong, turn ‘L’- shaped screw
to tighten.
4 Remove secondary cooking racks. To catch
meat drippings, place secondary cooking tray
onto grates or ceramic radiant rods depending
on your preference. Note: grates must first be
removed if placing tray on ceramic radiant rods.
Meat preparation
Tie meat with butcher string or dental floss in three areas. Purchase a roast that is equally balanced
from top to bottom in size to ensure meat will cook evenly while on the Rotisserie. For Poultry,
tie wings and legs to the body using dental floss or butcher string to prevent flopping around
while turning.
Loading ...
Loading ...
Loading ...