Loading ...
Loading ...
Loading ...
ii900/ii910
Mode d’emploi
16
Basic Operation
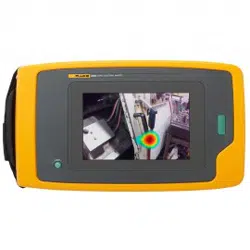
The Imager works much like a point-and-shoot camera.
W Caution
Do not place hand on or obstruct the acoustic
sensor. Always use the sensor cover when the
Product is not in use.
1. Remove the sensor cover before use.
2. Push and hold
O >2 s.
3. Aim the Imager at the test area.
Ideal distance is 1 m to 8 m (3 ft to 26 ft). With good
line-of-sight, >8 m to ≤21 m (>26 ft to ≤70 ft).
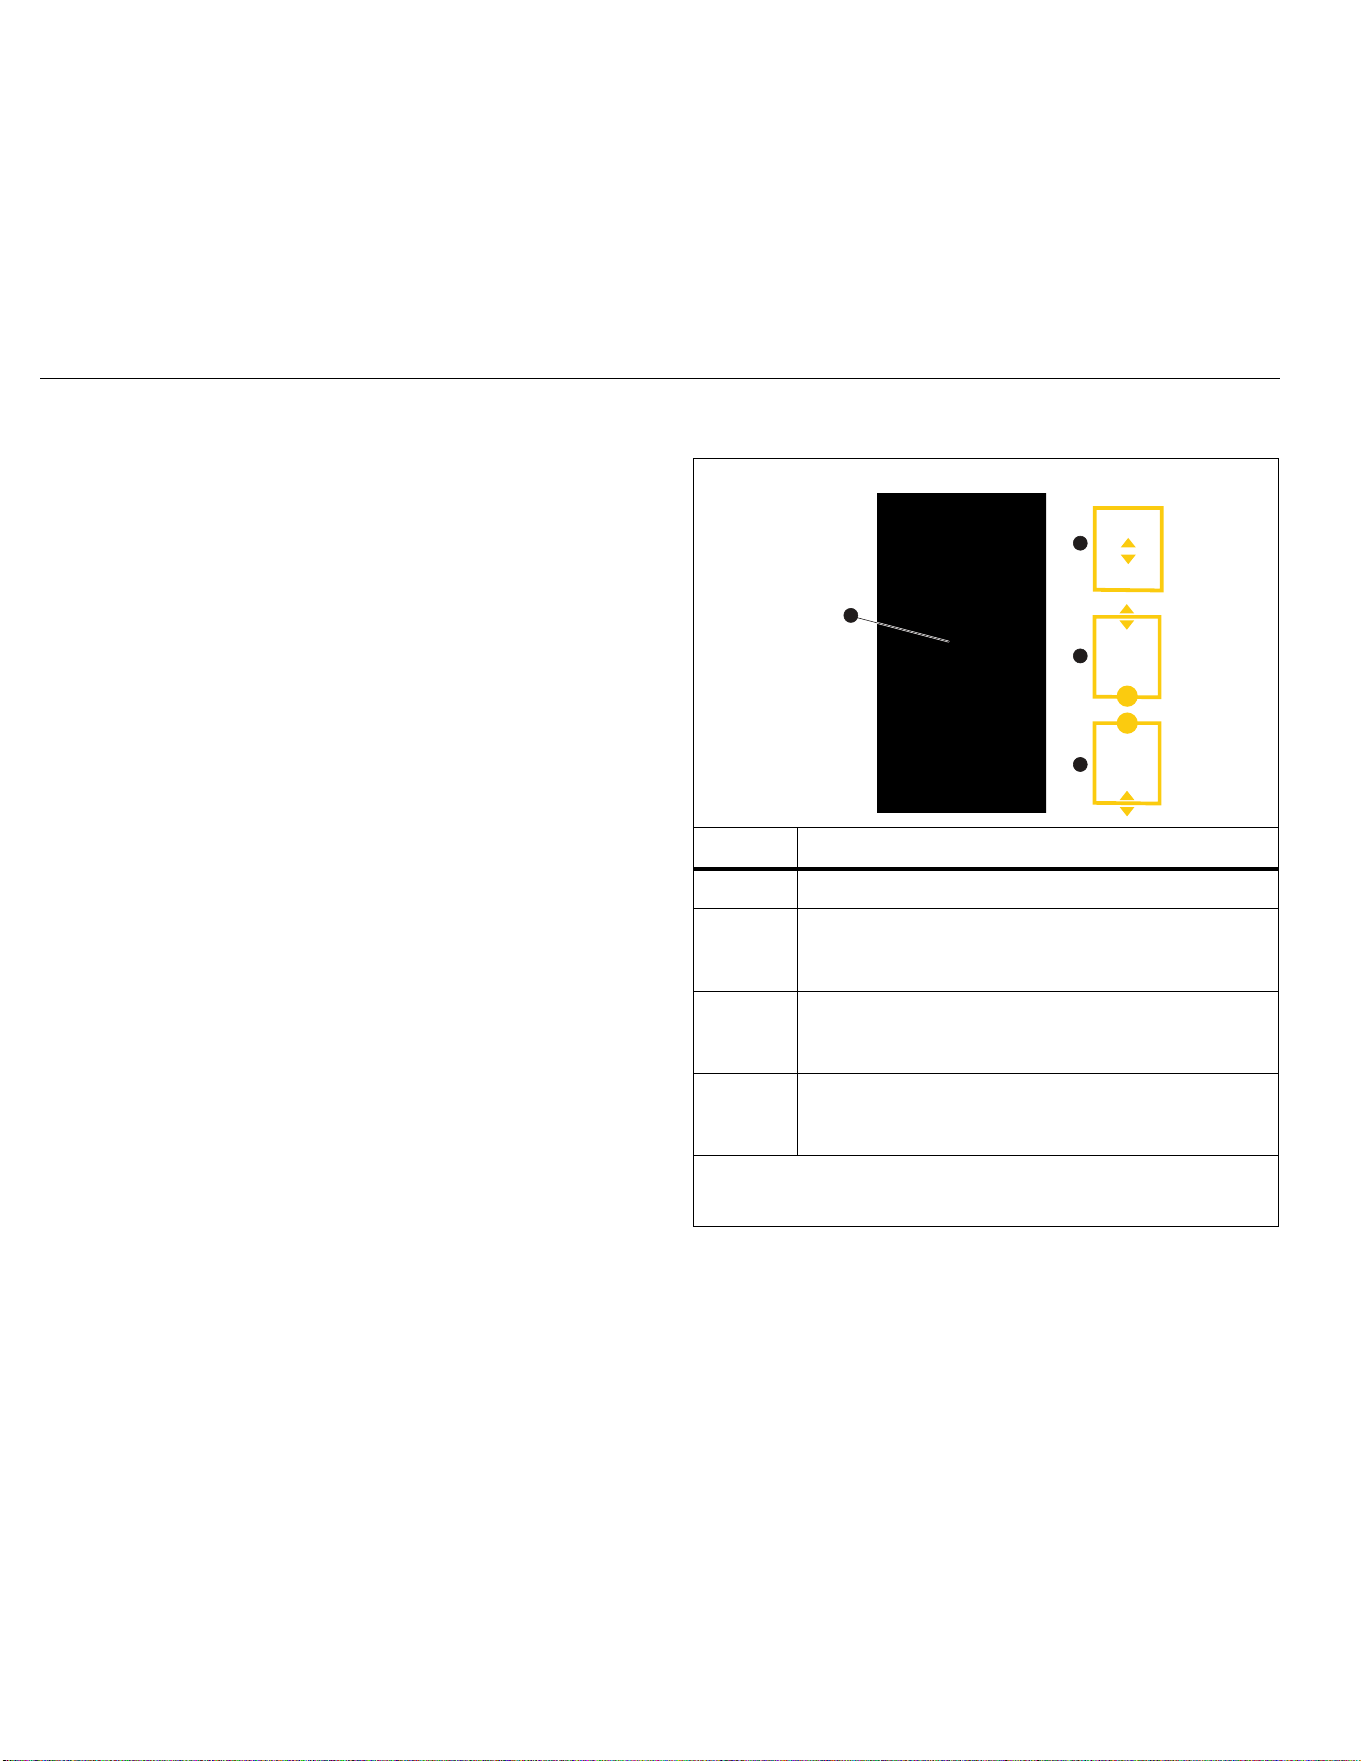
4. Select a band on the frequency spectrum on the right side of
the display. See Table 4.
5. Change the width of the band by sliding the edges or move by
sliding the middle of the band.
6. The optimum band depends on the environment and
application. As an example for finding air or gas leaks, start
with a band at 35 kHz and width that spans 5 kHz.
Note
High frequency peaks within the selected band may be
caused by sources other than a leak or partial
discharge. In this case, move the band to another
frequency range.
If a strong source of sound is off the field-of-view, the display
shows a circular pattern (flower) of hot spots on the
SoundMap. In this case, scan around for the source of
sound.
Table 4. Frequency Band Adjustment
Item Description
A
Frequency Band
B
Move within the Spectrum: Touch center of box until
arrows show. Slide the box up and down to move
the frequency range.
C
Adjust high end: Touch upper edge of box until
arrows show. Slide edge up to change high end of
the frequency range.
D
Adjust low end: Touch lower edge of box until
arrows show. Slide edge down to change low end of
the frequency range.
Maximum Frequency Range:
ii900...........52 kHz
ii910...........100 kHz
1
2
3
4
1.888.610.7664 sales@GlobalTestSupply.com
Fluke-Direct
.com
Loading ...
Loading ...
Loading ...