Loading ...
Loading ...
Loading ...
12
ADJUSTMENTS
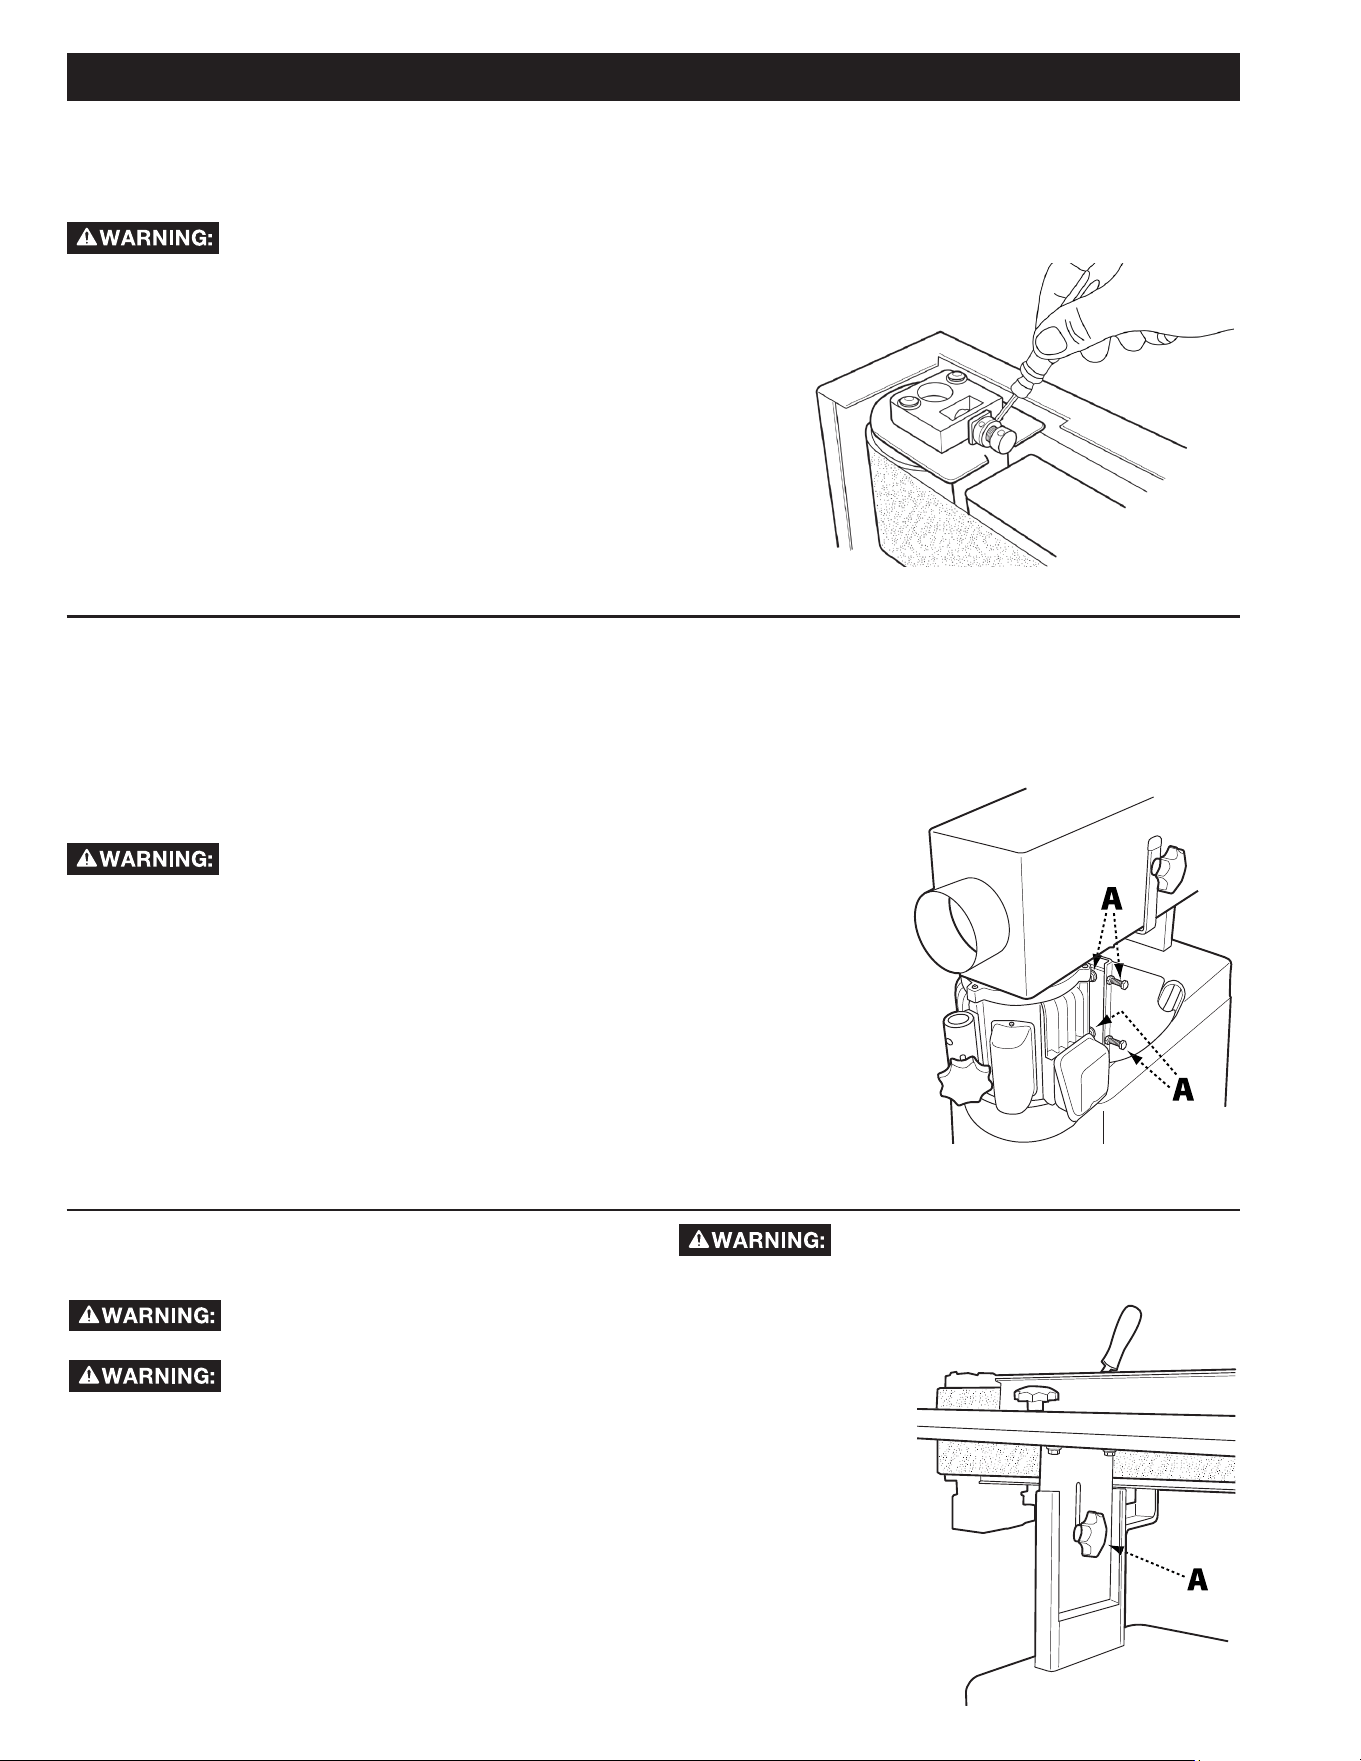
TO ADJUST THE SANDING
TABLE HEIGHT
Before making any adjustments to the
tool, disconnect the machine from the power source.
Never position the sanding table below
the sanding belt! Keep an overlap of at least 1/16 inch
between table and sanding belt to avoid material and/
or fingers getting caught! Failure to comply may cause
serious injury!
1. There are two height elevation lock knobs (A) one
on either side of the table support, shown in Figure
12. Loosen both lock knobs just enough to allow the
sanding table to move up and down.
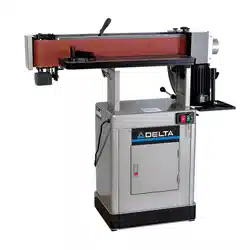
MOTOR MOUNT TRACKING
ADJUSTMENT
Tools Needed: Two 1/2 inch Wrenches
Note: The Motor Mount Tracking Adjustment is a course
adjustment. Use the Belt Tracking Adjustment first for
fine adjustment. If it cannot be adjusted, then use the
procedure described below.
Before making any adjustments to the
tool, disconnect the machine from the power source.
1. Loosen the four motor mount nuts (A) just enough
so the tracking screws can be turned to make an
adjustment. See Figure 11.
2. Loosen the two locking hex nuts that secure the
tracking screws.
3. Turn one screw a 1/4-turn and rotate the
sanding belt by hand to observe which direction
the adjustment is causing the belt to move. If it
is traveling in the direction needed to correct the
problem, go to step 5.
4. If the belt tracks in the wrong direction, back off
a 1/4-turn and tighten the other screw a quarter
turn. This should start the belt moving in the proper
direction.
5. Tighten both locking nuts and motor mount nuts.
6. Return to the
Belt Tracking
Adjustment
section (previous
page) to fine tune
the tracking.
FIGURE 11
TO ADJUST THE BELT
TRACKING
Tools Needed: Belt Tracking Tool
(provided)
Before making any adjustments to the tool, disconnect
the machine from the power source.
1. Rotate the belt by hand from left to right and observe
whether the belt is tracking above or below the edges
of the rollers.
2. Using the belt tracking tool (provided) loosen the
micro adjust lock nut.
3. Based on whether the belt is tracking up or
down, turn the micro adjusting screw in 1/4 – turn
increments to the left or right until the belt tracks
evenly on the rollers when rotated by hand. See
Figure 10.
4. Re-tighten the micro adjusting nut.
NOTE: The Belt Tracking Adjustment provides a minor
adjustment that should correct most tracking problems.
If the tracking problem persists, use the Motor Mount
Tracking
Adjustment
(next
section).
The table is very heavy. Loosen lock
knobs slowly and just enough to create play in table.
Failure to comply may cause serious injury!
2. Raise or lower
work table to
desired level.
3. Tighten the
lock knobs.
FIGURE 10
FIGURE 12
Loading ...
Loading ...
Loading ...