Loading ...
Wiring:
1. Mount Illuminator
2. Connect Illuminator to low voltage input 12-24V AC/DC
IMPORTANT: For Vario 16 variants : 24V only AC/DC
3. Complete configuration, wiring and final set-up using manual push buttons on
the illuminator or VARIO Remote Controller (VRC) - VRC is an optional
accessory
Black Wire = Negative (+ve)
Red Wire = Positive (-ve)
White & Yellow wires = Photocell following contact, Volt free output, Non polarity
sensitive
Orange and Purple Wires = Telemetry input Volt free / dry contact or TTL input
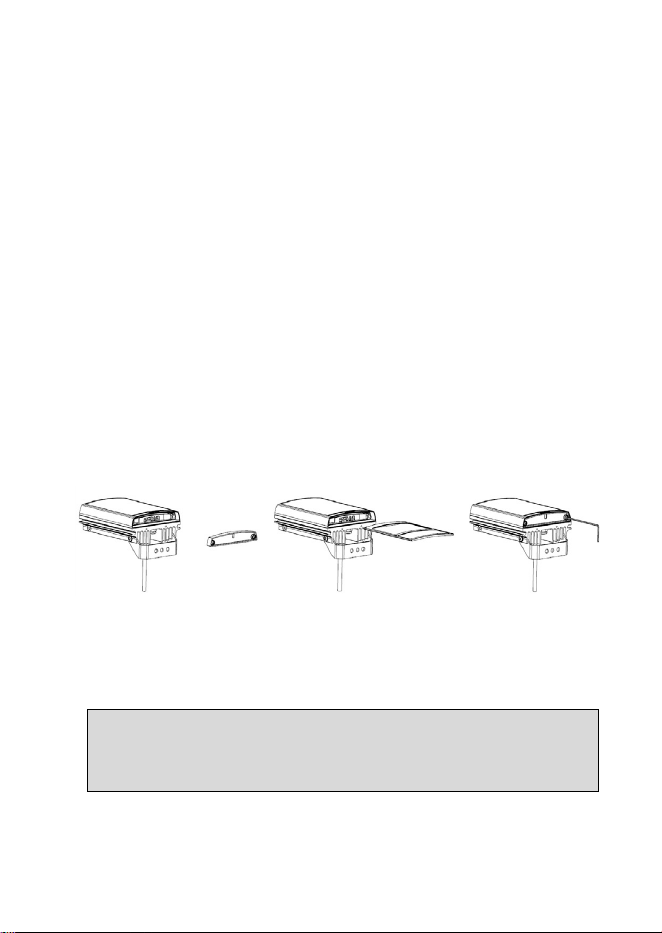
Lens Selection:
VARIO is factory set and delivered with a 35˚ beam width angle.
To alter to 10˚, simply remove interchangeable lens (ILS).
To alter to 60˚, replace with other ILS lens supplied.
Other angle ILS lenses are available to order: 80˚ and 120˚.
Please handle ILS lenses with care – and do not touch optical film.
Use 2.5mm Allen/hex key. Re-attach base plate securely ensuring gasket is correctly
located.
Important Note : Ensure base plate is securely located, the gasket is
correctly located and the screws correctly fastened to ensure and
maintain IP66 rating of the product
Loading ...
Loading ...
Loading ...