Loading ...
Loading ...
Loading ...

3
Installation Steps:
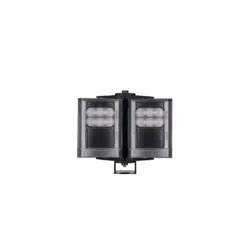
1. VARIO2 is factory set and delivered with a 35˚
beam width.
To alter to 10˚, simply remove interchangeable
lens (ILS). See page 4 for detailed instructions
To alter to 60˚, replace with other ILS lens
supplied.
2. Mount Illuminator
3. Connect Illuminator to low voltage input 12-24V
AC/DC (For Vario 16 variants : 24V AC or DC only)
4-6. Complete configuration, wiring and final set-up using manual push
buttons on the illuminator or VARIO Remote Controller (VRC)
- VRC is an optional accessory
The external cable cannot be replaced. If it is damaged and the customer
is unable to shorten and re-use the cable, the illuminator must not be
powered.
Wiring–sixcorecable
White&Yellowwires=
Photocellfollowingcontact,
Voltfreeoutput,Nonpolaritysensitive
OrangeandPurpleWires=
TelemetryinputVoltfree/drycontactor
TTLinput(seePage5and6formoredetail)
DC AC
Black Wire - ~
Red Wire + ~
Photocell
Cable
Breather
Gland
Loading ...
Loading ...
Loading ...