Loading ...
Loading ...
Loading ...
4
Factory Default Set-Up:
35˚ Beam Angle ; Max 100% Power
Telemetry Input – closed ; Photocell sensitivity – MID
Status LEDs – ON ; No PIN Set ; Manual Button Control Enabled
Programming function will auto-disable after 7 Days
VARIO2 Complete Set up and Installation
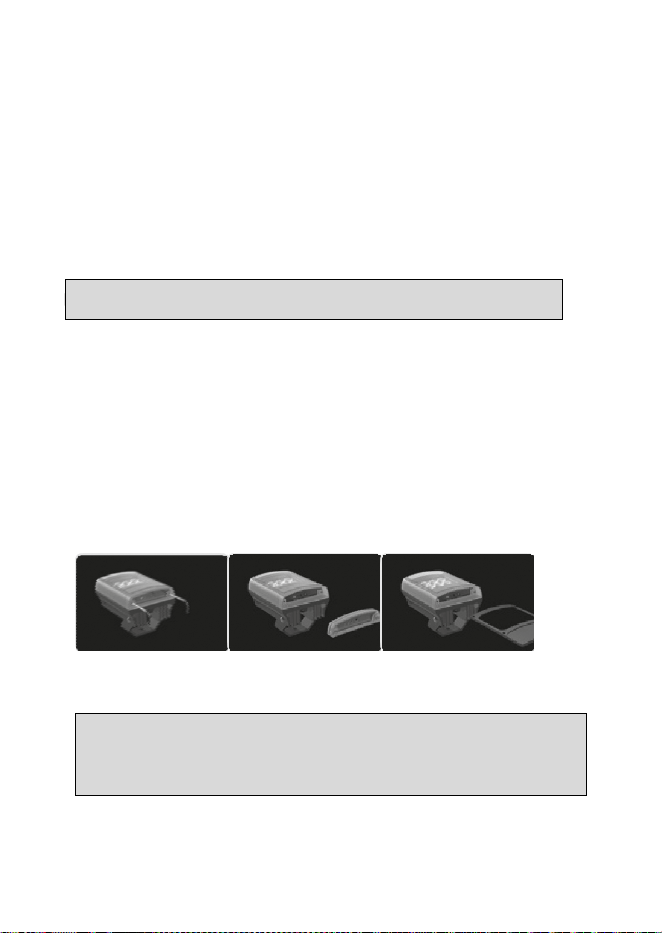
Step 1. Select different beam angle – if required
To alter to 10˚, simply remove interchangeable lens (ILS).
To alter to 60˚, replace with other ILS lens supplied.
Other angle ILS lenses are available to order: 80˚ and 120˚.
All ILS lenses will be clearly marked with the angle which they will produce
when inserted into VARIO2.
Please handle ILS lenses with care – and do not touch optical film.
Only 1 ILS lens can be inserted into the product at anytime. The product
cannot accommodate multiple ILS lenses at the same time.
We would recommend that power is turned off when replacing ILS lenses.
Remove base plate from VARIO2 unit using 2.5mm allen/hex key. Insert
required ILS lens and re-attach base plate securely ensuring gasket is
correctly located.
VARIO is factory set and delivered with a 35˚ beam width angle.
Important Note : Ensure base plate is securely located, the gasket is
correctly located and the screws correctly fastened to ensure and
maintain IP66 rating of the product
Loading ...
Loading ...
Loading ...