Loading ...
Loading ...
Loading ...
31
Canning Guide
1. Select a pretested pressure canning recipe.
Although ingredients may vary, foods will be
generally processed as instructed in this manual.
2. Using only the freshest ingredients and fruits
and vegetables at their peak of ripeness, prepare
food as instructed in the recipe.
3. Fill 16-oz clean canning jars to liquid level
as indicated. Do not ll above Liquid Level mark.
An approximate 1-in. headspace should remain
at top of jar (see Fig. M).
4. Using a exible, nonporous spatula, gently press
food against jar in order to remove any trapped
air bubbles (see Fig. N).
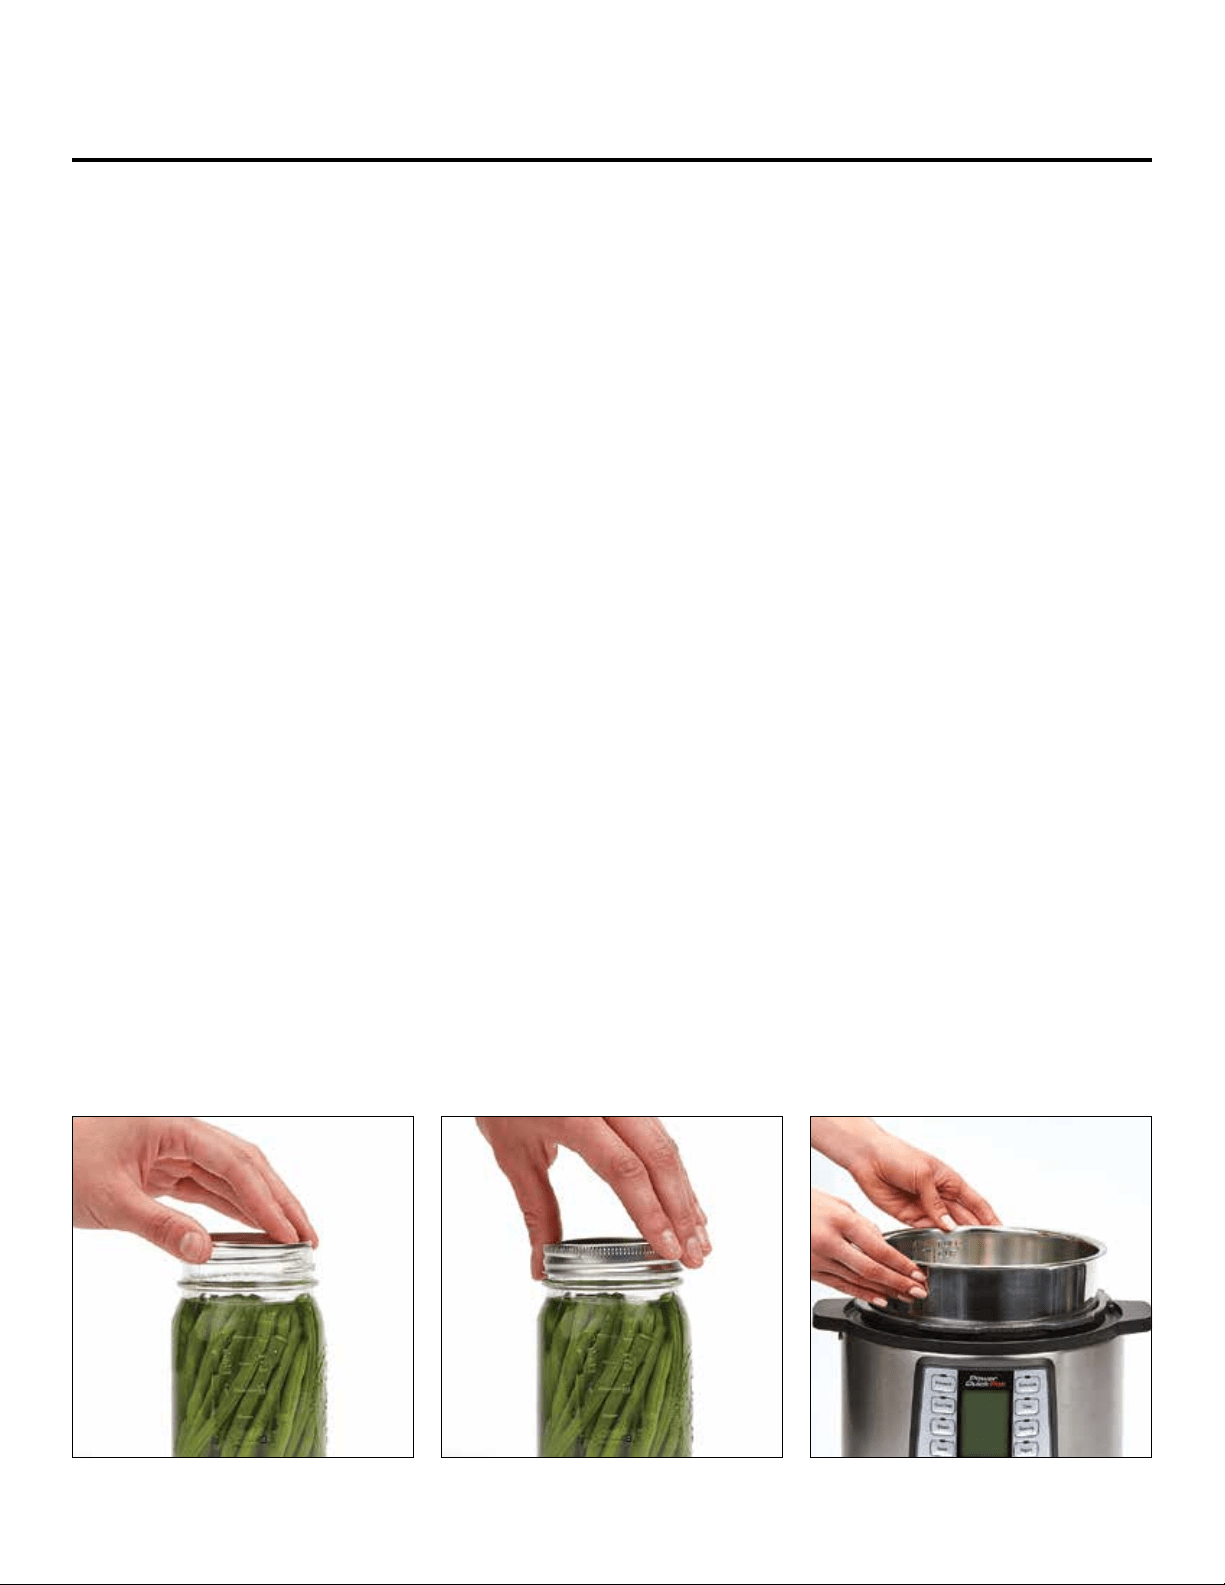
5. Place a clean at lid on opening of jar (see Fig.O).
Add screw band. Turn clockwise and hand tighten
in place (see Fig. P).
NOTE: If screw bands are too loose, liquid may
escape from jars during processing and seals may
fail. If screw bands are too tight, air cannot vent
during processing and food will discolor during
storage. Overtightening also may cause lids
to buckle and jars to break.
6. Place the Inner Pot in the Unit Base (see Fig.Q).
Place a wire rack (not included) in bottom of Inner
Pot. Place lled, sealed jars on wire rack (see
Fig.R). Maximum jar quantity varies per model
(see PINT SIZE JAR QUANTITIES, p. 29).
7. Pour hot water into Inner Pot with jars until water
level reaches ¼ way up sides of jars. Amount
of water depends on how many jars you place
in the Unit. For example, for four 16-oz jars,
use about 6 cups of water. When processing
fewer jars, more water is necessary.
8. Following proper instructions in this manual,
place Lid on base of appliance and lock into
place (see Fig. S). Plug the Unit into wall outlet.
9. Press the Canning Button. Pressure will
automatically set at 80 kPa. Select Cook Time
as indicated in chosen recipe.
10. When the canning process is complete, Press
the Steam Release Switch to release pressure.
Release pressure by moving the Steam Release
Switch to the Open position and letting go (see
INSTRUCTIONS FOR USE, p. 14).
D. THE CANNING PROCESS
FIG. O FIG. P FIG. Q
Loading ...
Loading ...
Loading ...