Loading ...
Loading ...
Loading ...
25
• Any of the shelves can be removed to store larger items.
• When removing the shelf from the rail compartment,
make sure to remove all items first. Then move the
shelf to the position where the notch of the shelf is
exactly under the plastic post and lift the shelf. To
replace the shelf, repeat the steps described above in
reverse.
CAUTION: When removing or replacing the shelf, use caution not to scratch the sides of unit.
Wood Shelves
To prevent damaging the door gasket, make sure to have
the door all the way open when pulling the shelves out of the
rail compartment.
• Any of the shelves can be removed to store larger items.
• When removing the shelf from the rail compartment,
make sure to remove all items first. Then move the shelf
to the position where the notch of the shelf is exactly
under the plastic post and lift the shelf. To replace the
shelf, repeat the steps described above in reverse.
CAUTION: When removing or replacing the shelf, use caution not to scratch the sides of the unit.
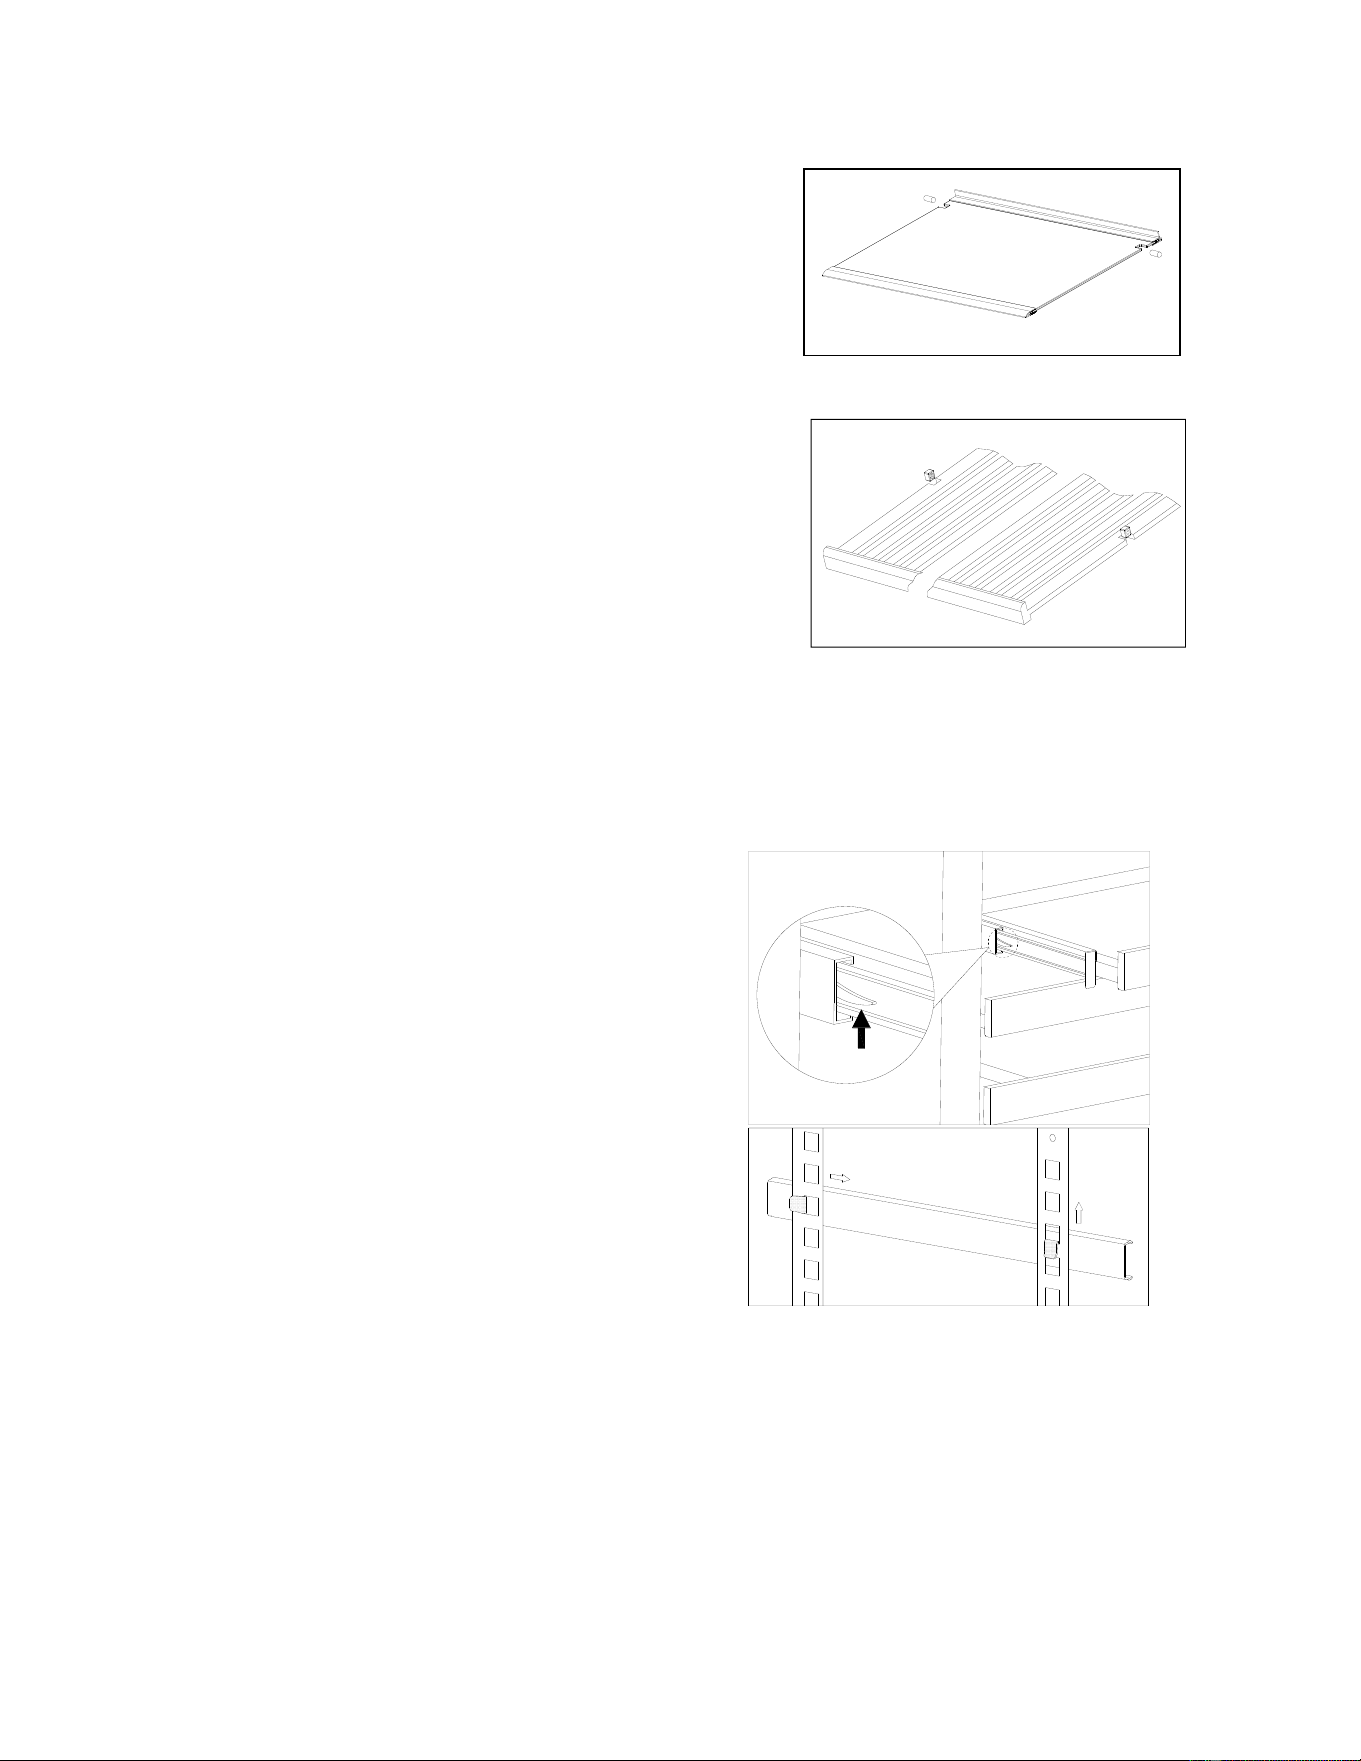
Rail Shelves
To prevent damaging the door gasket, make sure to
have the door all the way open when pulling the
shelves out of the rail compartment.
• Any of the shelves can be removed to store
larger items.
• When removing the shelf from the rail
compartment, make sure to remove all items
first. Press the right slide release lever down
and at the same time lift the corresponding left
slide lever up and pull the shelf out until it is free
of tracks and the cabinet.
• To remove the tracks, lift the track front straight
up and then pull the track rear straight outward to
release the track hooks from the wall slots. In
order to replace the tracks, repeat this procedure
in reverse.
• In order to replace the shelf, align the left and
right slide channels with the tracks in the cabinet.
Ensuring an even track engagement on both sides, gently push the shelf into the cabinet until
the tabs lock into place.
NOTE: Make sure the tabs on the full extension shelf guides are fully engaged before loading any
bottles. Pull the shelf out all the way to the STOP position and push back in several times to make
sure the locking tabs are properly engaged.
CAUTION: When removing or replacing the shelf, use caution not to scratch the sides of unit.
Loading ...
Loading ...
Loading ...