Loading ...
Loading ...
Loading ...
14
Full Overlay Panel Installation Instructions
These models are designed for field-installed overlay panel. The overlay panel covers the stainless
steel to give a built-in appearance. The overlay panel and appropriate hardware are not included
with the unit and the end user needs to prepare them themselves. Please follow the instructions
below for installation:
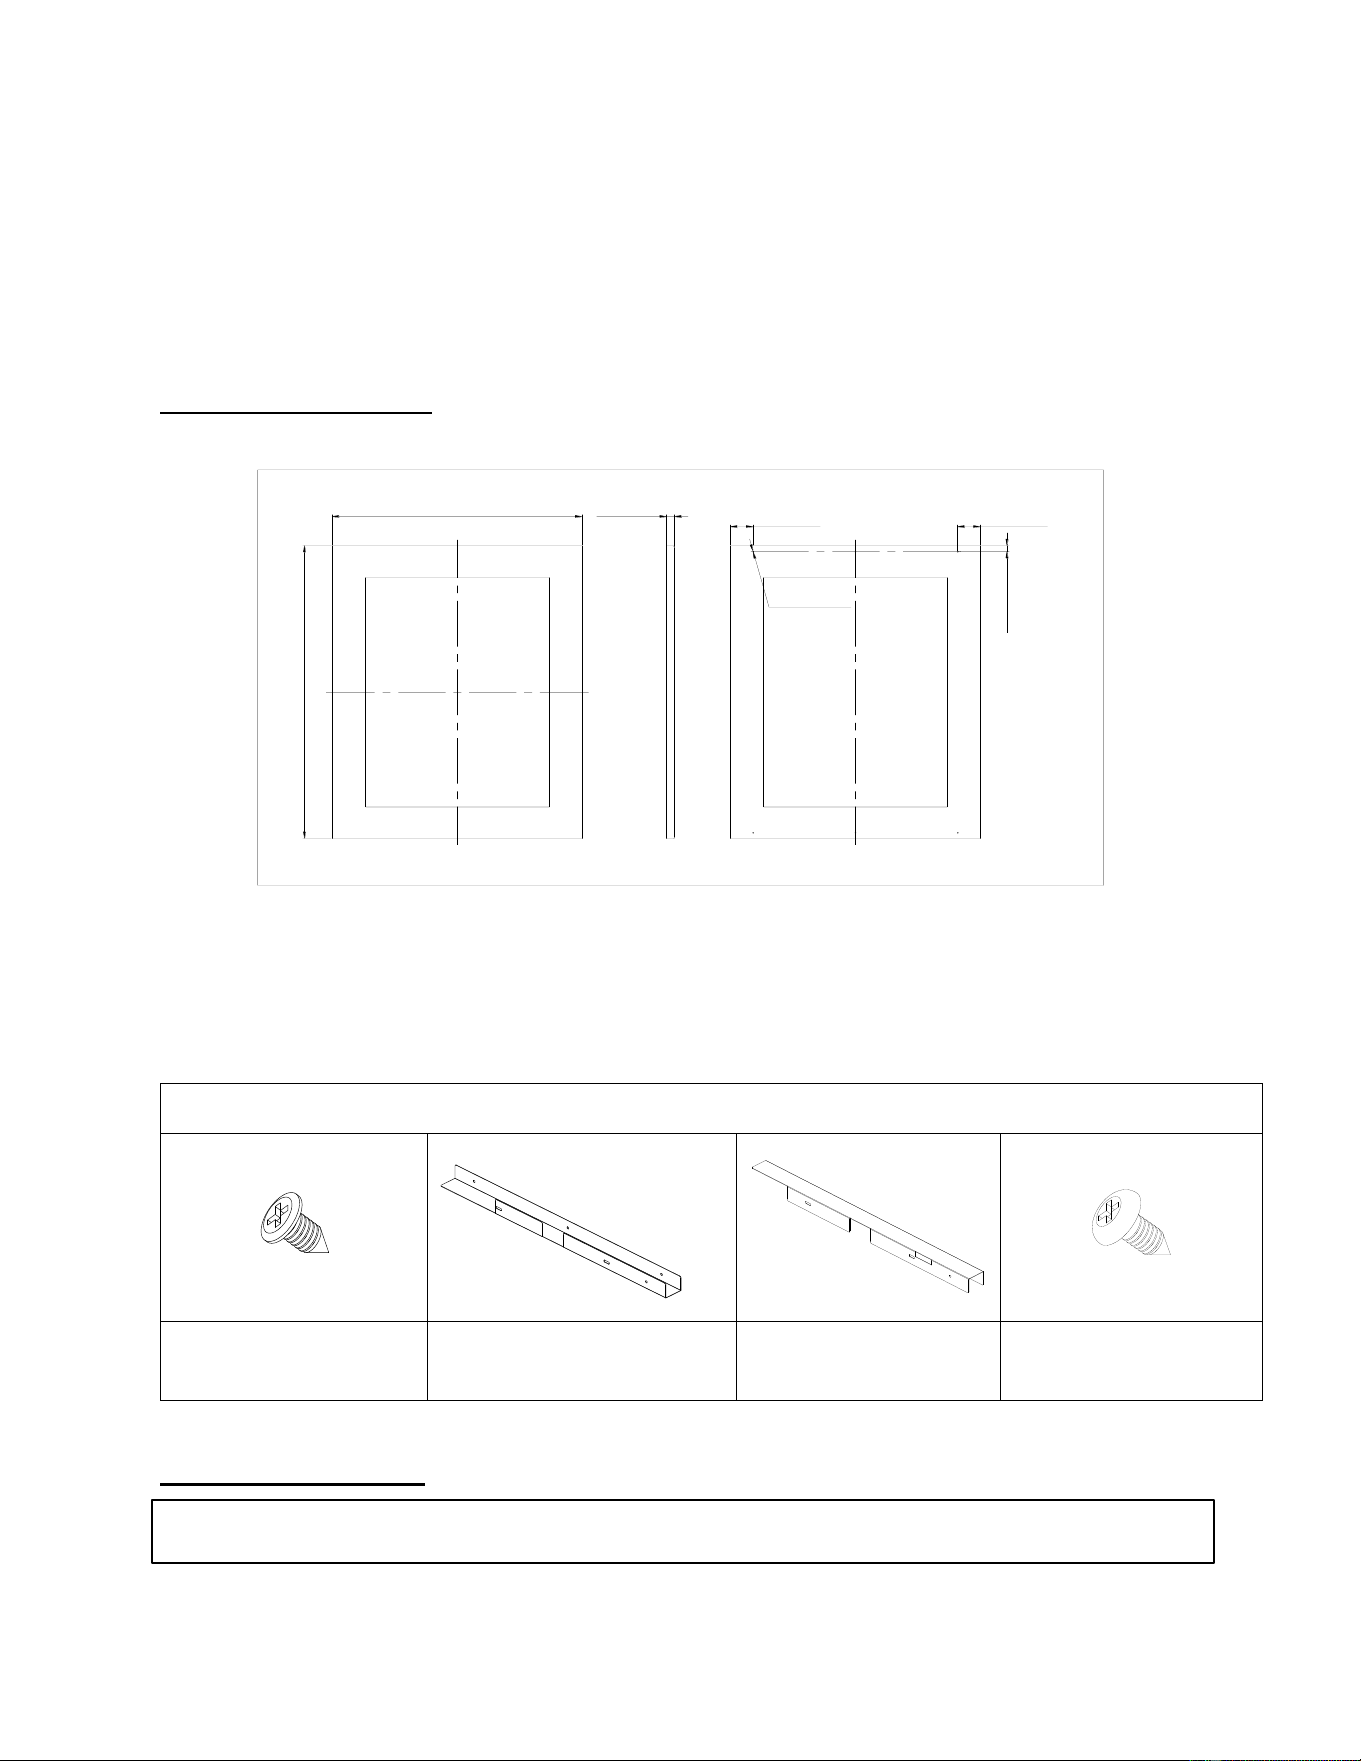
Door Panel Preparation
Prepare the overlay panel to the dimensions shown below.
H
54mm [2 1/8"]
14.5mm [37/64"]
19mm [3/4"]
W
6-§ ¶2.5mm [§ ¶1/10'']
6mm[15/64''] DEEP
54mm [2 1/8"]
IMPORTANT:
1. H = Height of door + 1mm [3/80”], W = Width of door + 4mm [5/32”].
2. It is important to ensure that all drilled holes are drilled to the correct depth in order to avoid splits
in the wood when hardware is installed.
Door Panel Installation
NOTE: This design will leave a 3mm gap between the panel and the unit door.
Included in the bracket kit
Phillips self-tapping screw
(6)
Bottom bracket (1)
Top brackets (1)
Phillips self-tapping screw
(6)
①
②
④
⑨
Loading ...
Loading ...
Loading ...