
Loading ...
Loading ...
Loading ...
-
7
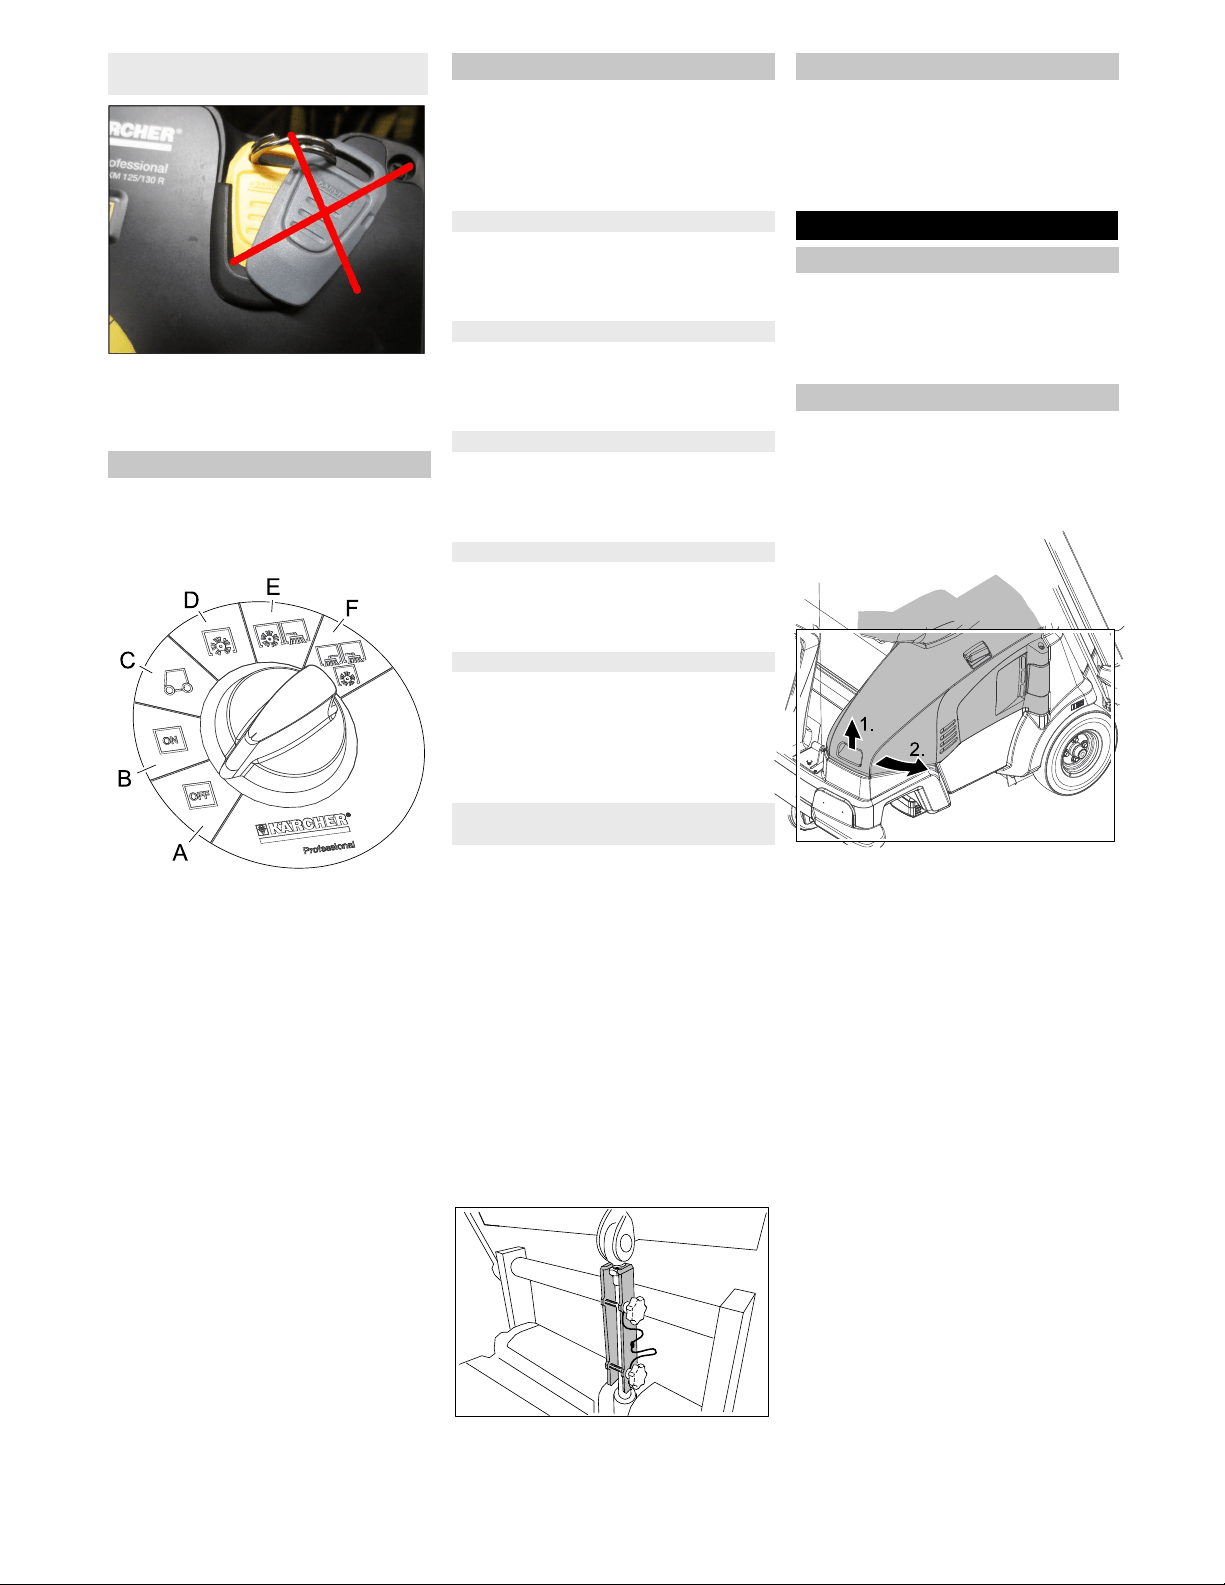
Make sure that there is no more than 1
KIK-key near the control panel.
If this should be the case, the fault F/11
may appear on the display.
Note
The functions are only activated when the
main switch is switched on and the KIK-key
is inserted.
A OFF
Device is switched off
B ON
The appliance is now ready for opera-
tion.
C Drive the machine
Drive to the operating location; in order
to do so, push the accelerator pedal.
Note
Roller brush and side brushes are
raised and switched off.
D Sweeping with sweep roller
Roller brush is lowered.
E Sweeping with roller brush and right
side brush
Roller brush and right side brush are
lowered, the sickle brush (optional) is
ready for operation.
F Sweeping with roller brush and right
and left side brush
Roller brush, right side brush and left
side brush (optional) are lowered, the
sickle brush (optional) is activated.
� WARNING
This appliance is equipped with a variety of
safety installations. The proper function of
every safety installation must be checked
prior to operation and must NOT be over-
ridden!
The main switch serves the immediate
shutdown of the electrical drives in case of
emergencies and may only be used for this
purpose.
The left cover is equipped with a safety in-
stallation that switches off the running de-
vice when it is opened and issues a warn-
ing message on the display.
Both waste containers are equipped with a
safety installation that switches off the run-
ning device when it is opened and issues a
warning message on the display.
The high emptying system is equipped with
a safety installation that blocks the sweep-
ing operation during the emptying proce-
dure.
Appliances with a high emptying system
are equipped with a button for two-hand op-
eration.
For emptying the waste container, the
button must be pressed together with
the keys of the high emptying system.
The safety support is attached to the cross-
beam by means of 2 star screws for stor-
age.
�
CAUTION
Risk of injury!
During any work underneath the lifted
waste container, the lifting cylinder
must be secured by means of a safety
support.
Perform the safeguarding only from
outside the hazard zone.
Remove safety support, in order to do
this, unscrew 2 star screws.
Insert safety support into the piston rod
for the lifting cylinder and secure it.
Note: The round notch must point up-
wards.
The appliance is equipped with an auto-
matic parking brake that is integrated in the
front-wheel drive.
The parking brake takes effect as soon as
the device comes to a standstill and the ac-
celerator pedal is released.
The cover with the seat can be removed
for repair or maintenance work.
Prior to removing the cover, disconnet
the electrical socket plug connection of
the seat contact switch.
ATTENTION
The left cover may only be opened when
the programme selector switch is in the
"OFF" position and the key (Intelligent Key)
is removed.
Opening the left cover during operation of
the device is prohibited.
Grab the front of the cover on the re-
cessed grip, unlock it towards the top
and swivel it to the side.
Illustration is symbolic, here KM 105/...
Note: The cover is equipped with a safety
installation that switches off the drive when
it is opened and issues a warning message
on the display. If the cover is not properly
closed the device will not operate.
If a warning message is pending, it can be
reset as follows:
Completely close the bonnet (locking in
place).
Turn the programme selector switch to
"ON".
Sit on the driver seat.
Notes on operation using the KIK-key
(Kärcher Intelligent Key)
Program selection switch
Safety Devices
Main switch
Cover on the left
Waste container (low emptying system)
Waste container (high emptying system)
Button for two-hand operation
Safety support waste container (high
emptying system)
Parking brake
Before Startup
Remove the appliance cover
Opening/closing cover on the left
32 EN
Loading ...
Loading ...
Loading ...