Loading ...
Loading ...
Loading ...
MAKING INTERIOR SCROLL CUTS
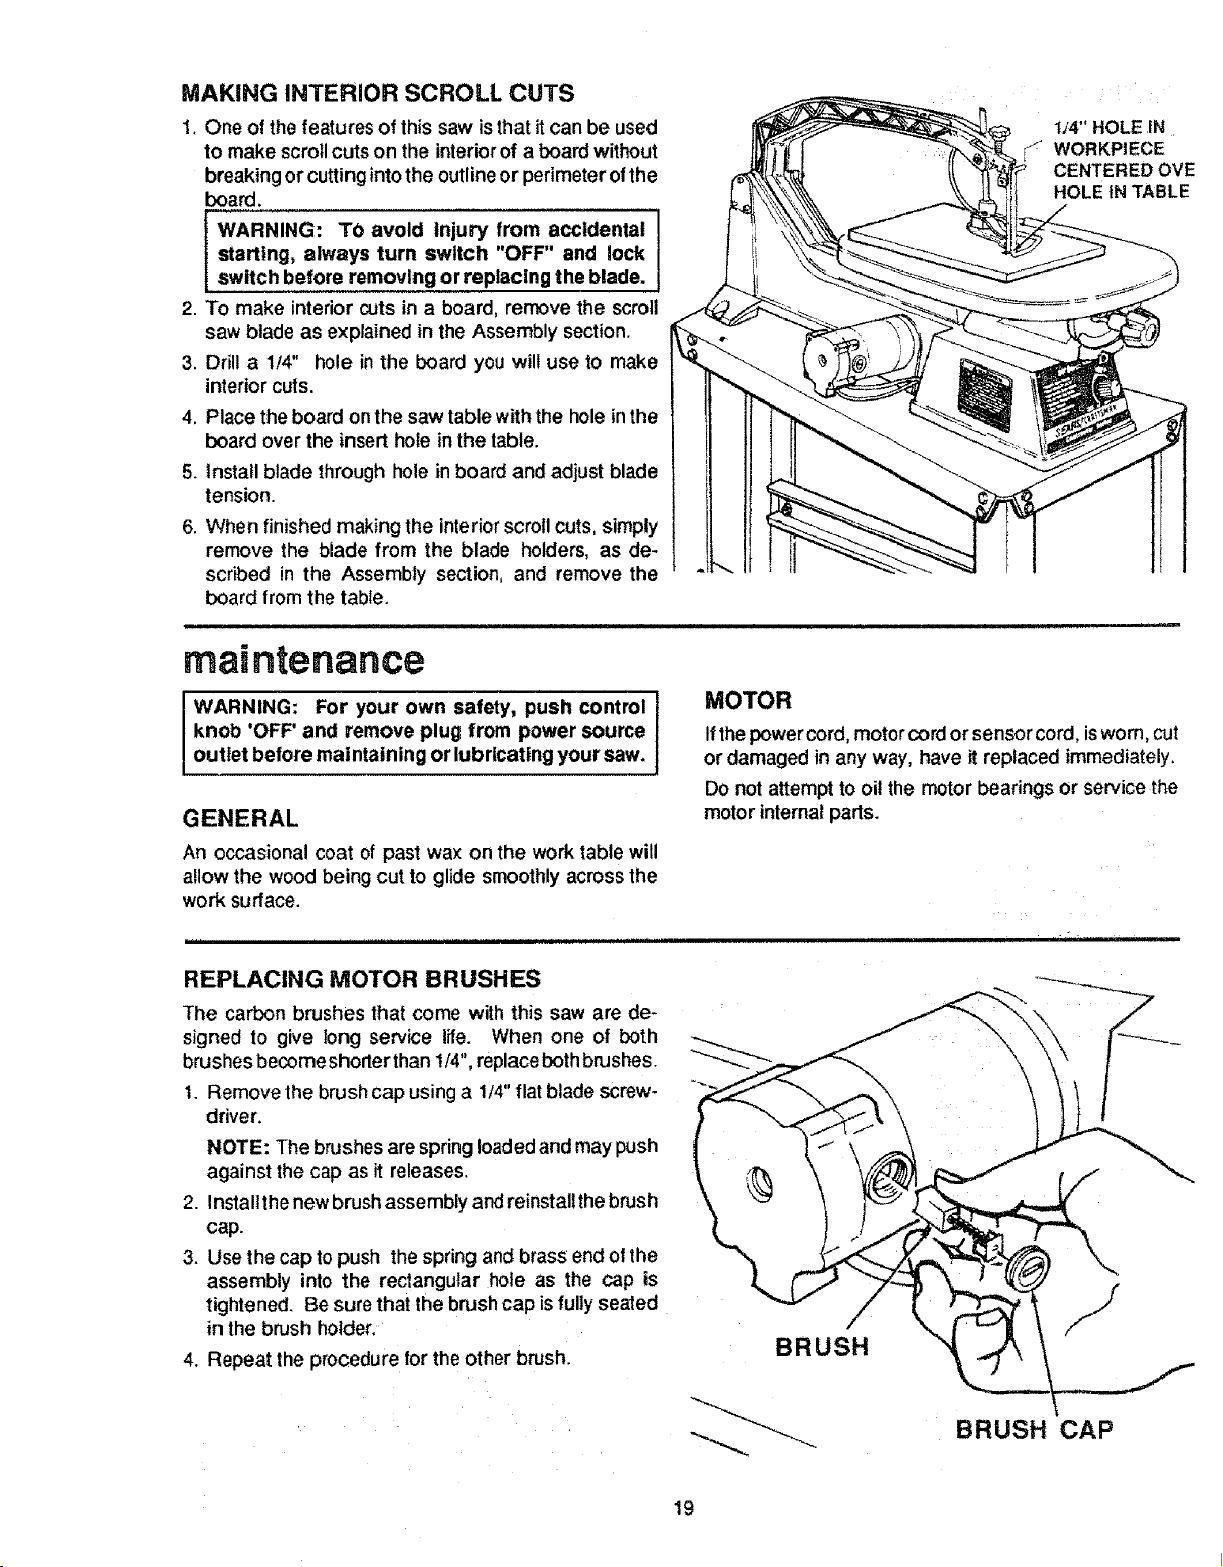
1. One of the features of th{ssaw isthat itcan be used
to make scroll cuts on the interiorof a board without
breaking or cuttingintothe outlineor perimeter ofthe
board.
WARNING: TO avoid injury from accidental
starting, always turn switch "OFF" and lock
switch before removing or replacing the blade.
2. To make interior cuts in a board, remove the scroll
saw blade as explained in the Assembly section.
3. Drill a 1/4" hole inthe board you will use to make
interior cuts.
4. Place the board onthe saw table with the hole in the
board over the insert hole in the table.
5. install blade through hole in board and adjust blade
tension.
6. When finished making the interiorscroll cuts, simply
remove the blade from the blade holders, as de-
scribed in the Assembly section, and remove the
board from the table.
1J4" HOLE IN
WORKPIECE
CENTERED OVE
HOLE tN TABLE
maintenance
WARNING: For your own safety, push control
knob 'OFF' and remove plug from power source
outlet before maintaining or lubricating your saw.
GENERAL
An occasional coat of past wax on the work table will
allow the wood being cut to glide smoothly across the
work surface.
MOTOR
Ifthepowercord, motorcordor sensor cord, isworn, cut
or damaged in any way, have it replaced immediately.
Do not attempt to oi! the motor bearings or service the
motor internal parts.
REPLACING MOTOR BRUSHES
The carbon brushes that come with this saw are de*
signed to give long service life. When one of both
brushes becorne shorter than 1/4", replace bothbrushes.
1. Remove the brush cap using a 1/4" flat blade screw-
driver.
NOTE: The brushes are spring loaded and may push
against the cap as it releases.
2. Installt he new brush assembly and reinstalithe brush
cap.
3. Use the cap to push the spring and brass end of the
assembly into the rectangular hole as the cap is
tightened. Be sure that the brush cap isfullyseated
in the brush holder,
4. Repeat the procedure for the other brush.
BRUSH
BRUSH CAP
19
Loading ...
Loading ...
Loading ...