Loading ...
23
5. Attach the lter holder (C1) complete with lter to the appli-
ance. To attach correctly, align the lter holder handle with
"INSERT" (g. 10), then turn the handle to the right until it is
aligned in the "CLOSE" position;
6. Place a recipient under the lter holder and cappuccino
maker (A8) (g. 11);
7. Press the button (B4) corresponding to the light. De-
livery begins (g. 12);
8. When delivery is complete, turn the steam dial (A4) (g.
13) and deliver steam for 10 seconds to rinse the steam
circuit;
9. Repeat points 7 and 8 until you have delivered at least 1
litre of water (about half the tank);
10. Extract the water tank (A17) (g. 3), rinse and ll with fresh
clean water, taking care not to exceed the MAX level (g. 4).
The appliance is ready for use.
Please note: We also recommend rinsing the internal circuits if the appliance is
not used for a long period.
The rst time you use the appliance, you need to make 4-5 cups
of coee before the appliance starts to give satisfactory results.
Pay particular attention to the quantity of pre-ground coee in
the lter ((C2) or (C3)) (see instructions in section "4.5 Adjusting
the quantity of ground coee in the lter").
Proceed as described in section "4. Prepare the perfect dose".
4. PREPARE THE PERFECT DOSE
4.1 Preparing the coee mill
1. Make sure the beans container is correctly inserted and
lined up to position "3" (g. 14) (default setting) ;
2. Remove the beans container lid (A1);
3. Place the required quantity of coee beans in the container
(g. 15);
4. Close the lid, pressing rmly.
5. The rst time you use the appliance, make sure the dial (B2)
is in the position (default setting).
4.2 Select the grinding level
The grinding level aects delivery speed and therefore the qual-
ity of the extract.
The rst time you use the appliance, we recommend using the
factory setting (medium grinding) (g. 14), then if you are not
satised with the result, adjust the level according to your per-
sonal taste and the type of coee by setting a ner or coarser
grinding level, referring to the tips in section "4.5 Adjusting the
quantity of ground coee in the lter".
Important:
• Always adjust the coee mill while in operation.
• Adjust one grinding level at a time and make at least 5 coees
before adjusting again.
• Do not remove the beans container while it contains beans.
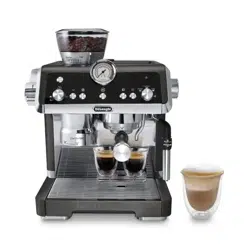
4.3 The coee lters
The appliance is provided with two coee lters.
The 1 coee lter (C2) has the symbol marked on the
bottom.
The 2 coee lter (C3) has the symbol marked on the
bottom.
For the correct quantity of coee, the ideal level of pressed coee
is marked inside the lters (g. 16). If the quantity is above or
below the level indicated, the result may not be satisfactory. The
next times you use the coee mill, you can adjust the grinding
level using the dial (B2) (see section "4.5 Adjusting the quantity
of ground coee in the lter").
4.4 Grind the coee directly into the lter
1. Place the ground coee lter (C2) or (C3) in the lter holder
(C1) (g. 17);
2. Press the "X2" button if you are using the 2 coee lter;
3. Attach the lter holder to the outlet of the coee mill
(A22), aligning it with "INSERT", then turning it to the right
(g. 18). Grinding begins when the lter holder reaches the
CLOSE position and stops automatically;
Important: while the appliance is grinding coee, you can per-
form a rinse, or produce hot water or steam at the same time.
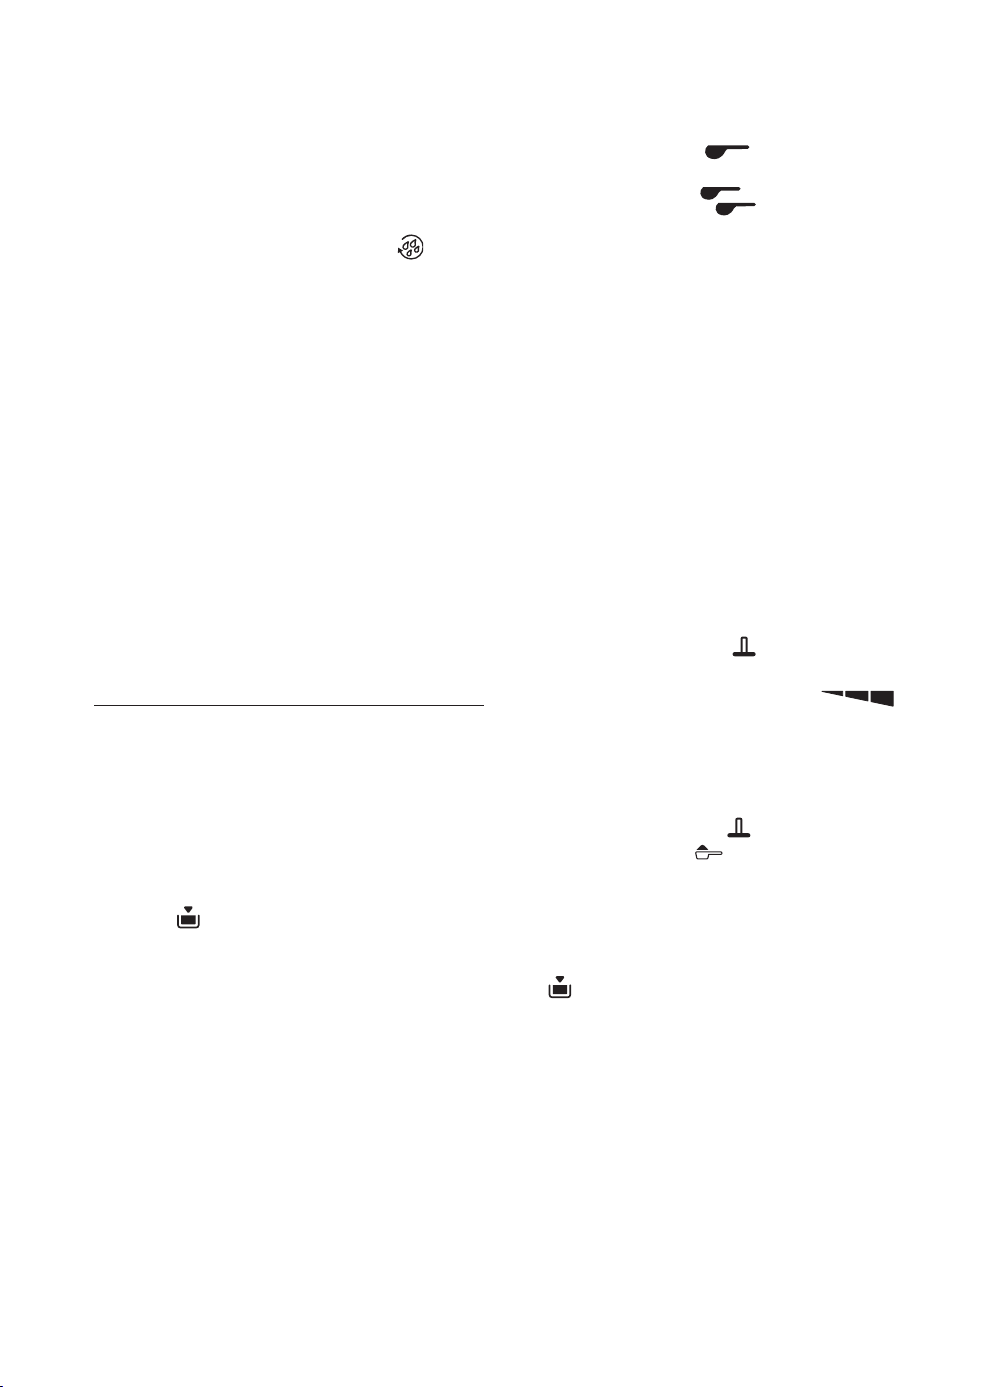
4. Once grinding is complete, the light (B16) ashes. Pull
the presser lever (A23) as far as it will go. The force exerted
on the coee is indicated on the lever itself ( )
(g. 19).
5. Remove the lter holder by turning it towards the left.
Important: to adjust the correct quantity ground automatically into the lter hold-
er, see section "4.5 Adjusting the quantity of ground coee in the lter".
If you remove the lter holder from the outlet of the coee mill
without pressing the coee, the light (B16) ashes. To
press, turn the dial (B2) to the position to disable the coee
mill, re-attach the lter holder and pull the lever (A23).
4.5 Adjusting the quantity of ground coee in
the lter
Important: The rst time you use the coee mill, leave the dial
in the position (min). It is normal for you to have to grind the
coee a number of times before nding the correct adjustment for
the right amount of coee.
Loading ...
Loading ...
Loading ...