Loading ...
Loading ...
Loading ...
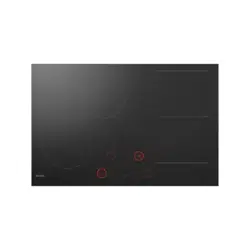
Flush-mount installation into the worktop
Appliances without faceted edges or decorative frames are suitable for flush mounting.
brushed edge
decorative frame
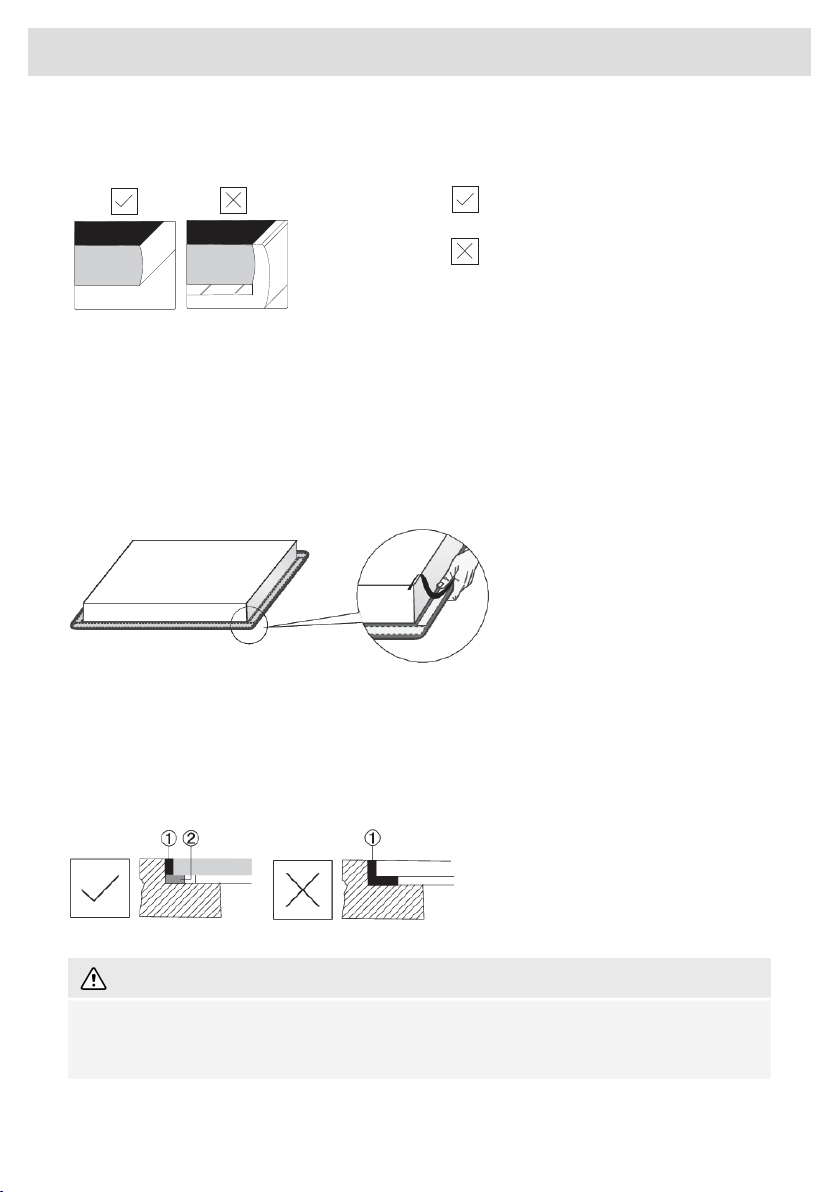
Installing the appliance
The appliance may only be installed into a temperature- and water-resistant countertop, such as a
countertop made of (natural) stone (marble, granite), or solid wood (the edges along the cut-out
have to be sealed). When installing into a countertop made of ceramics, wood, or glass, a wooden
sub-frame should be used. The frame is not supplied with the appliance. Internal dimension of the
basic unit should be at least equal to the internal cutout for the appliance. Only in this way the
appliance can be serviced from the underside in case a problem might occur. Attach sealing tape
along the perimeter of the bottom of the glass panel.
First, feed the power cord through the cutout. Place the appliance over the centre of the cutout.
Connect the appliance to the power mains (see chapter Technical installation). Before sealing the
appliance, test its operation. Seal the slot between the appliance and the countertop using a silicone
sealant. The silicone sealant used to seal the appliance has to be temperature-resistant (to at least
160 °C). Smooth out the silicone sealant using a suitable tool. Observe the instructions for use of
the selected silicone sealant. Do not switch on the appliance until the silicone sealant has dried
completely.
1. Silicone sealant
2. Sealing tape
WARNING!
Pay particular attention to built-in dimensions with (natural) stone countertops. When choosing
the silicone sealant, observe the countertop material and consult the countertop manufacturer.
Use of inappropriate silicone sealants can result in permanent discolouration of some parts.
48
Installation
Loading ...
Loading ...
Loading ...