Loading ...
Loading ...
Loading ...

© Xiamen RGBlink Science & Technology Co., Ltd.
Ph: +86 592 5771197 | support@rgblink.com | www.rgblink.com
7
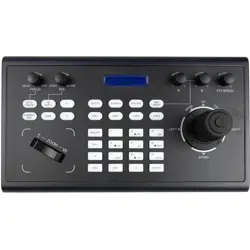
【
SETUP
】
Controller local Settings button: Modify and view local settings.
【SEARCH】
Search button: Search for all available devices with ONVIF protocol in the LAN (only in ONVIF Mode)
【INQUIRE】
Inquire button: Check added devices
【WBC MODE】
Auto white balance button: Set the camera in auto white balance mode. It will light up when camera is in
manual white balance mode.
【CAM1】~【CAM4】
Quickly switch device button: Quickly switch to CAM NUM 1-4 devices (ONVIF, IP VISCA), or to address code 1-4
devices (VISCA, PELCO)
【
PRESET
】
Short press to set presets; long press to delete presets setting.
It needs to work with the number keys and “enter” button, for setting or deleting presets.
【
CALL
】
Call preset button: It needs to work with the number keys and ENTER button.
【
IP
】
Manually add network device button:
Manually add network devices (only in ONVIF and IP VISCA modes)
【
CAM
】
In IP VISCA and ONVIF modes, it will quickly switch to the CAM NUM bound device when adding a
device via CAM.
In VISCA and PELCO modes, it will switch to the address code when entering a certain address. It needs to
work with the number keys and “enter” button.
【
1
】
~
【
9
】
Number keys of 0,1,2,3,4,5,6,7,8,9.
2,4,6,8 serve as direction keys as well, which could control pan and tilt rotation, and camera OSD.
Loading ...
Loading ...
Loading ...