
Loading ...
Loading ...
Loading ...
08
2. Use the monitoring screen as a template to mark the screw holes
and trace the cut-out area on the mounting surface with a pencil.
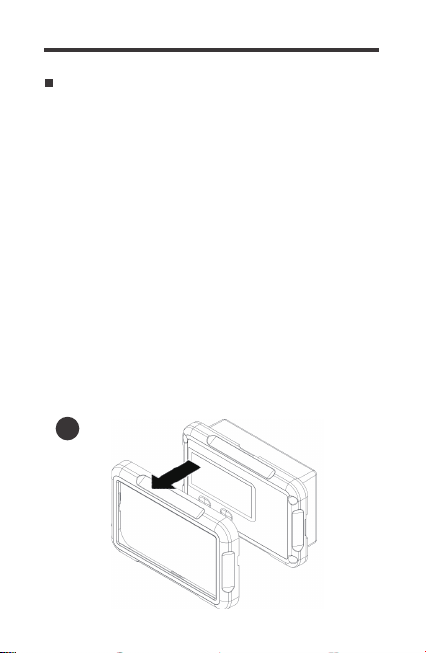
1. Remove the snap-fit Front Cover Plate from the monitoring
screen.
3. Cut out a rectangle area for the monitoring screen on the
mounting surface with a jigsaw. You may also use the cut out
dimension specified after Step 2.
5. Put the monitoring screen into the cut-out area and align the
mounting holes on the monitoring screen with the pre-drilled screw
holes.
6. Fix the monitoring screen on the mounting surface with the
included four self-tapping screws.
7. Re-attach the snap-fit Front Cover Plate to the monitoring
screen.
4. Pre-drill four screw holes on the mounting surface with a drill.
Mounting the Monitoring Screen
1
Loading ...
Loading ...
Loading ...