
Loading ...
Loading ...
Loading ...
21
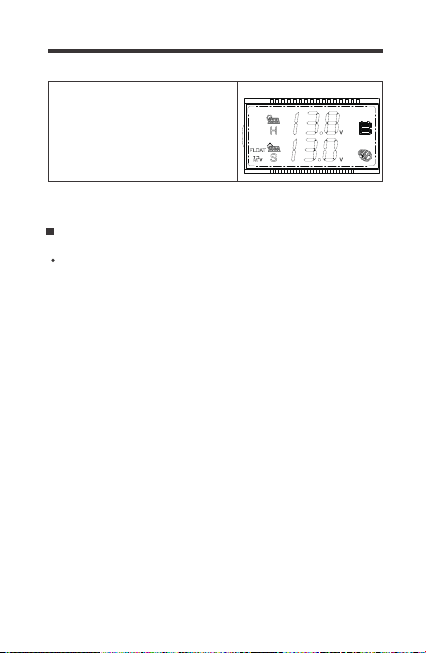
1. Use the Page Up/Down keys to show the Voltage Interface.
Hold down Parameter Setting Key for approximately 2-3seconds
and the top line will begin flashing the battery type.
You can change the battery type to confirm the preselected battery
profiles for Gel, Flooded, Sealed, Lithium, or a User Setting. Lithium
and User settings require extra steps. The battery Charging Chart
can be found in the Technical Specifications.
Parameter Setting
Set the Battery Type
Setting Gel, Flooded, or Sealed
2. Use the Page Up/Down to highlight Gel, flooded (Fld), or
Sealed (Sld).
3. To confirm, hold down the Parameter Setting Key for approximate-
ly 2-3seconds. The screen will clear and revert to the House
Battery Voltage.
3.Charging of both starter and
house battery at the same time will
be indicative of solar icon over the
S and the ALT charging arrow.
Loading ...
Loading ...
Loading ...