Loading ...
Loading ...
Loading ...
25
Auxiliary functions
Three auxiliary functions are available, selectable in
the same way as the cooking functions.
Proof
Preliminary operations:
1. Open the oven door.
2. Place the container containing the dough in the
oven.
3. Close the oven door.
• You can start the cooking even with the door
opened to let you check that the oven and/or
broil burners have ignited.
• Once the cooking is started, the oven burners
won’t be turned off when you open the door.
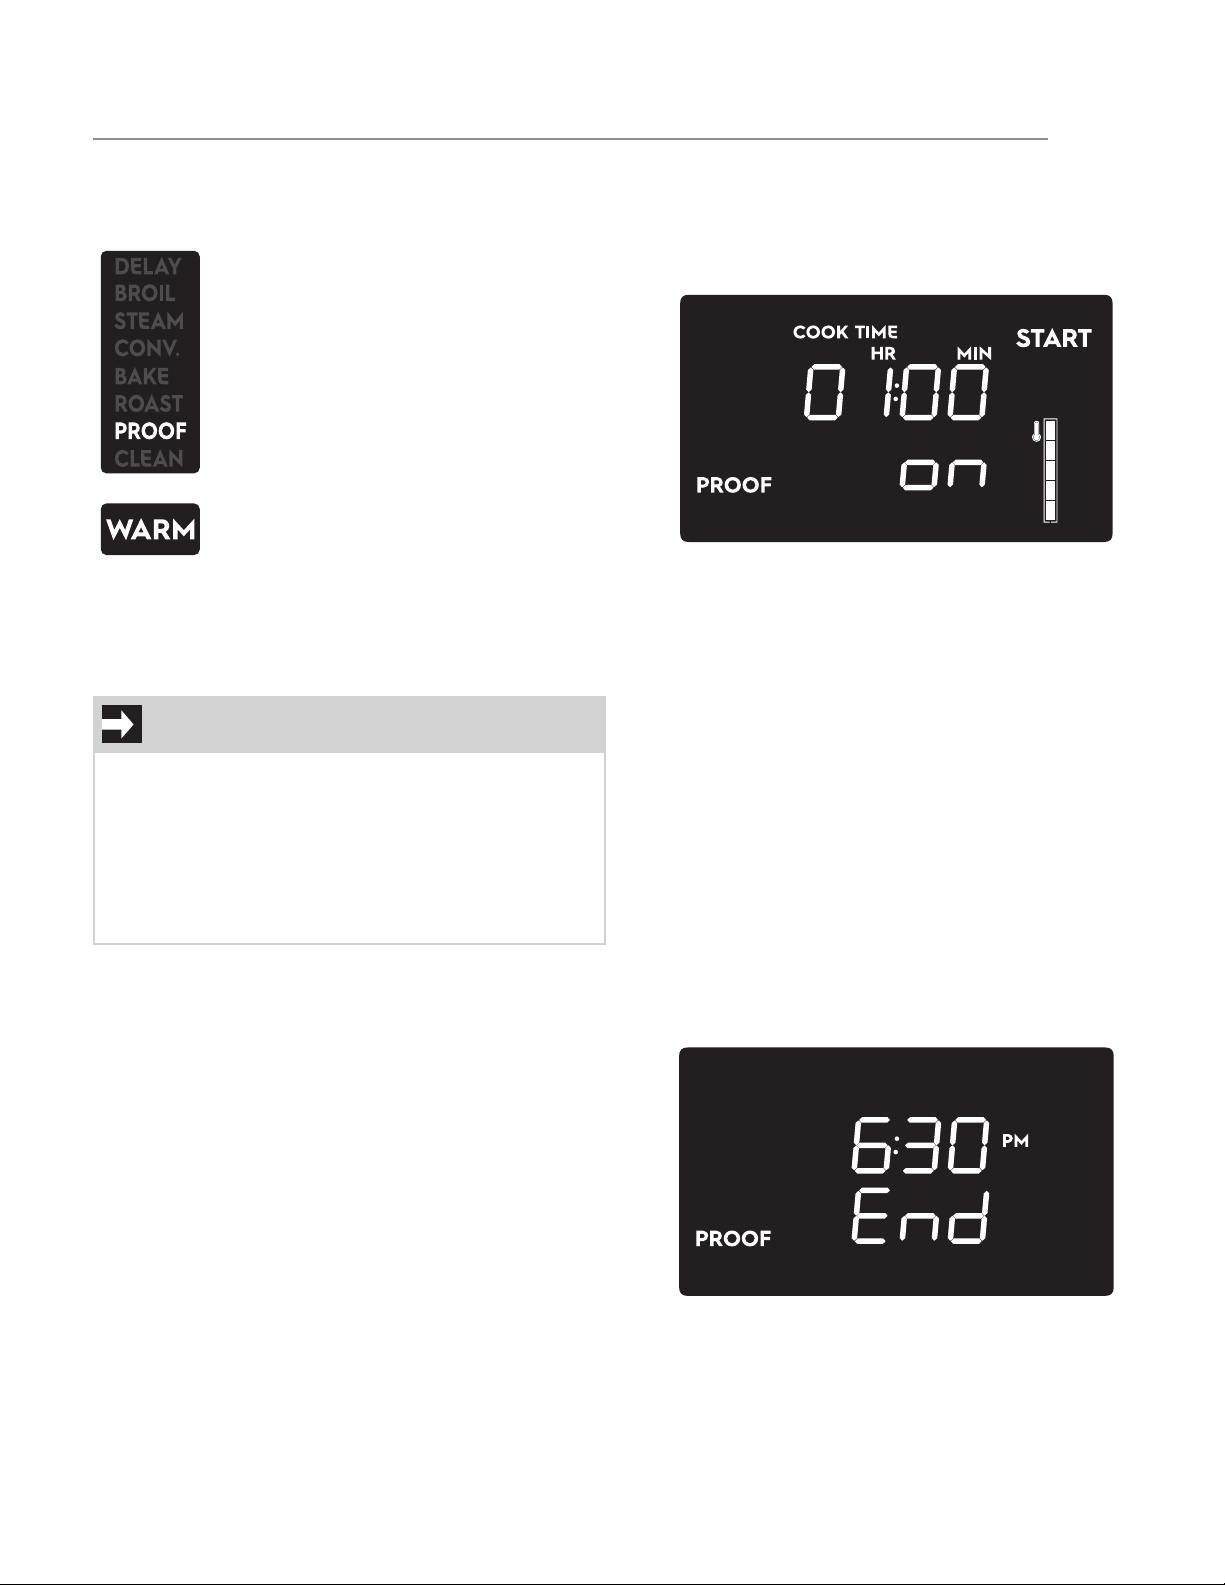
To set the Proof function:
1. Press the oven mode knob.
2. Turn the oven mode knob until the Proof setting
screen appears on the display (the word
“START” flashes):
3. By pressing the oven temp. knob you can set a
minute minder timer or change the default
duration of the function (see “Cooking timer”
and “Timed cooking”).
• Press the oven mode knob to start the Proof
function (the default/user countdown starts and
the word “on” disappears).
Proof function in progress
By pressing and turning the oven temp. knob, you can
modify the minute minder and the duration of the func-
tion (see “Cooking timer” and “Timed cooking”).
Turn the oven mode knob to the left and then release it
to stop the function.
End of Proof function
At the end of the Proof function, a buzzer sounds and
“END” will appear on the display together with the cur-
rent time.
Turn and release the oven mode button to stop the
buzzer and the function. The display goes into standby
mode.
Proof
This function allows to create the perfect
environment to activate yeast when bak-
ing homemade breads or pizza using heat
coming only from the upper part of the
oven cavity.
Warm
This function allows you to maintain a
constant temperature inside the oven.
Useful to prevent freshly cooked food
from cooling down.
IMPORTANT
• When you select the Proof function the “COOK
TIME” appears on the display to indicate that
the default duration of this function is 1 hour.
• It is not possible to set a delayed start for this
function.
• For best results, a container of water should be
placed at the bottom of the oven cavity.
USING THE OVEN
Loading ...
Loading ...
Loading ...