Loading ...
Loading ...
Loading ...
UM DS-2CCx2D9T-xxxx 022520NA (UD02874B-A) 32
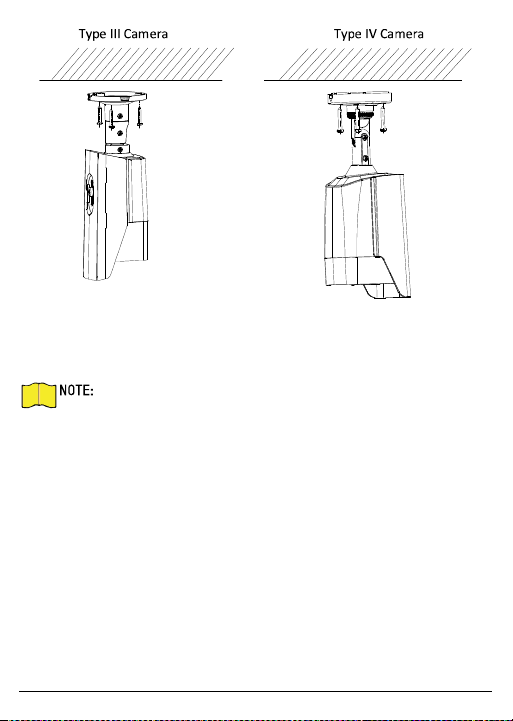
Figure 20, Affix Camera to Ceiling
5. Connect the corresponding cables such as power cable and
video cable.
The supplied screw package contains both self-tapping
screws and expansion bolts.
If the wall is concrete, expansion bolts are required to
affix the camera. If the wall is wood, self-tapping screws
are required.
6. Rotate the cover counterclockwise to separate it from the
camera to view the auxiliary video output, menu button, and DIP
switch shown in figure below.
7. Use the DIP switch to turn on or off the WDR. CVBS video output is
not available when the WDR is turned on.
Loading ...
Loading ...
Loading ...