Loading ...
Loading ...
Loading ...
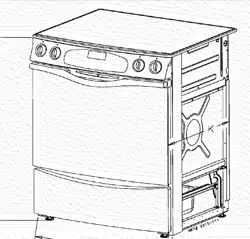
LEVELING LEGS
OVEN BOTTO_I
• Be sure the anti-tip bracket secures one
of the rear leveling legs to the floor. This
bracket prevents the range from acciden-
tally tipping.
The range should be lev-
eled when installed, if the
range is not level,turn the J 1
plastic leveling legs, lo-
cated at eachcor- _ !,:,,)
net of the _:_.: Y"
range, until _-*" _ ANTImPBRXCKET
rangeis level.
\ LEVELING LEG
OVEN LIGHT
To assure the proper replacement bulb
is used, order bulb from May_ag Cus-
tomer Service. Call 1-800-688-8408,
askfor part number 74004458- halogen
bulb.
Appliances which
require electrical
power areequipped
with a three-prong
grounding plug
which must bepluggeddirectly into aprop-
er[y grounded three-hole [ 20 volt electri-
cal outlet.
Alwaysdisconnectpower m appliancebefore
servicing.
The three-prong grounding plugoffers pro-
tection against shock hazards. DO NOT
CUT OR REMOVE THE THIRD
GROUNDING PRONG FROM THE
POWER CORD PLUG.
If an ungrounded, two-hole or other type
electrical outlet is encountered, it is the
personal responsibility of the appli-
ance owner to have the outlet re-
placed with a properly grounded
three-hole electrical outlet.
STORAGE DRAWER
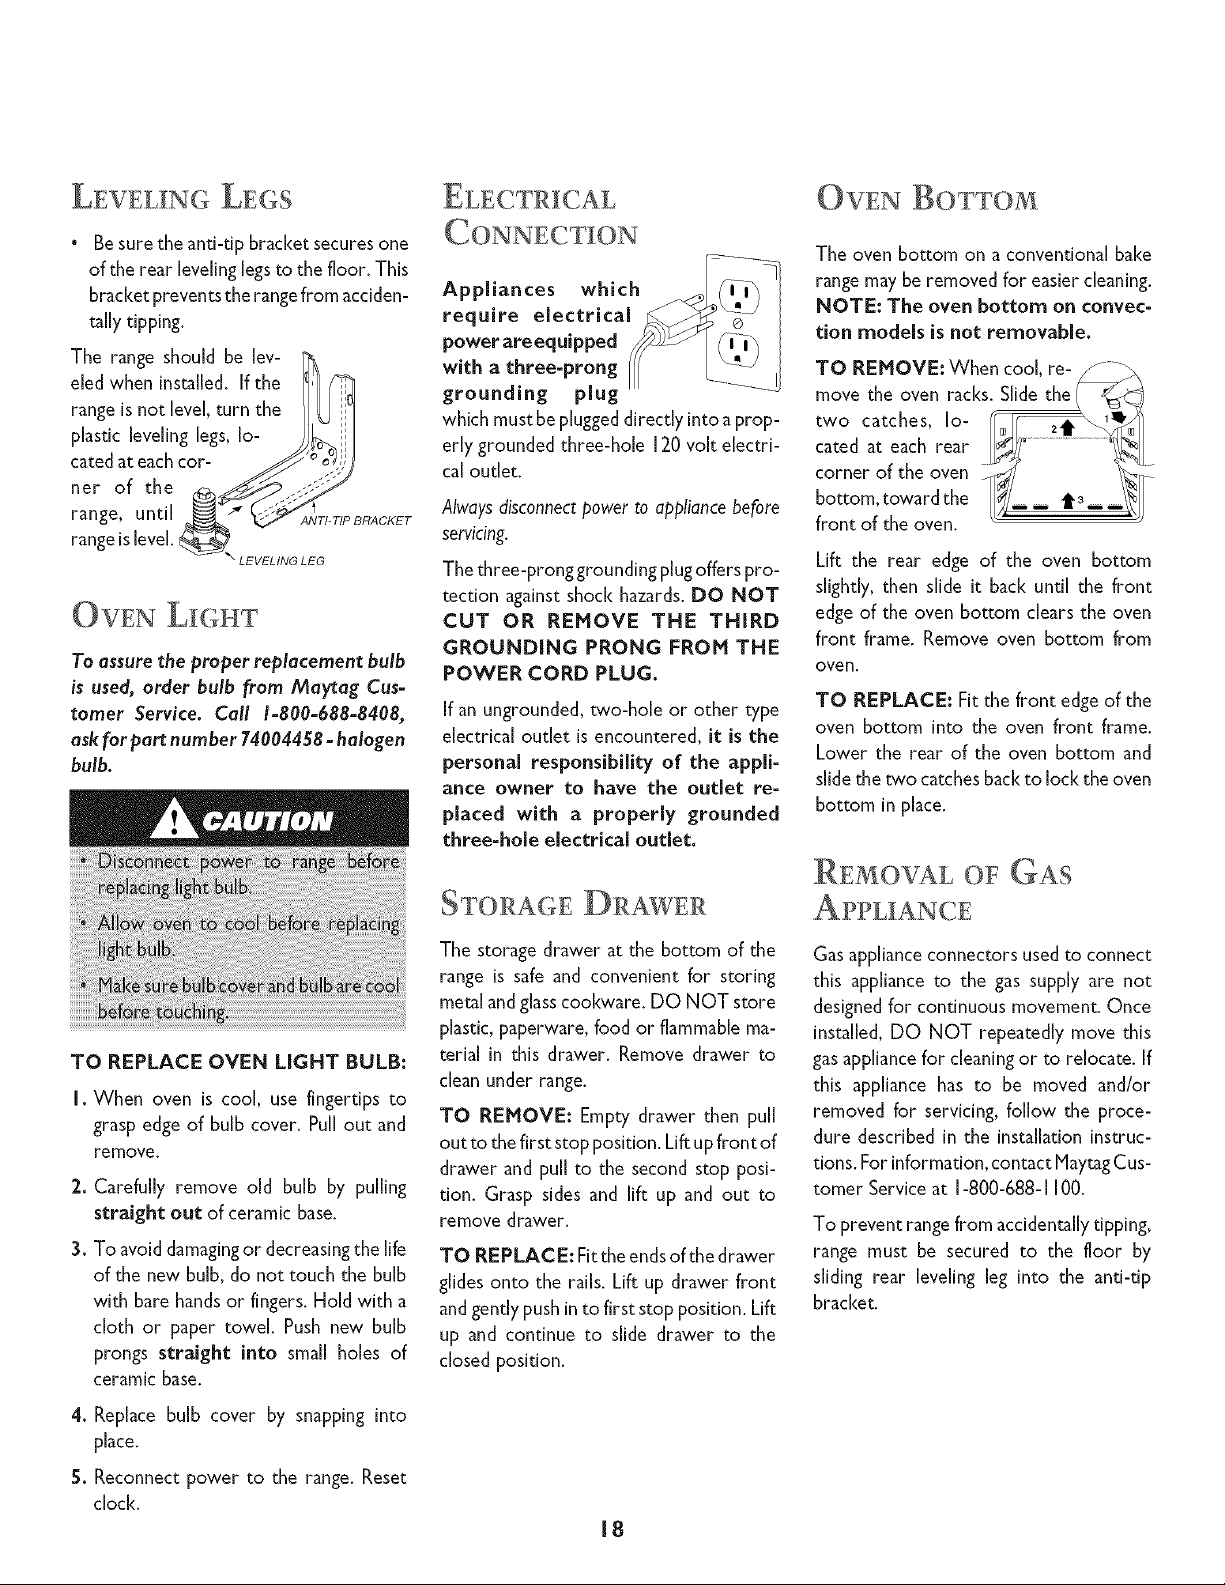
The oven bottom on a conventional bake
range may be removed for easier cleaning.
NOTE: The oven bottom on convec-
tion models is not removable.
TO REMOVE: When cool, re-
movetheovenracks.
twocatches,Io-
cared at each rear _ ............'_
corner of the oven ,_,_ _.V_r7
bottom, toward the g---- I' ----_
front of the oven. _ " "_;
Lift the rear edge of the oven bottom
slightly, then slide it back until the front
edge of the oven bottom dears the oven
front frame. Remove oven bottom from
oveR.
TO REPLACE: Fit the front edge of the
oven bottom into the oven front frame.
Lower the rear of the oven bottom and
slide the two catches back to lock the oven
bottom in place.
_Ei%OVAL OF GAS
TO REPLACE OVEN LIGHT BULB:
I. When oven is cool, use fingertips to
grasp edge of bulb cover. Pull out and
remove.
2. Carefully remove old bulb by pulling
straight out of ceramic base.
3. To avoid damagingor decreasingthe life
of the new bulb, do not touch the bulb
with bare hands or fingers. Hold with a
cloth or paper towel. Push new bulb
prongs straight into small holes of
ceramic base.
The storage drawer at the bottom of the
range is safe and convenient for storing
metalandglasscookware. DO NOT store
plastic, paperware, food or flammable ma-
terial in this drawer. Remove drawer to
clean under range.
TO REMOVE: Empty drawer then pull
out to the first stop position. Lift upfront of
drawer and pull to the second stop posi-
tion. Grasp sides and lift up and out to
remove drawer.
TO REPLACE: Fit the ends of the drawer
glides onto the rails. Lift up drawer front
and gently push into first stop position. Lift
up and continue to slide drawer to the
closed position.
Gas appliance connectors used to connect
this appliance to the gas supply are not
designed for continuous movement. Once
installed, DO NOT repeatedly move this
gas appliance for cleaning or to relocate. If
this appliance has to be moved and/or
removed for servicing, follow the proce-
dure described in the installation instruc-
tions. For information, contact Haytag Cus-
tomer Service at 1-800-688- I 100.
To preventrange from accidentallytipping,
range must be secured to the floor by
sliding rear leveling leg into the anti-tip
bracket
4. Replace bulb cover by snapping into
place.
5. Reconnect power to the range. Reset
clock.
18
Loading ...
Loading ...
Loading ...