
Loading ...
Loading ...
Loading ...
27
Owner’s Manual
that the USB ash drive does not contain important data you need
to keep.
1. In the MENU screen, select “Utility” and press the [ENTER]
button.
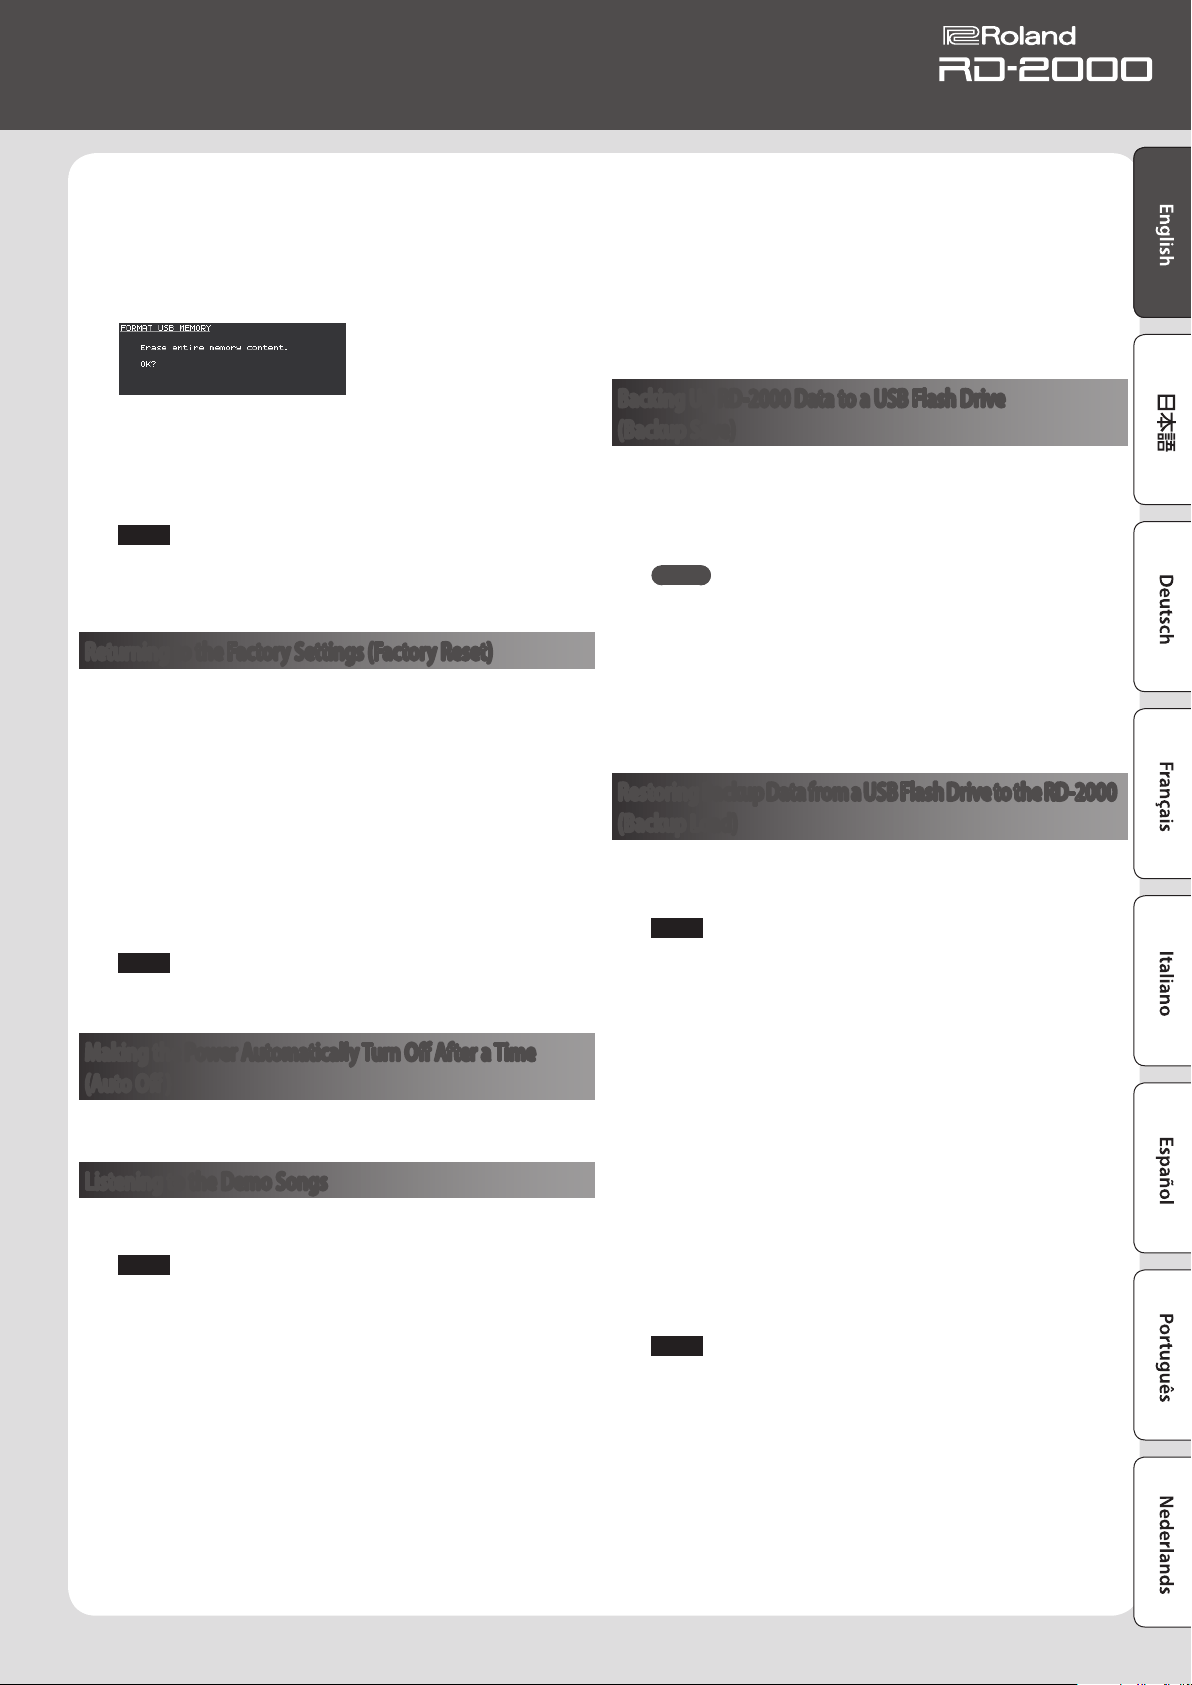
2. Select “Format USB Memory” and then press the [ENTER] button.
A conrmation message appears.
If you decide to cancel the Format operation, press the [EXIT] button.
3. To execute the Format operation, press the [ENTER] button.
4. Move the cursor to “OK” and press the [ENTER] button once
again to execute the Format operation.
NOTE
5 Never turn o the unit while the screen indicates “Executing...”
5 Never turn o the power or disconnect the USB ash drive while
reading or writing is in progress.
Returning to the Factory Settings (Factory Reset)
The settings stored in the RD-2000 can be returned to their factory
settings.
1. In the MENU screen, select “Utility” and press the [ENTER]
button.
2. Select “Factory Reset.”
3. Press the [ENTER] button.
A conrmation message appears.
4. Move the cursor to “OK” and press the [ENTER] button.
Factory reset is executed.
If you chose “Factory Reset All,” turn the power of the RD-2000 o, and
then on again.
NOTE
Never turn o the power during Factory Reset (while “Executing...
Don’t Power OFF” appears in the display).
Making the Power Automatically Turn O After a Time
(Auto O )
&
Refer to “If you don’t want the power to turn o automatically,
change the “Auto O” setting to “O”” (p. 11).
Listening to the Demo Songs
The RD-2000 features internal demo songs that exhibit the special
capabilities of the instrument.
NOTE
5 All rights reserved. Unauthorized use of this material for purposes
other than private, personal enjoyment is a violation of applicable
laws.
5 No data for the music that is played will be output from MIDI OUT
jack.
5 When you enter demo mode, various settings are set to their
power-on state. If there are settings that you want to keep, save
them as a program (p. 23).
5 The RD-2000’s keyboard will not produce sound while the demo
songs are playing.
1. Hold down the [SPLIT] button and press the [TRANSPOSE]
button.
The Demo screen appears.
2. Use cursor buttons to select a demo song.
3. Press the [ENTER] button to start demo song playback.
4. To stop the demo song mid-way, press the [ENTER] button.
While the song is stopped, press the [EXIT] button to return to the
TONE screen.
Backing Up RD-2000 Data to a USB Flash Drive
(Backup Save)
1. In the UTILITY screen, select “Backup Save” and press the
[ENTER] button.
The BACKUP SAVE screen appears.
2. Enter a le name.
MEMO
For details on how to enter a name, refer to “Saving the Sound
Settings in a Program (Program Write)” (p. 23).
3. When you have entered the le name, press the [ENTER] button.
A conrmation message appears.
If you decide to cancel, press the [EXIT] button.
4. Move the cursor to “OK” and press the [ENTER] button.
When the backup is completed, a message appears.
Restoring Backup Data from a USB Flash Drive to the RD-2000
(Backup Load)
Here’s how backup data can be written back into the RD-2000.
The RD-2000 can also read Live Set Files that were created on the
RD-800.
NOTE
5 All user data is rewritten when you execute the Load operation.
If the RD-2000 contains important data that you want to keep,
back it up using a dierent name on a USB ash drive before you
execute the Load operation.
5 Never turn o the power or disconnect the USB ash drive while
the screen indicates “Processing...”
1. In the UTILITY screen, move the cursor to “Backup Load” and
press the [ENTER] button.
The BACKUP LOAD screen appears.
2. Use the [DEC] [INC] buttons or the value dial to move the cursor
to the le that you want to load.
3. Use the [DEC] [INC] buttons or the value dial to set the Load
System Parameters setting.
If NO: Programs and scenes are loaded, but system settings are not
loaded.
If YES: In addition to programs and scenes, system settings are also
loaded.
NOTE
Regardless of this setting, system settings are not read if you selected
an RD-800 Live Set File.
4. Press the [ENTER] button.
A conrmation message appears.
If you decide to cancel, press the [EXIT] button.
5. Move the cursor to “OK” and press the [ENTER] button.
When the load is completed, a message appears.
Loading ...
Loading ...
Loading ...