
Loading ...
Loading ...
Loading ...
15
Owner’s Manual
2. Release the [SHIFT] button.
The tone number is nalized.
MEMO
To enter an S sound, hold down the [SHIFT] button and press the
[ONE TOUCH PIANO] button. To enter EXP A/B, hold down the [SHIFT]
button and press the [EXP] button.
Selecting the EXP category
[EXP] button
This is a bank for expansion sounds.
To switch between A/B, press the [EXP] button.
The wide variety of tones available from the Axial sound library site
can be added to the RD-2000.
For details, refer to the Axial site.
&
http://axial.roland.com/
Selecting a program
The RD-2000 has 15 banks, A–O, and each bank lets you store 20
programs (for a total of 300).
1. Press the [PROGRAM] button to make it light.
2. Use the BANK [UP] [DOWN] buttons to select the program bank
(A–O).
3. Use the [DEC] [INC] buttons or value dial to select the program
number.
Using the Numeric Keys to Select Programs
1. Use the BANK [UP] [DOWN] buttons to select the program bank
(A–O).
2. While holding down the [SHIFT] button, use the [0]–[9] to enter
a program number.
The value blinks while you’re entering the program number.
3. Release the [SHIFT] button.
The program number is nalized.
Registering a scene
1. Select the settings and the program or tone that you want to
register in the scene.
2. Hold down the [SCENE] button and use the BANK [UP] [DOWN]
buttons to select the desired registration-destination program
bank, and then press one of the TONE buttons.
The currently selected tone or program together with the performance
status are registered.
Lit button A scene is already registered.
Blinking button A scene is not registered.
The currently selected scene can also be registered in another button,
or you can modify the settings and overwrite them.
Recalling a scene
You can store up to 100 settings, such as for frequently used programs.
One setting can be stored in each TONE button. Ten settings can be
registered in each bank for instant recall.
1. Press the [SCENE] button to make it light.
2. To select a scene (0–9), press any TONE button that is lit.
MEMO
Pressing an unlit TONE button won’t select anything.
Layering Tones
According to the order in which you press the TONE buttons, you can
layer up to four zones ZONE (only zones 1–4).
1. Press two, three, or four TONE buttons together in the desired
order.
NOTE
If the previous sound has been edited, the result of your editing is
lost when you execute this operation. If you want to keep the sound,
save it before you proceed.
Changing a zone’s tone
1. Press a SELECT [S1]–[S8] button to select a zone.
The cursor moves to the tone number of the selected zone.
2. Select a tone as described in “Selecting a tone” (p. 14).
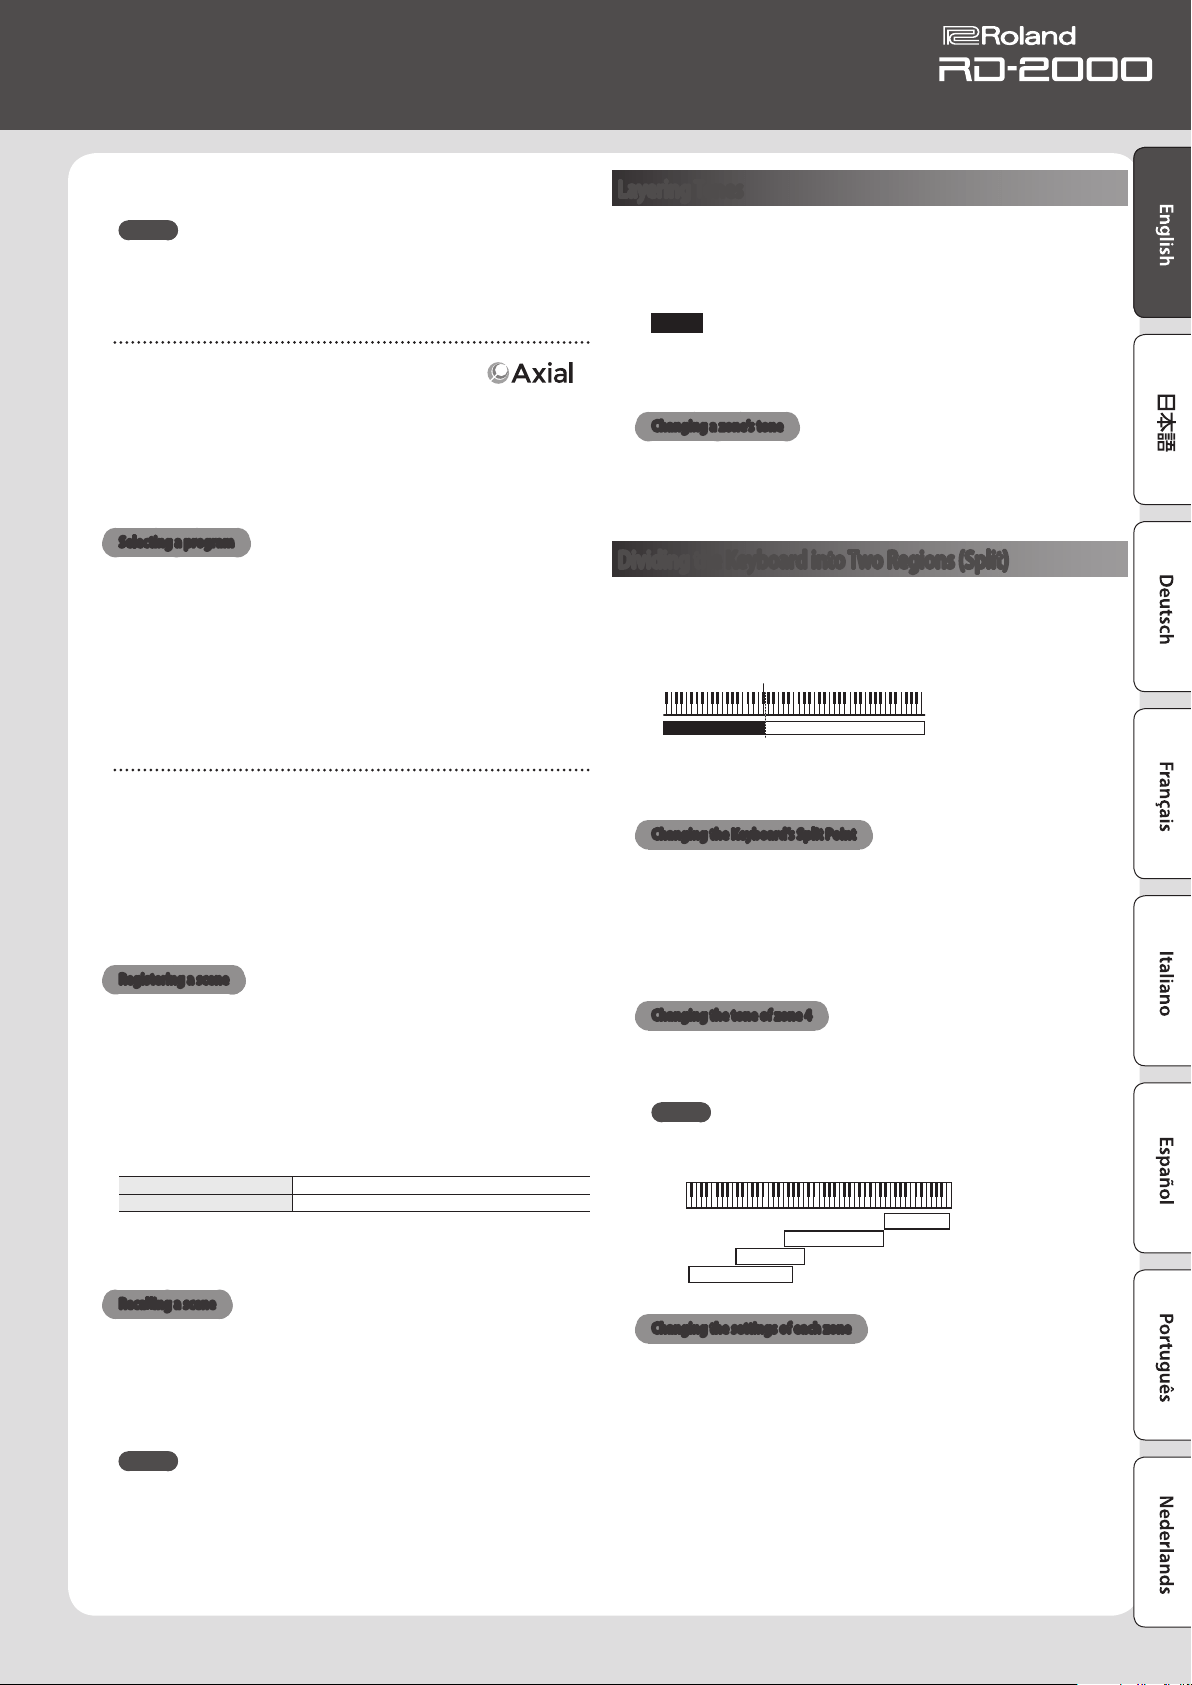
Dividing the Keyboard into Two Regions (Split)
1. Press the [SPLIT] button to make it light.
The zone 1 tone sounds in the right-hand region of the keyboard, and
the zone 4 tone sounds in the left-hand region.
Split Point (F#3)
ZONE 4 ZONE 1
2. To exit Split mode, press the [SPLIT] button once more to make
it unlit.
Changing the Keyboard’s Split Point
1. While holding down the [SPLIT] button, press the key that is to
become the new split point.
The split point is shown.
When you release the [SPLIT] button, the previous display will
reappear.
The split-point key is included in the ZONE 4 section.
Changing the tone of zone 4
1. Press the SELECT [S4] button to select zone 4.
2. Select a tone as described in “Selecting a tone” (p. 14).
MEMO
By using the key range function, you can freely specify the key range
of each zone.
ZONE 1
ZONE 2
ZONE 3
ZONE 4
Changing the settings of each zone
Here’s how to turn each zone on or o.
1. Press the button several times until the INT/EXT button goes
dark.
The zone turns o.
2. If you press the INT/EXT button once again.
The INT/EXT button lights and the zone turns on.
Now you can use the indicated function.
Loading ...
Loading ...
Loading ...