Loading ...
Loading ...
Loading ...
EN-91
Using the MIDI Recorder to Record
1.
Press 7 SONG BANK.
2.
Use the bm number keys, bn [–] and [+], or the
bl dial to select the number of the song you
want to overdub.
• Select a user recording song that has at least one
track recorded.
3.
Select the tone you want to use at the start of
recording.
(1) Press 5 TONE.
(2) Use the bm number keys, bn [–] and [+], or the bl
dial to select the number of the tone.
• You cannot use layer or split when recording.
• For details about data recorded to the solo track,
see “Recording Track and Recorded Data” (page
EN-87).
4.
Press 8 RECORD/STOP.
This enters recording standby.
• At this time, “RecTrkSy” is displayed along with the
[SONG] and [SYSTEM] indicators. Also, mixer part
indicators to all start to flash. This indicates
that the system track is the recording target.
5.
Use bn [–] and [+], or the bl dial to display the
[SONG] and [SOLO] indicators, and select the
solo track to which you want to record.
• While the [SONG] and [SOLO] indicators are
displayed, mixer part indicators to indicate the
status of the solo tracks. A displayed indicator means
that a solo track is recorded, while a flashing indicator
means that the solo track is the recording target.
• Selecting a track that is already recorded causes the
current data of that track to be overwritten by the new
recording.
6.
Press 8 RECORD/STOP to enter recording
standby.
• To insert a rest at the beginning of the recording, press
ck START/STOP in place of 8 RECORD/STOP.
Starting playback of another track that is already
recorded simultaneously starts recording and inserts
rests until you play something on the keyboard.
7.
Playing on the keyboard automatically starts
recording.
Starting playback of a recorded track simultaneously
starts recording to the track you selected in step 5.
8.
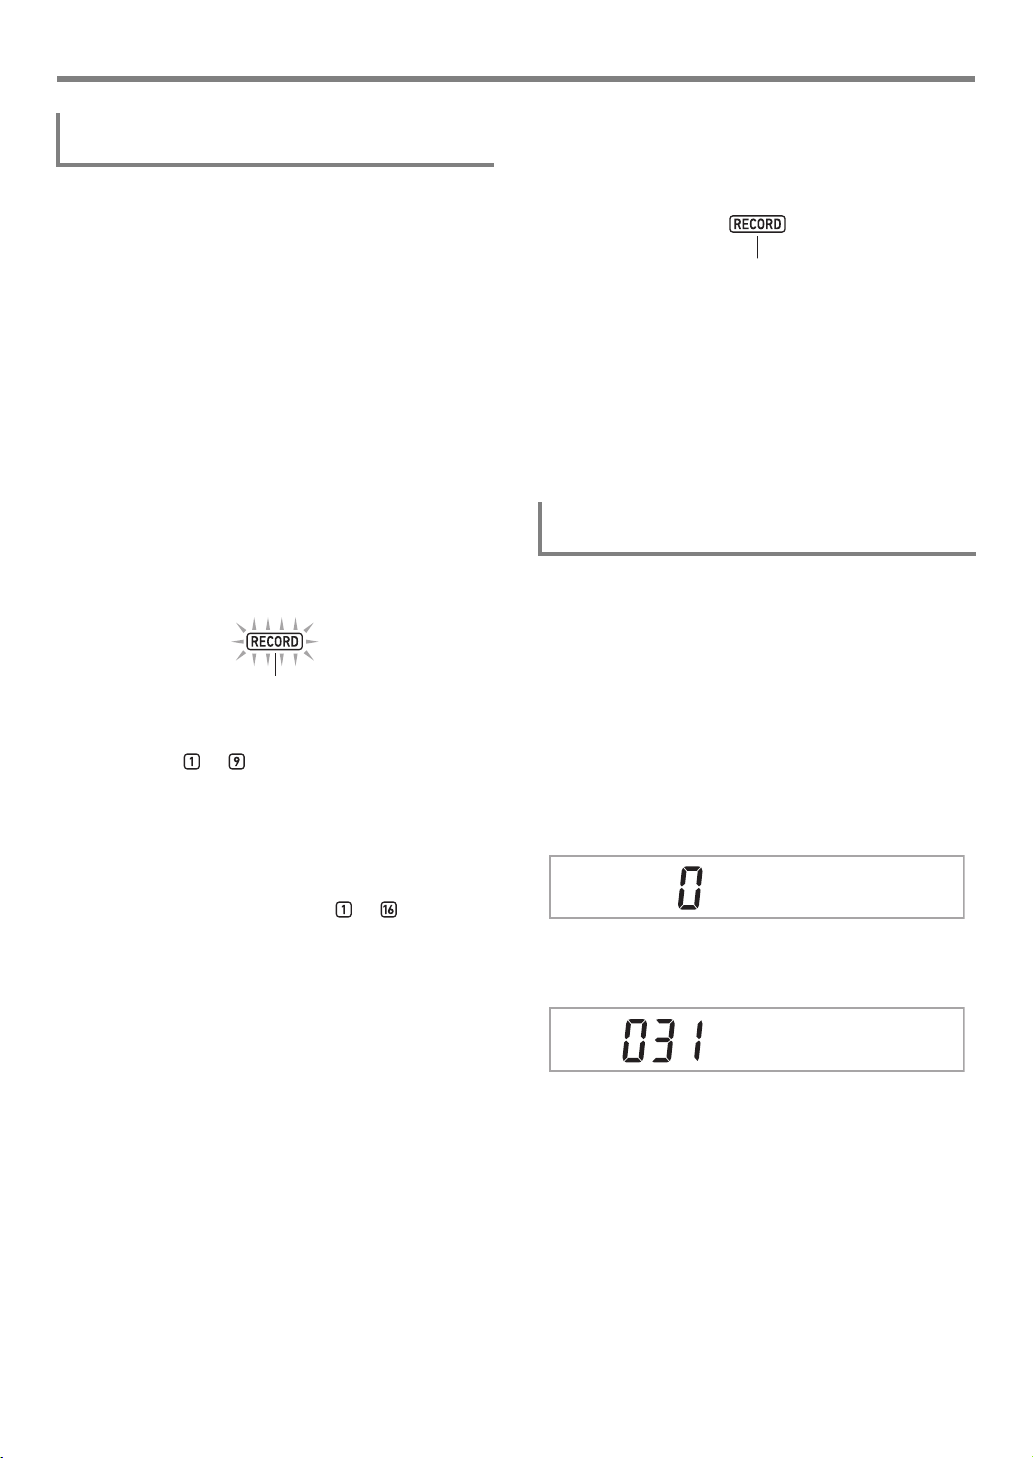
When you are finished recording, press
8 RECORD/STOP.
This causes the [RECORD] indicator to disappear.
• Pressing ck PLAY/STOP will play back the recorded
data.
9.
Repeat steps 3 through 8 above for each of the
tracks you want to overdub.
1.
Press 8 RECORD/STOP.
• If you started the operation from the Rhythm Mode,
this enters recording standby. Advance to step 2.
• If you started the operation from the Song Bank Mode,
the Digital Keyboard will display the recording setting
screen, so step 2 is not necessary. Proceed to step 3.
• For information about the recording standby and
recording setting screen, see “Starting a Recording”
(page EN-88).
2.
Long-press 8 RECORD/STOP.
This displays the recording setting screen and displays
“RecTrkSy”.
3.
Use the [1] (V) and [3] (W) bm number keys
to display “MltRec 1”.
4.
Use bn [–] and [+], or the bl dial to select the
number of the song to which you want to
record.
5.
Press 8 RECORD/STOP.
This exits the recording setting screen and returns to
recording standby.
To overdub another solo track while playing
back recorded tracks
Flashing
To change the recording destination song
number during recording standby
Displayed
RecTr kS
y
M
l t R e c 1
CT-X9000_8000IN_EN.book 91 ページ 2018年4月12日 木曜日 午後1時8分
Loading ...
Loading ...
Loading ...