Loading ...
Loading ...
Loading ...
11
English
Functional Test
WARNING
Fire or Explosion Hazard
● Ensure all necessary system leak tests are complete
before performing any functional test
Failure to follow instructions could lead to serious injury,
property damage or death.
1. Verify the power switch is in the “OFF” position.
(Fig. 18)
2. Confirm that there is a “steady” water flow (not pulsating)
and no air in the system. If pulsating have the water pump
settings adjusted.
3. Make certain all valves that can mix cold and hot water are
all shut.
NOTE: Outside faucets with detachable spigots and
shower heads with flow interrupters can bleed hot water
into the cold side if the valves are not closed properly. This
will hinder the performance of the water heater.
4. Turn the power switch to the “ON” position (Fig. 18) and
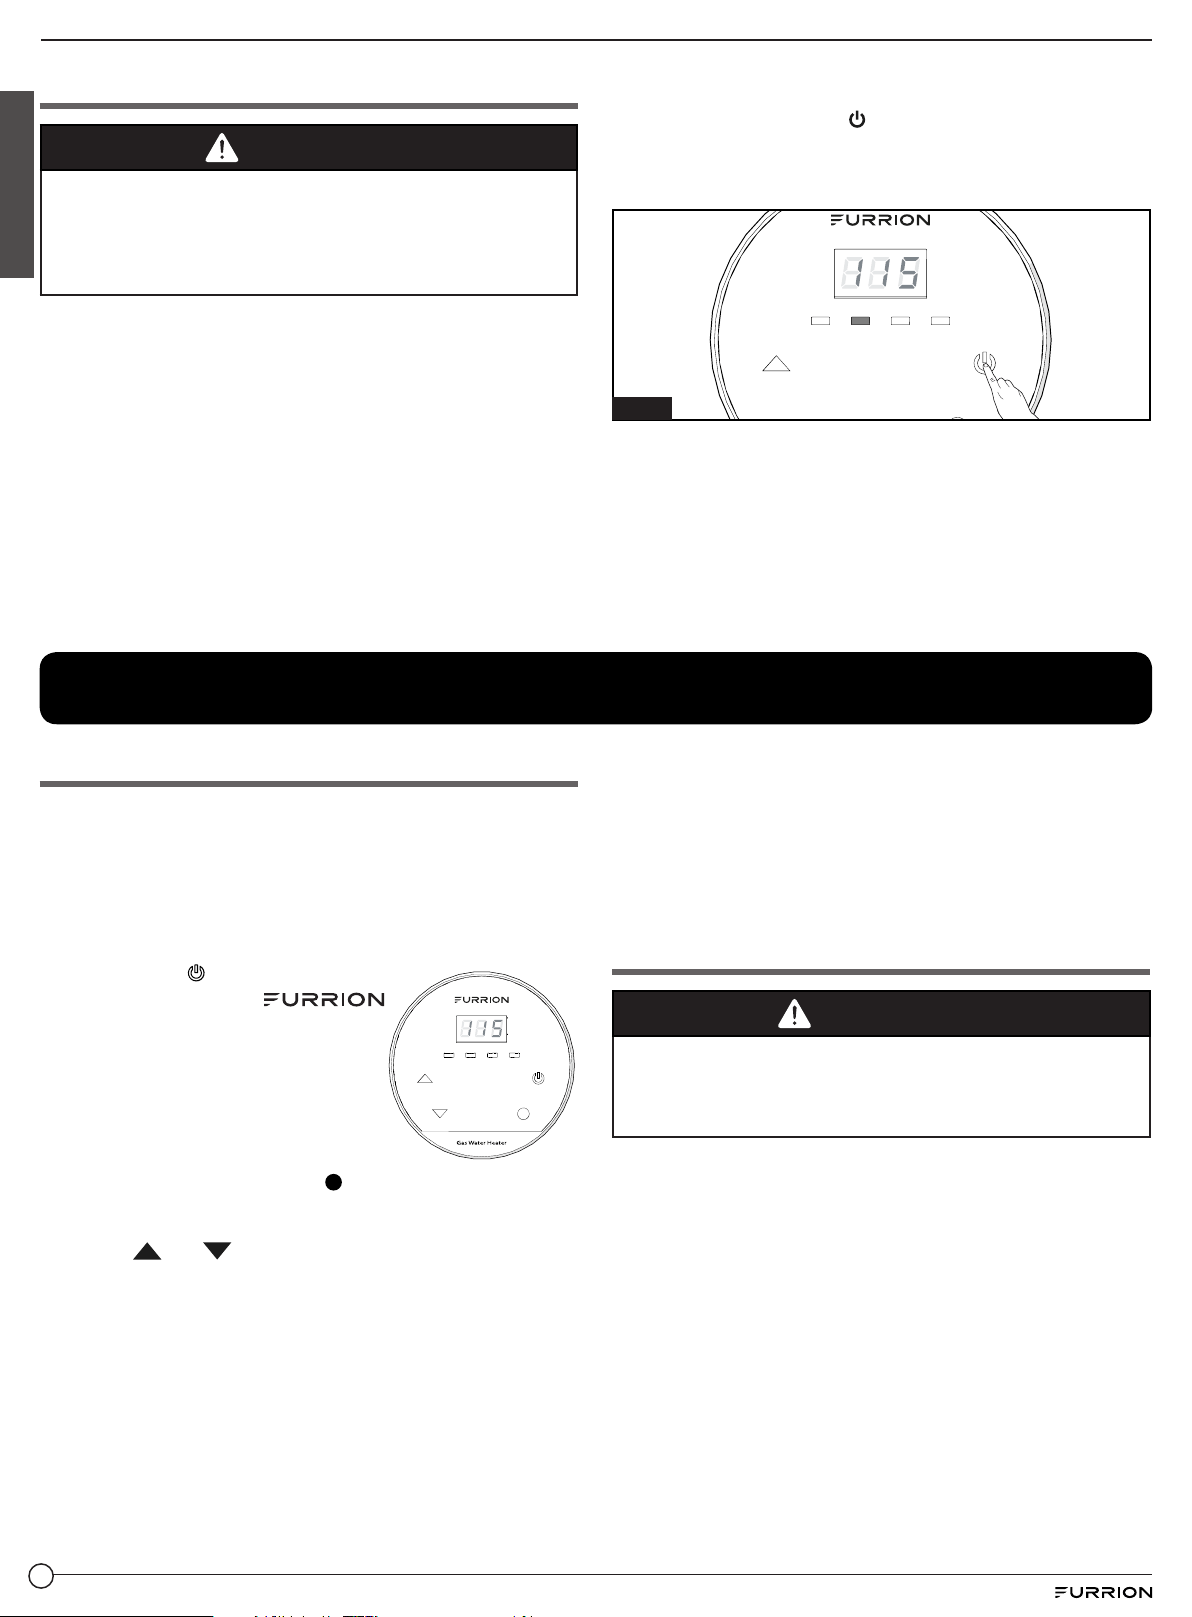
verify the wall controller is illuminated. If the wall controller
is not illuminated, press
button on the wall controller to
illuminate. (Fig. 29) The wall controller display will show
the Hot Water temperature setting.
NOTE: The default factory setting is 115
o
F or 46
o
C.
POWER
UP
DOWN
o
F /
o
C
ON/OFF
O
F
O
C FLAME
Fig. 29
5. Turn on the gas supply.
6. Open a hot water faucet and verify that the unit ignites
and supplies hot water at the faucet.
7. The wall controller display will show the current
temperature settings.
NOTE: If any error codes or performance concerns, refer
to the trouble shooting section of this manual.
This completes the installation of the Furrion water
heater.
Operation
Controller Operation
Before normal operation of the appliance, perform a basic
functional test check out each time the RV and water system
is setup for use. Refer to "Functional Test" of this manual
for instruction. After the Functional test is completed, the
appliance can be operated from the wall controller which
includes the Power switch. The control switch can be used
for in living "ON/OFF" function.
1. Touch button
ON/OFF
to turn the power
POWER
UP
DOWN
o
F /
o
C
ON/OFF
O
F
O
C FLAME
ON/OFF. Furrion logo
on the panel will be illuminated and
display the current temperature
setting.
NOTE: The micro processor is
always on. It draws approximately
0.25 AMPs, but is advisable to turn
off when not in use.
2. Touch button marked “°F/°C” to transform the
temperature display in °F or °C, the related LED would be
lighted on the controller.
3. Touch “ ” or “ ” button to adjust the temperature to
your desired settings. The wall controller settings are from
95°F (35°C) to 124°F (51°C).
The temperature can be selected to operate in two
different methods:
− Method 1: Point of use mixing: Set the controller
temperature to a desired output temperature, typically
elevated above comfortable bathing temperatures. I.E
115°F(46°C). Turn the hot water on, once hot, add cold
water to achieve desired temperature.
− Method 2: Single point use: Set the controller
temperature to a desired output temperature for the
faucet you want to use, typically set to the desired
bathing temperature. I.E. 100°F. The unit will maintain
the set temperature by use of the hot water faucet only,
no need to mix cold water.
4. Turn on the water faucet(s) and use as desired. The water
temperature exiting the appliance (not faucet) will display.
Safe Operation
WARNING
Scald Hazard
● Never let infants, children, elderly adjust the water
temperature or be left unsupervised when using hot water.
Failure to follow instruction may lead to serious injury.
Consider the following points for safe use of the appliance:
● Install an RV water regulator to the inlet of the coach, and
operate between (35-70PSI).
● The factory default water temperature setting is 115°F
(46°C).
● There may be a variation between the temperature
delivered from the ap pliance and the temperature at the
faucet due to water conditions between seasons like hot
summer or the length of pipe from the appliance.
● Always check the water temperature, in reference to the
chart below, by the display (step 3/4) and hand touch
before bathing or with other hot water uses.
Loading ...
Loading ...
Loading ...