Loading ...
Loading ...
Loading ...
29
Operation & Installation Manual
Signature Series Beer Dispensers (HP15, HP24 and HP48 models)
7. Locate the keg coupler(s). Slide one of the red CO2 lines
onto the larger barbed tting of coupler and clamp. Locate
one of the black beer lines and slide onto the smaller
barbed tting of the coupler and clamp. Repeat for addi-
tional couplers.
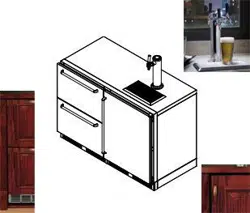
8. On the right rear sidewall there is a double column of
screws. Remove the center rear screw. Locate the safety
chain and a #10 x ½” sheet metal screw from the parts bag.
Insert the screw through the closed end link of the chain
and tighten in the vacant screw hole. The chain can now be
used to secure the tank, preventing damage to the regulator.
9. CO2 tanks are shipped empty and must be lled prior to
uses. Turn the adjusting screw on the regulator counter-
clockwise one turn. Make sure that the valve at the bottom
of the regulator where the red hose is connected is in the
o position as shown. Open the tank valve. Watching the
secondary pressure gauge, turn the regulator adjusting
screw clockwise until the pressure is at 10 psig. Adjustments
can later be made based on ow rates.
10. Locate beer faucet(s) and install onto the dispensing head
shanks. Tighten with supplied spanner wrench. Install black
handle(s) onto faucet(s).
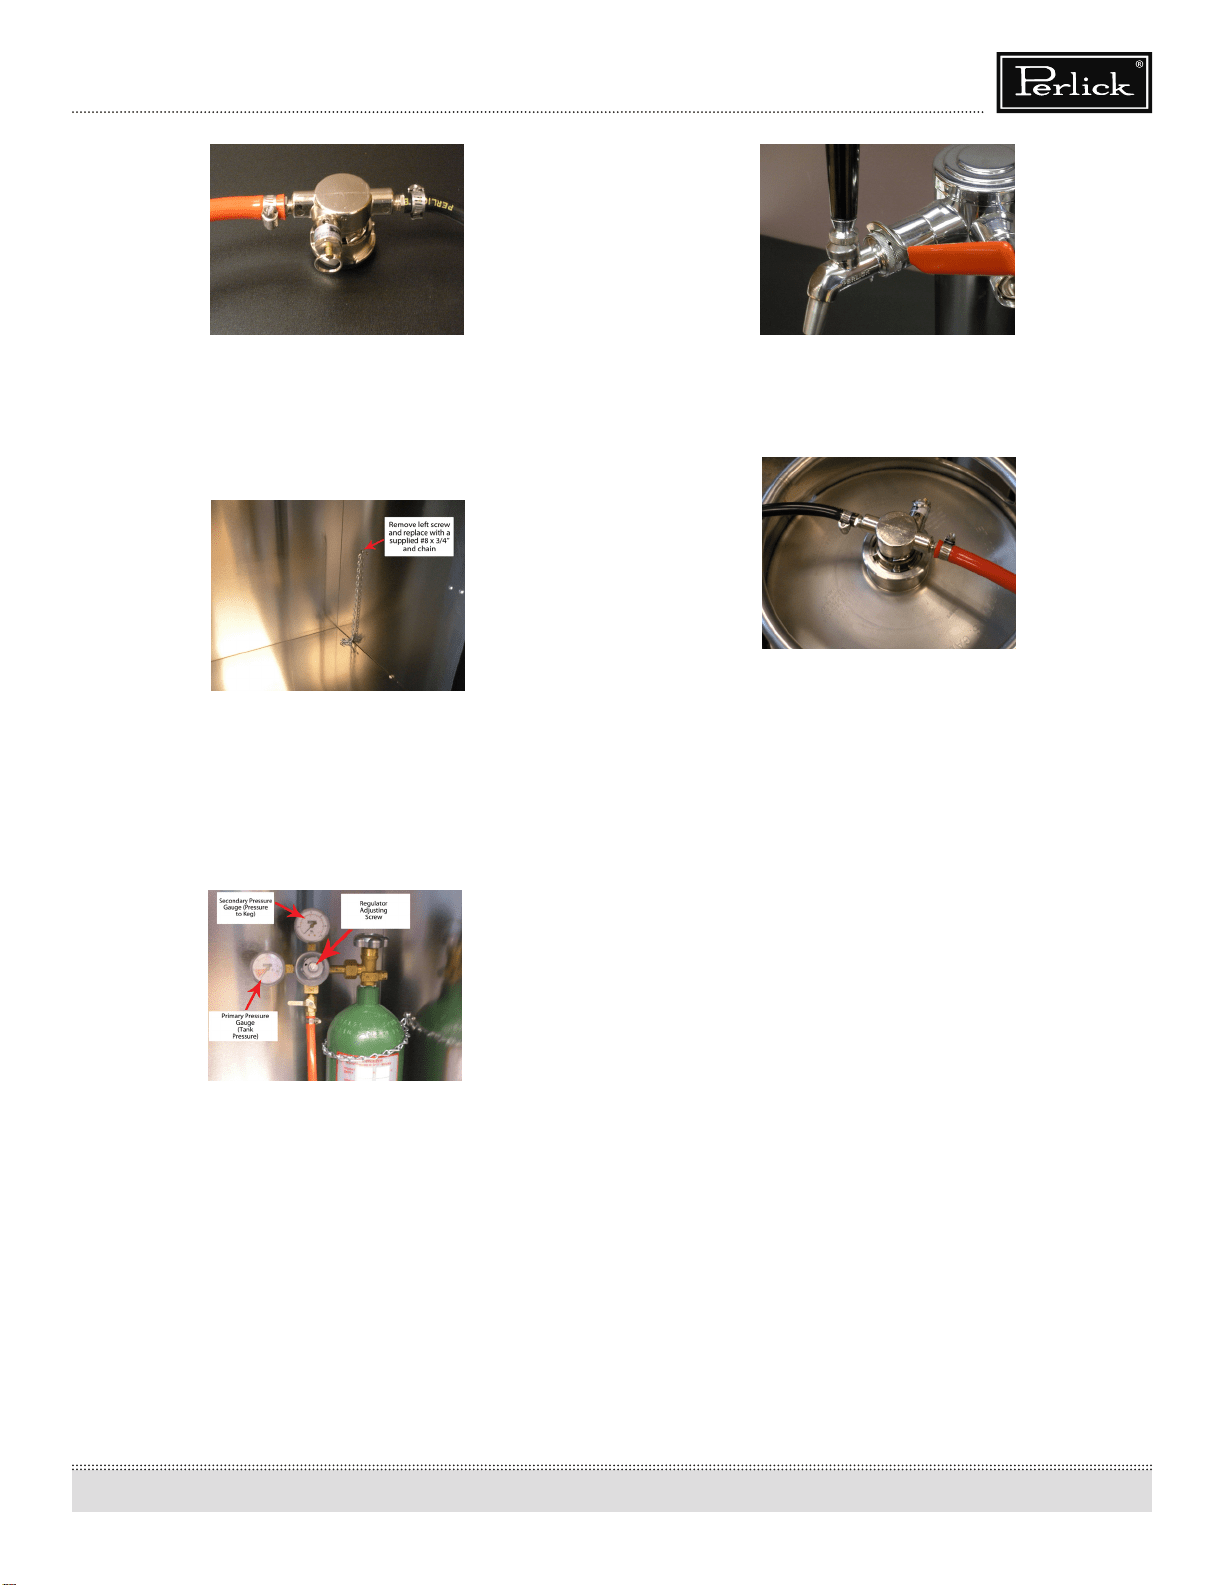
11. Before tapping, make sure the beer faucet is closed. To tap
a keg, insert the coupler into the tting on top of the barrel.
Turn the coupler clockwise until it stops (about 1/8 turn).
Then push down on the top of the coupler and again turn
clockwise until it stops. Your barrel is now tapped. Open
the CO2 valve on the regulator as well as the valve on the
manifold if used. Using Soap and water solution, check all
CO2 connections for leaks indicated by bubbles. Tighten as
needed.
Loading ...
Loading ...
Loading ...