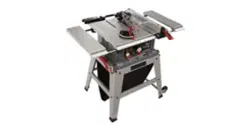
Loading ...
Loading ...
Loading ...
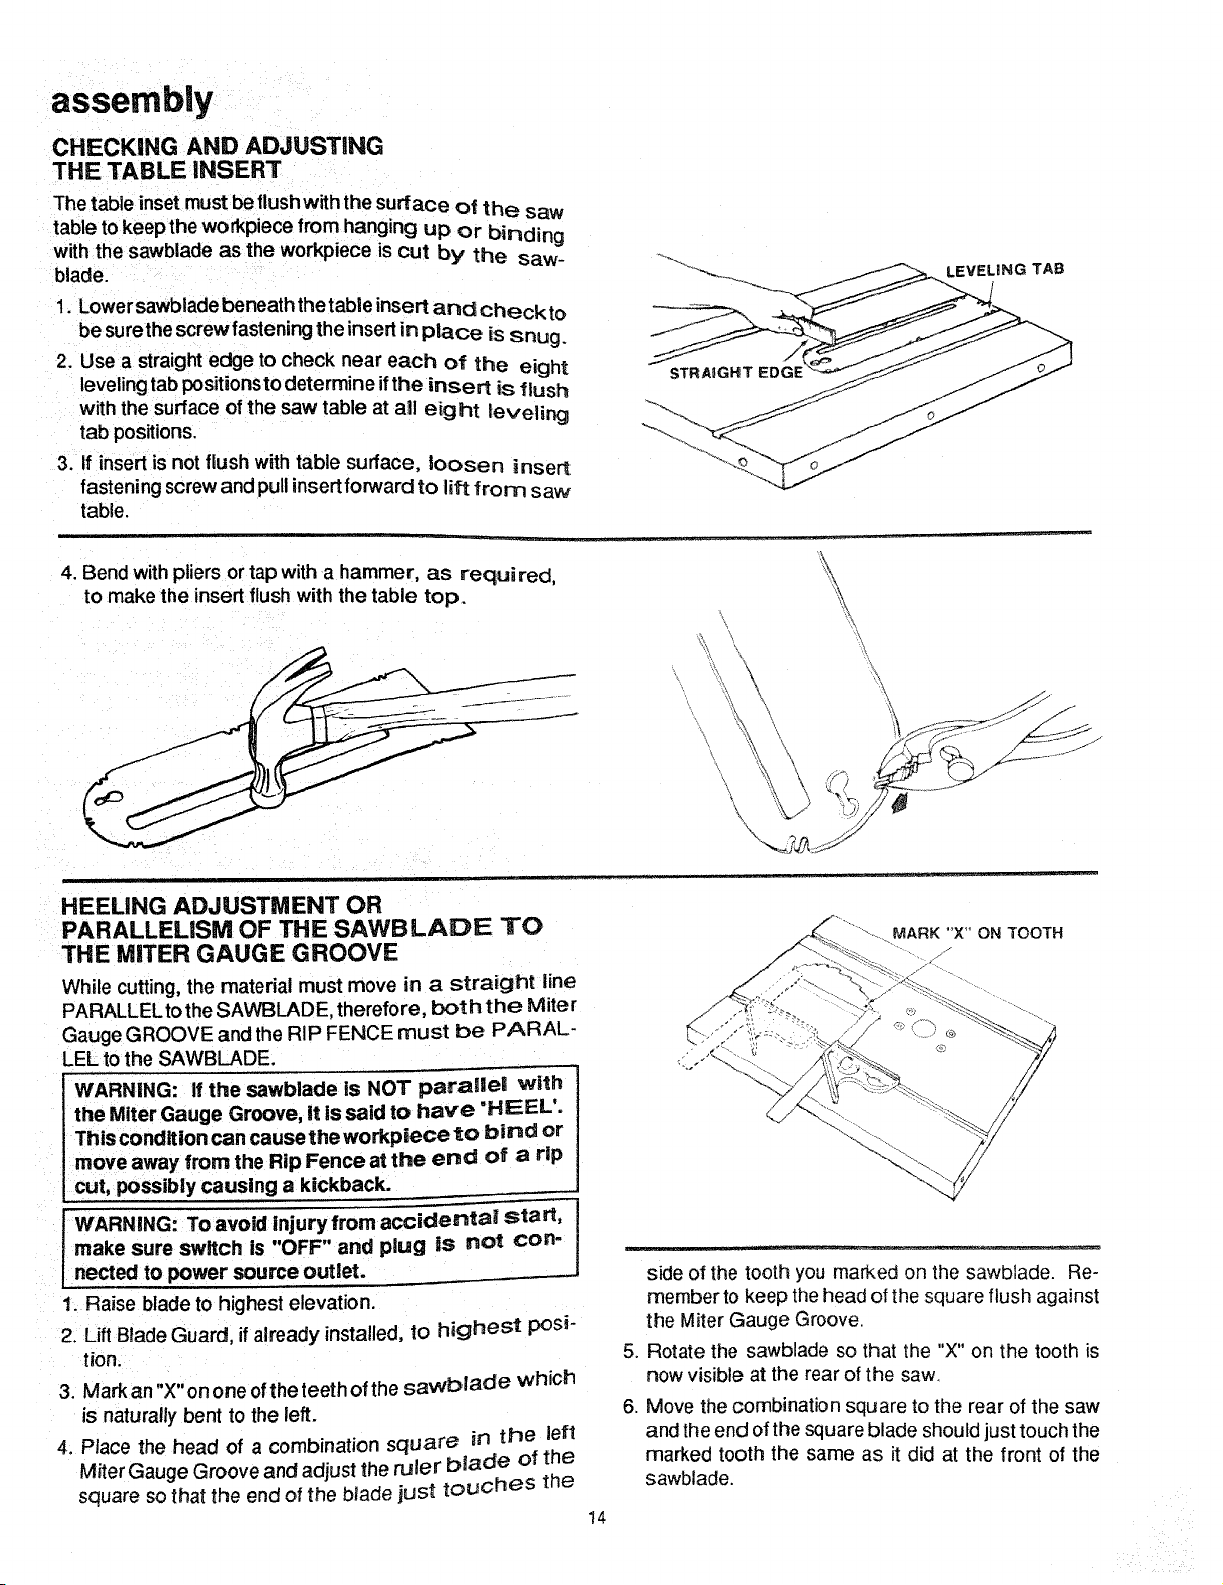
assembly
CHECKING AND ADJUSTING
THE TABLE INSERT
The table inset must be llushwith the surface of the saw
table to keep the workpiece from hanging up or binding
with the sawblade as the workpiece is cut by the saw-
blade.
1. Lower sawblade beneath the table insert and checkto
be surethe screw fastening the insert in Place is snug.
2. Use a straight edge to check near each of the eight
leveling tab positionsto determine if the insert is flush
with the surface of the saw table at all eight leveling
tab positions.
3. If insert is not flush with table surface, loosen inser_
fastening screw and pull insert forward to lift from saw
table.
4. Bend with pliers or tap with a hammer, as required,
to make the insert flush with the table top.
r
HEELING ADJUSTMENT OR
PARALLELISM OF THE SAWBLAOE TO
THE MITER GAUGE GROOVE
While cutting, the material must move in a straight line
PARALLELto the SAWBLADE, therefore, both the Miter
Gauge GROOVE and the RIP FENCE must be PARAL-
LEL to the SAWBLADE.
WARNING: if the sawblade is NOT parallel with
the Miter Gauge Groove, it is said to have "HEEL'.
This condition can cause the workpiece to bind or
move away from the Rip Fence at the end of a rip
cut, possibly causing a kickback.
I WARNING: To avoid injury from accide ntai stall,
make sure switch is "OFF" and plug is not con-
nected to power source outlet.
1. Raise blade to highest elevation.
2. Lift Blade Guard, if already installed, to highest posi-
tion.
3. Mark an "X" on one of the teeth of the sawbiade which
is naturally bent to the left.
4. Place the head of a combination square in the left
Miter Gauge Groove and adjust the ruler blade of the
square so that the end of the blade just touches the
14
side of the tooth you marked on the sawblade. Re-
member to keep the head of the square flush against
the Miter Gauge Groove.
5. Rotate the sawblade so that the "X" on the tooth is
now visible at the rear of the saw.
6. Move the combination square to the rear of the saw
and the end of the square blade should just touch the
marked tooth the same as it did at the front of the
sawblade.
Loading ...
Loading ...
Loading ...