Loading ...
Loading ...
Loading ...
Page 32
INSTALLATION INSTRUCTIONS
CAUTION – The conical ring on the valve has an important sealing
function together with the sealing seat in the caps.
Ensure that you do not damage the cone and that you
keep the cap free of dirt and dust.
• After completing steps 1-6, check that all the connections are sealed
correctly using leak detection spray or soap suds. If any bubbles form,
the system has a leak and the screw connectors must be retightened
using an open-ended spanner.
• Start the equipment so that the operating pressures build up inside it.
Check all the connectors again for signs of leaks: (a) during cooling
mode. (b) in heating mode. If any bubbles form, the system has a leak
and the screw connectors must be re-tightened using an open-ended
spanner.
IMPORTANT: The unit with the quick connectors does not
require vacuum pumping.
Market Sampling Test Guidelines
Pressure-maintaining refrigerant is available in the indoor equipment
and the refrigerant pipe (Different models have different refrigerant
quantities). The installer must use the original refrigerant pipe.
Wrap the Piping
1. Use the insulation sleeve to wrap the joint part the indoor unit and
the refrigerant pipe, and then use the insulating material to pack and
seal insulation pipe, to prevent generation of condensate water on the
joint part.
2. Connect the water outlet with drain hose,
and make the refrigerant pipe, cables, and
the drain hose straight.
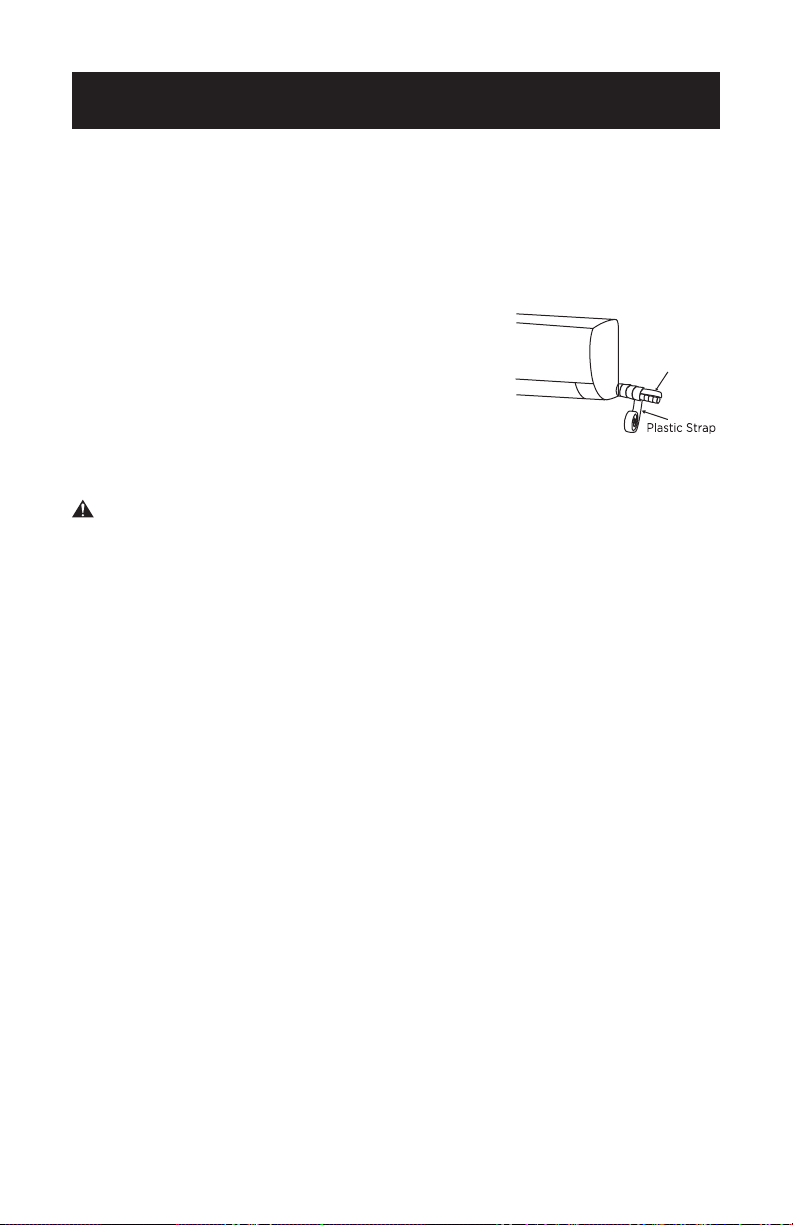
3. Use plastic cable ties to wrap the refrigerant
pipes, cables and drain hose. Run the pipe
sloping downward shown in the following table.
Refrigerant Pipe
Drain Hose
and Cables
Loading ...
Loading ...
Loading ...