Loading ...
Loading ...
Loading ...
Page 31
INSTALLATION INSTRUCTIONS
IMPORTANT: Since the coupling works with tapping rings, it may leak
if you undo and reconnect the pipes. This will also void
the warranty. After completing steps 1-4, check that all
the connections are sealed correctly using leak detection
spray or soap suds. If any bubbles form, the system has a
leak and the screw connectors must be re-tightened using
an open-ended spanner.
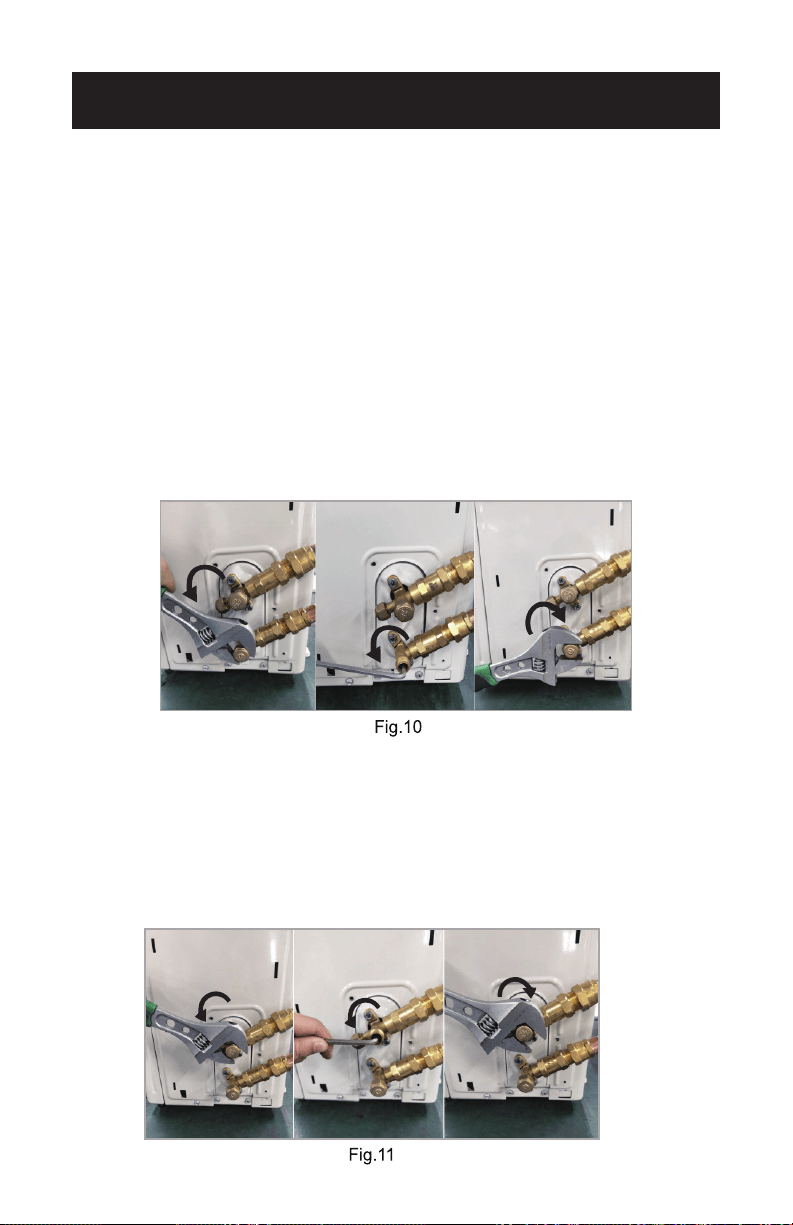
• Now remove the cover on the bottom valve using a open-ended
spanner. Open the valve by turning it counter-clockwise as far as
it will go using a 5 mm Allen key. The valve is now open. Screw the
cover back on to the bottom valve and tighten it well to ensure that it
is properly sealed. See Fig. 10.
NOTE: If the valve is not opened fully, the system may malfunction and
suffer damage.
• Now remove the cover on the top valve using an open-ended
spanner. Open the valve by turning it counter-clockwise as far as
it will go using a 5 mm Allen key. The valve is now open. Screw the
cover back on to the top valve and tighten it well to ensure that it is
properly sealed. See Fig. 11.
NOTE: If the valve is not opened fully, the system may malfunction and
suffer damage.
Loading ...
Loading ...
Loading ...