Loading ...
Loading ...
Loading ...
Setting Oven Controls
Self Clean
A self cleaning oven cleans with very high temperatures well
above normal cooking temperatures. The high temperature elim-
inates soils completely or reduces them to a fine powdered ash
you can wipe away afterwards with a damp cloth.
The Self Clean function allows you to set a cleaning time from 2
hours to 4 hours. A 3 hour cleaning time is recommended for
normal cleaning, 2 hours for light cleaning, and 4 hours for
heavy cleaning.
Read before starting Self Clean:
Do not leave small children unattended near the
appliance. During the self cleaning cycle, the outside of the oven
can become very hot to touch and can cause burns. Do not line
the oven walls, racks, bottom or any other part of the oven with
aluminum foil. Doing so will destroy heat distribution, produce
poor baking results and cause permanent damage to the oven
interior. Aluminum foil will melt to the interior of the oven.
Some birds are extremely sensitive to the fumes
given off during the self cleaning cycle of any oven. Move birds
to another well-ventilated room.
Important note:
Completely remove all oven racks (including glide racks)
and any accessories from oven cavity to avoid damage to
oven racks. If the oven racks are not removed they may
discolor.
• Remove all items from the oven including bakeware, utensils
and any aluminum foil. Aluminum foil will not withstand
high temperatures from a self clean cycle and will melt.
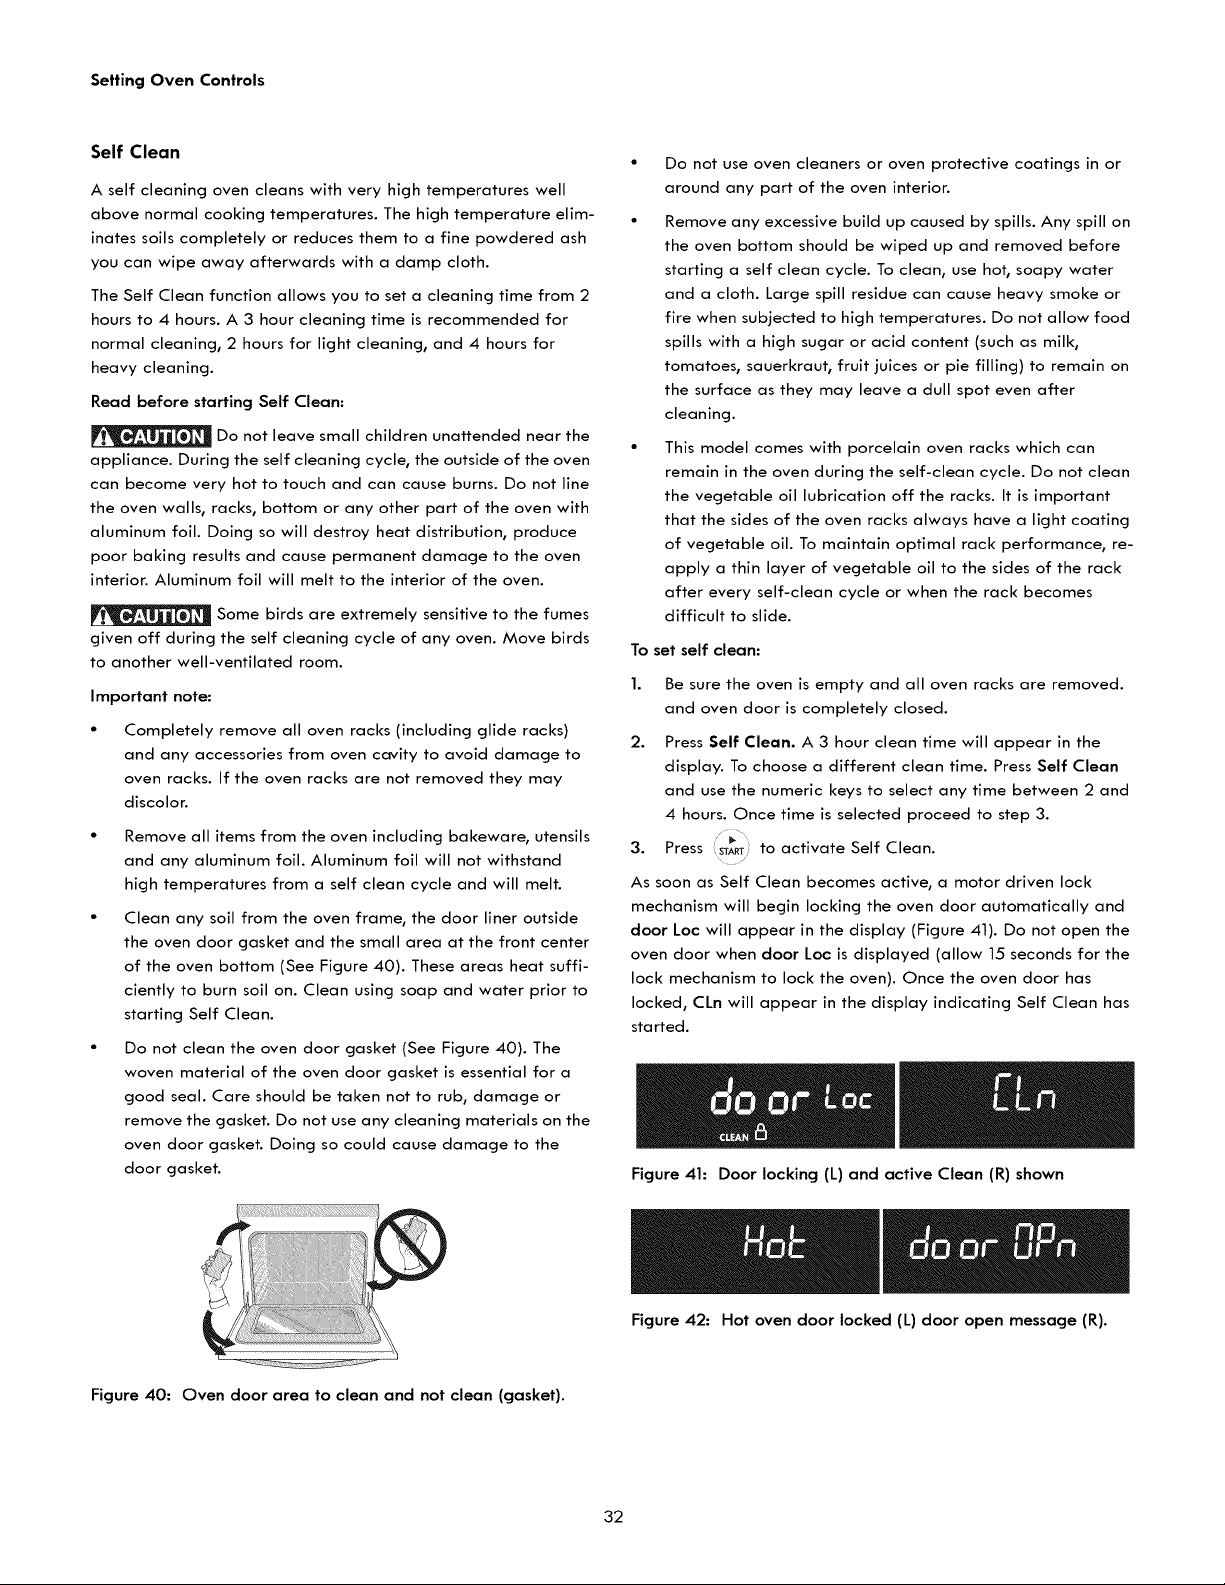
Clean any soil from the oven frame, the door liner outside
the oven door gasket and the small area at the front center
of the oven bottom (See Figure 40). These areas heat suffi-
ciently to burn soil on. Clean using soap and water prior to
starting Self Clean.
Do not clean the oven door gasket (See Figure 40). The
woven material of the oven door gasket is essential for a
good seal. Care should be taken not to rub, damage or
remove the gasket. Do not use any cleaning materials on the
oven door gasket. Doing so could cause damage to the
door gasket.
• Do not use oven cleaners or oven protective coatings in or
around any part of the oven interior.
Remove any excessive build up caused by spills. Any spill on
the oven bottom should be wiped up and removed before
starting a self clean cycle. To clean, use hot, soapy water
and a cloth. Large spill residue can cause heavy smoke or
fire when subjected to high temperatures. Do not allow food
spills with a high sugar or acid content (such as milk,
tomatoes, sauerkraut, fruit juices or pie filling) to remain on
the surface as they may leave a dull spot even after
cleaning.
This model comes with porcelain oven racks which can
remain in the oven during the self-clean cycle. Do not clean
the vegetable oil lubrication off the racks. It is important
that the sides of the oven racks always have a light coating
of vegetable oil. To maintain optimal rack performance, re-
apply a thin layer of vegetable oil to the sides of the rack
after every self-clean cycle or when the rack becomes
difficult to slide.
To set self clean:
1. Be sure the oven is empty and all oven racks are removed.
and oven door is completely closed.
2. Press Self Clean. A 3 hour clean time will appear in the
display. To choose a different clean time. Press Self Clean
and use the numeric keys to select any time between 2 and
4 hours. Once time is selected proceed to step 3.
3. Press START;to activate Self Clean.
As soon as Self Clean becomes active, a motor driven lock
mechanism will begin locking the oven door automatically and
door Loc will appear in the display (Figure 41). Do not open the
oven door when door Loc is displayed (allow 15 seconds for the
lock mechanism to lock the oven). Once the oven door has
locked, CLn will appear in the display indicating Self Clean has
started.
Figure 41: Door locking (L) and active Clean (R) shown
Figure 42: Hot oven door locked (L) door open message (R).
Figure 40: Oven door area to clean and not clean (gasket).
32
Loading ...
Loading ...
Loading ...