Loading ...
Loading ...
Loading ...
CROSSCUTTING
CROSSCUTTING is cutting wood across the grain,
at 90° ,or square with both the edge and the flat side
of the wood. This is done with miter gauge setat "0".
The graduations on the miter gauge provide
accuracy for average woodworking. In some cases
where extreme accuracy is required, make a trial cut
and then recheck it with an accurate square, or
protractor.
If necessary, the miter gauge head can be swiveled
slightly to achieve the desired angle.
NOTE: The space between the miter gauge bar and
the groove in the table is held to minimum during
manufacturing.
For maximum accuracy when using the miter
gauge, always "favor" one side of the groove in the
table. In other words, don't move the miter gauge
from side to side while cutting, but keep one side of
the bar riding against one side of the groove.
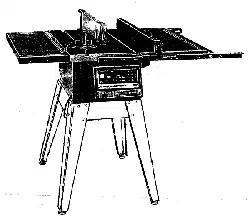
NOTE: Glue a piece of sandpaper to the face of the
miter gauge head. This will help prevent the
workpiece from "creeping" while it is being cut.
The Hold-Down Clamp (Optional Accessory)
should be used on the miter gauge for greater
accuracy.
The miter gauge may be used in either of the
grooves in the table. Make sure it is locked.
SANDPAPER
When using the miter gauge in the LEFT hand
groove, hold the workpiece firmly against the miter
gauge head with your left hand, and grip the lock
handle with your right.
When using the RIGHT Hand groove, hold the
workpiece with your right hand and the Iockhandle
with your left hand.
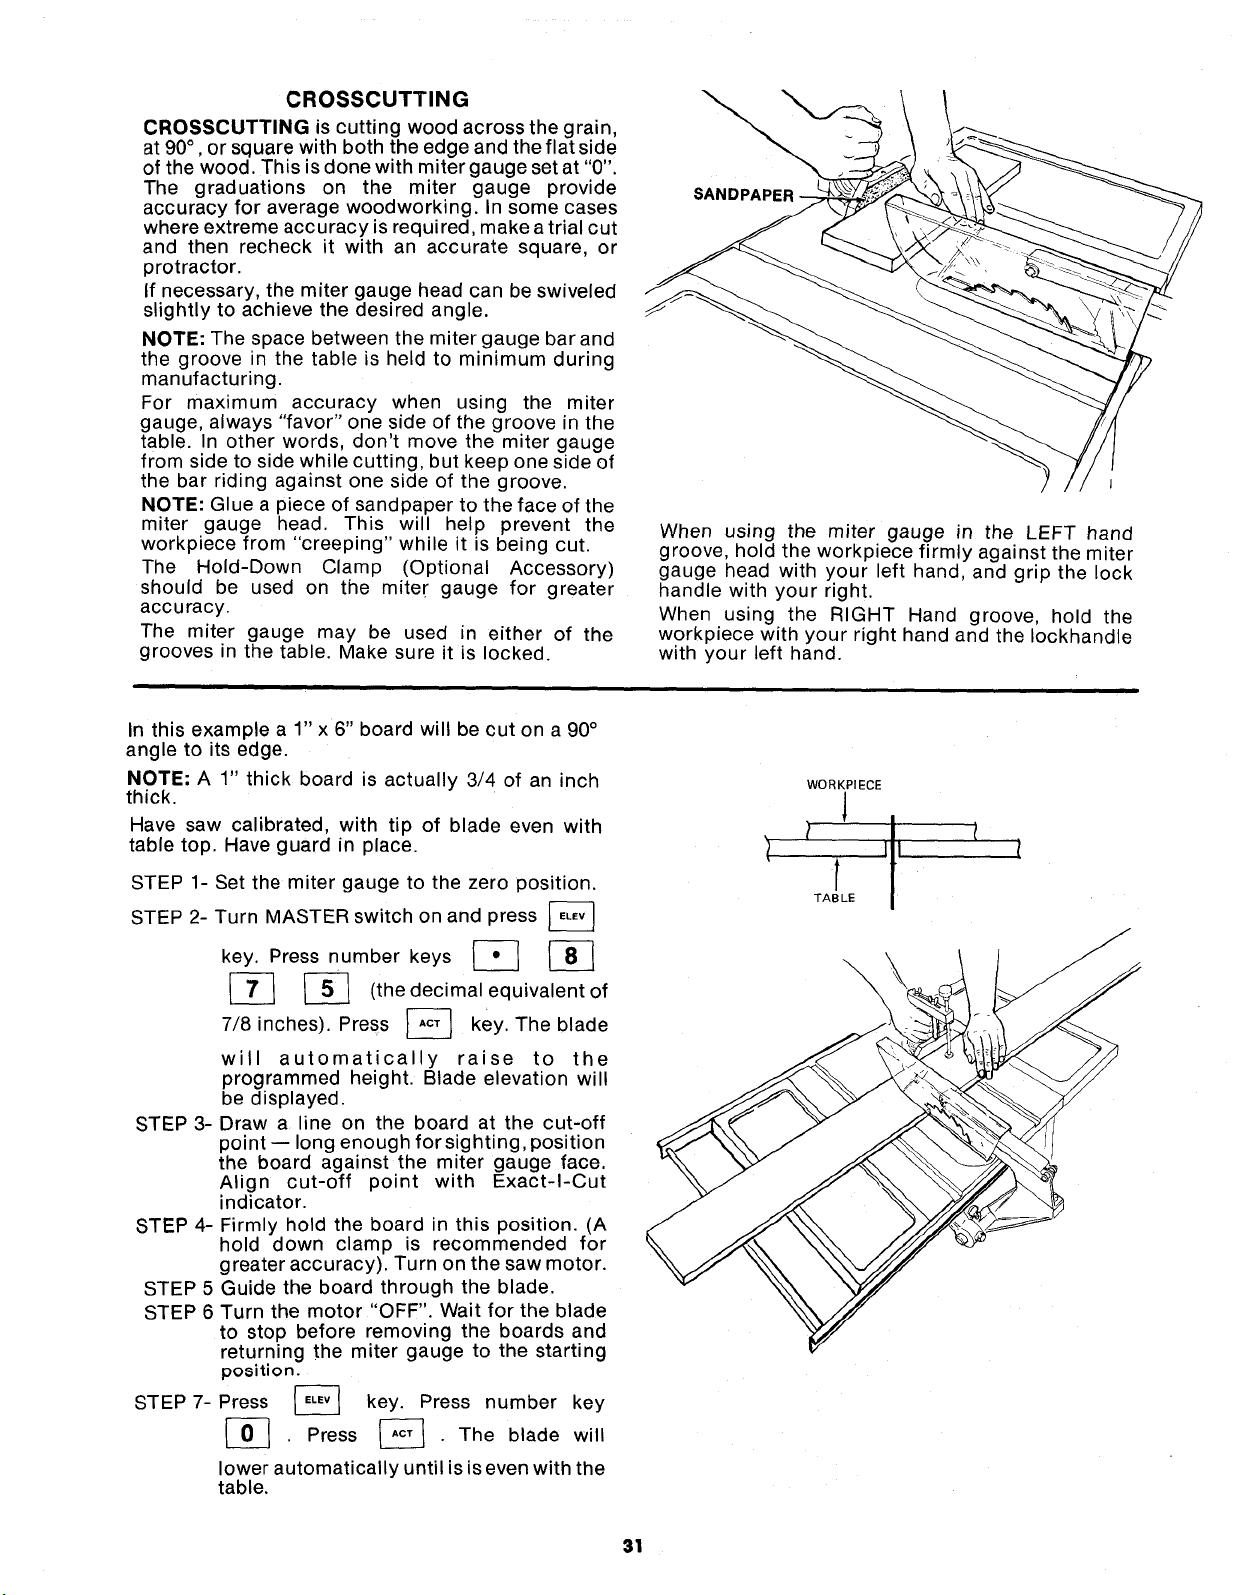
In this example a 1" x 6" board will be cut on a 90°
angle to its edge.
NOTE; A 1" thick board is actually 3/4 of an inch
thick.
Have saw calibrated, with tip of blade even with
table top. Have guard in place.
STEP 1- Set the miter gauge to the zero position.
2- Turn MASTER switch on and press
STEP
key. Press number keys _ _
_-_ (the decimal equivalent of
inches). Press _ key. The blade
7/8
will automatically raise to the
programmed height. Blade elevation will
be displayed.
STEP 3- Draw a line on the board at the cut-off
point -- long enough for sighting, position
the board against the miter gauge face.
Align cut-off point with Exact-I-Cut
indicator.
STEP 4- Firmly hold the board in this position. (A
hold down clamp is recommended for
greater accuracy). Turn on the saw motor.
STEP 5 Guide the board through the blade.
STEP 6 Turn the motor "OFF". Wait for the blade
to stop before removing the boards and
returning the miter gauge to the starting
position.
STEP 7- Press _ key. Press number key
Press _. The blade will
lower automatically until isis even with the
table.
WORKPIECE
!
/ [ itI
TABLE
\
31
Loading ...
Loading ...
Loading ...