Loading ...
Loading ...
Loading ...
Fresh Food Features
|nterior Shelves
CAUTION
To avoid personal injury or property damage, observe the
following
• Confirm shelf is secure before placing items on shelf
• Handle tempered glass shelves carefully Shelves may
break suddenly if nicked, scratched, or exposed to
sudden temperature change.
I
To remove shelves, unhook ,_,
shelf from rear ladder assembly _,_'_ll'"-._
and pull out. "_1!. L_'_'_ IJ
To osta,she,yes, osertshe,fhooksI1 1
Spilisaver TM some models
Spillsaver TM stationary shelves
hold simple spills for easier
cleaning
To remove shelves, lift up and out
To install shelves, reverse above
procedure
Spi|lsaver TM EasyGiide TM
some modeJs
Spillsaver TM EasyGlide TM
shelves feature the convenience
of easy cleaning with a pullout
design to reach items in the
back. For ease of cleaning,
glass shelf may be removed by pulling to full
extension and lifting out of frame
To remove shelf and frame, see instructions for
SpillsaveU Mstationary shelves
Rear She|f Exten$i@n$ some model_"
Rear shelf extensions help prevent articles from falling
off the back of the shelf.
To remove and install shelf extension:
straight up from rear of shelf
To install, insert posts of the
shelf extension into holes in the
shelf frame
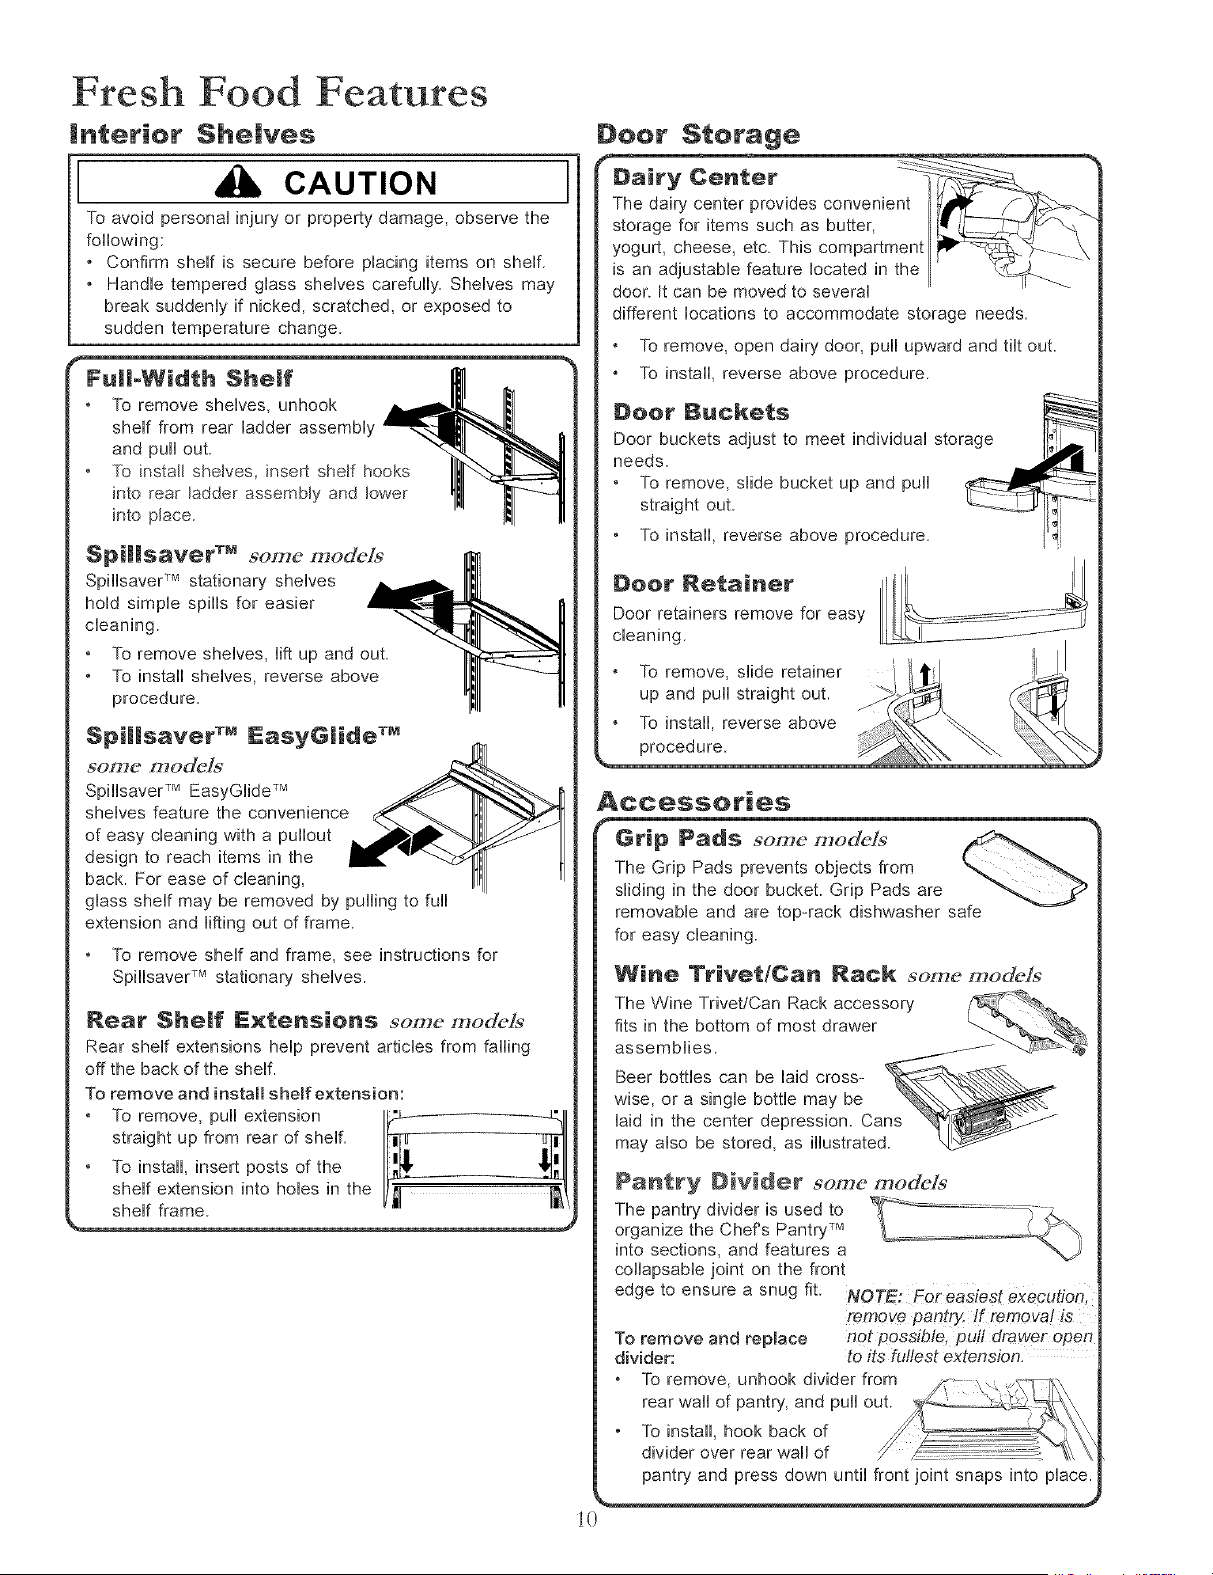
Deer $terage
door. It can be moved to severn
different locations to accommodate storage needs.
To remove, open dairy door, pull upward and tilt out
To install, reverse above procedure
Door Buckets
Door buckets adjust to meet individual storage 1[__
needs.
• To remove, slide bucket up and pull
straight out. _-_--_Y [Ii
• To install, reverse above procedure. [_
Door Netainer
Door retainers remove for easy
cleaning.
To remove, slide retainer
up and puii straight out.
To install, reverse above
procedure
Accessories
Grip Pad$ some mode]s
The Grip Pads prevents objects from
sliding in the door bucket Grip Pads are
removable and are top-rack dishwasher safe
for easy cleaning
Wine TrivetlCan Rack some models
Pantry Divider some models
The pantry divider is used to
organize the Chef's Pantry TM
into sections, and features a
collapsable joint on the front
edge to ensure a snug fit.
remove pantry. If removal is
To remove and replace not possible, pul! drawer open
divider: to its fullest extension.
To remove, unhook divider from
rear wall of pantry, and pull out.
To install, hook back of
divider over rear wall of
pantry and press down until front joint snaps into place.
i0
Loading ...
Loading ...
Loading ...